


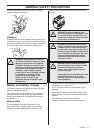
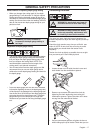

BATTERY HANDLING
English – 21
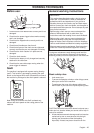
Battery status
The display shows the battery capacity and if there are
any problems with the battery. The battery capacity is
displayed for 5 seconds after the machine is switched off
or the battery indicator button is pressed. The warning
symbol on the battery is lit when an error has occurred.
See fault codes.
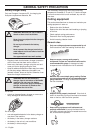
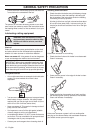
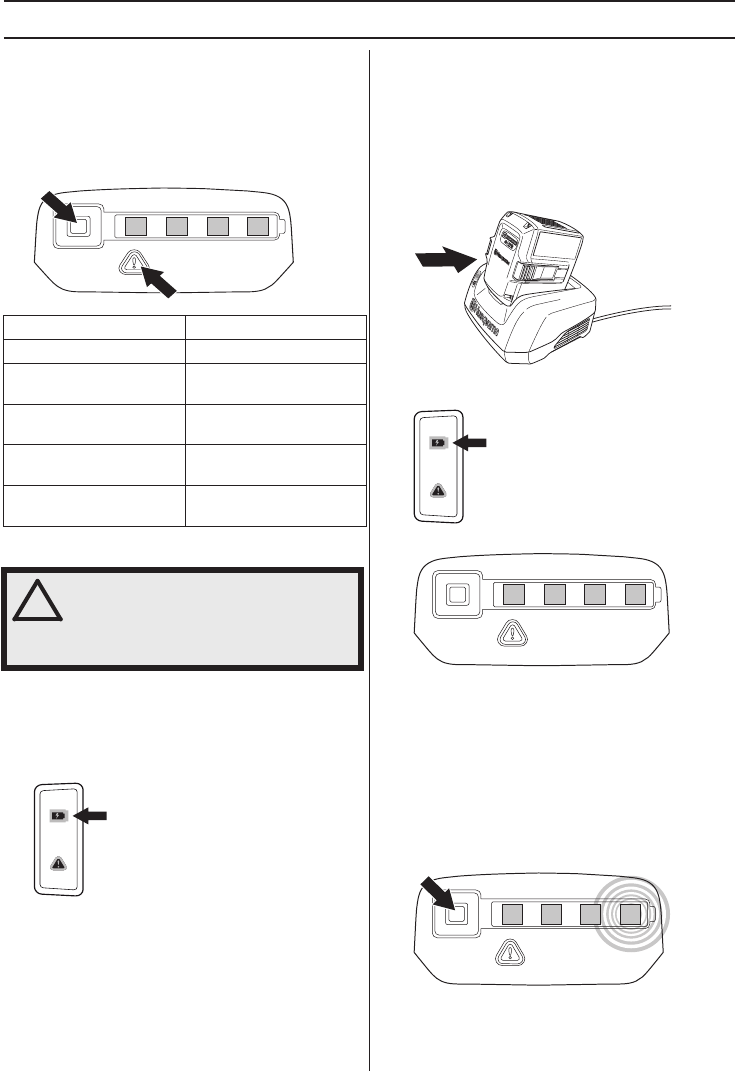
Battery charger
Connect the battery charger
• Connect the battery charger to the voltage and
frequency specified on the rating plate. Put the electric
plug in a earthed socket-outlet. The LED on the
battery charger flashes green once.
• The battery will not be charged if the battery
temperature is over 50
°C. In that case the battery
charger will actively cool down the battery.
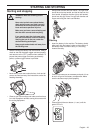
Connect the battery to the battery charger
Regularly check that the battery charger and the battery
are intact. See also instructions under the Maintenance
heading.
The battery must be charged before using it the first time.
The battery is only 30% charged when delivered.
• Put the battery in the battery charger. Make sure that
the battery is connected to the battery charger.
• The green charging light on the charger is lit when the
battery is connected to the battery charger.
• When all LEDs are lit the battery is fully charged.
• Pull out the plug. Never jerk the power supply cable to
disconnect it from the wall socket.
• Remove the battery from the battery charger.
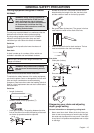
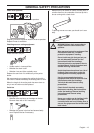
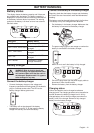
Charging status
Lithium-ion batteries can be charged at whatever
charging level. The charging process can be cancelled or
started whatever the battery’s charge level is. A fully
charged battery will not lose its charge even when the
battery is left in the charger. Remove a fully charged
battery from the battery charger.
LED lights Battery status
All LEDs are lit Fully charged (75-100%).
LED 1, LED 2, LED 3 are lit.
The battery is 50%-75%
charged.
LED 1, LED 2 are lit.
The battery is 25%-50%
charged.
LED 1 is lit.
The battery is 0%-25%
charged.
LED 1 flashes
The battery is empty.
Charge the battery.
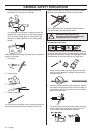
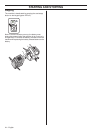
!
WARNING! Risk of electric shock and
short circuiting. Use approved and intact
wall sockets. Make sure that the cable is
not damaged. Replace cable if it appears
to be damaged in any way.
1
2
34
1
2
3
4
1
2
3
4