Cleaning Fuel Sediment Cup
24 www.honeywellgenerators.com HW5500/5500E Portable Generator Owner’s Manual
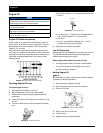
7. Soak air filter in clean engine oil and squeeze out
excess oil.
NOTE:
i
Engine will smoke during initial start-up if too much oil is
left in filter.
8. Reinstall air filter.
9. Reinstall air cleaner cover and tighten thumbscrew.
Cleaning Fuel Sediment Cup
The sediment cup prevents any dirt or water that may be
in the fuel tank from entering the carburetor.
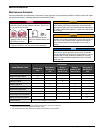
Clean fuel sediment cup at the intervals specified in
Table2.
To clean fuel sediment cup:
1. Stop engine if it is running.
2. Be sure generator is set on flat, level surface.
3. Turn fuel valve to OFF position.
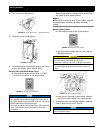
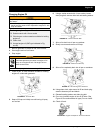
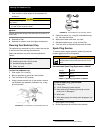
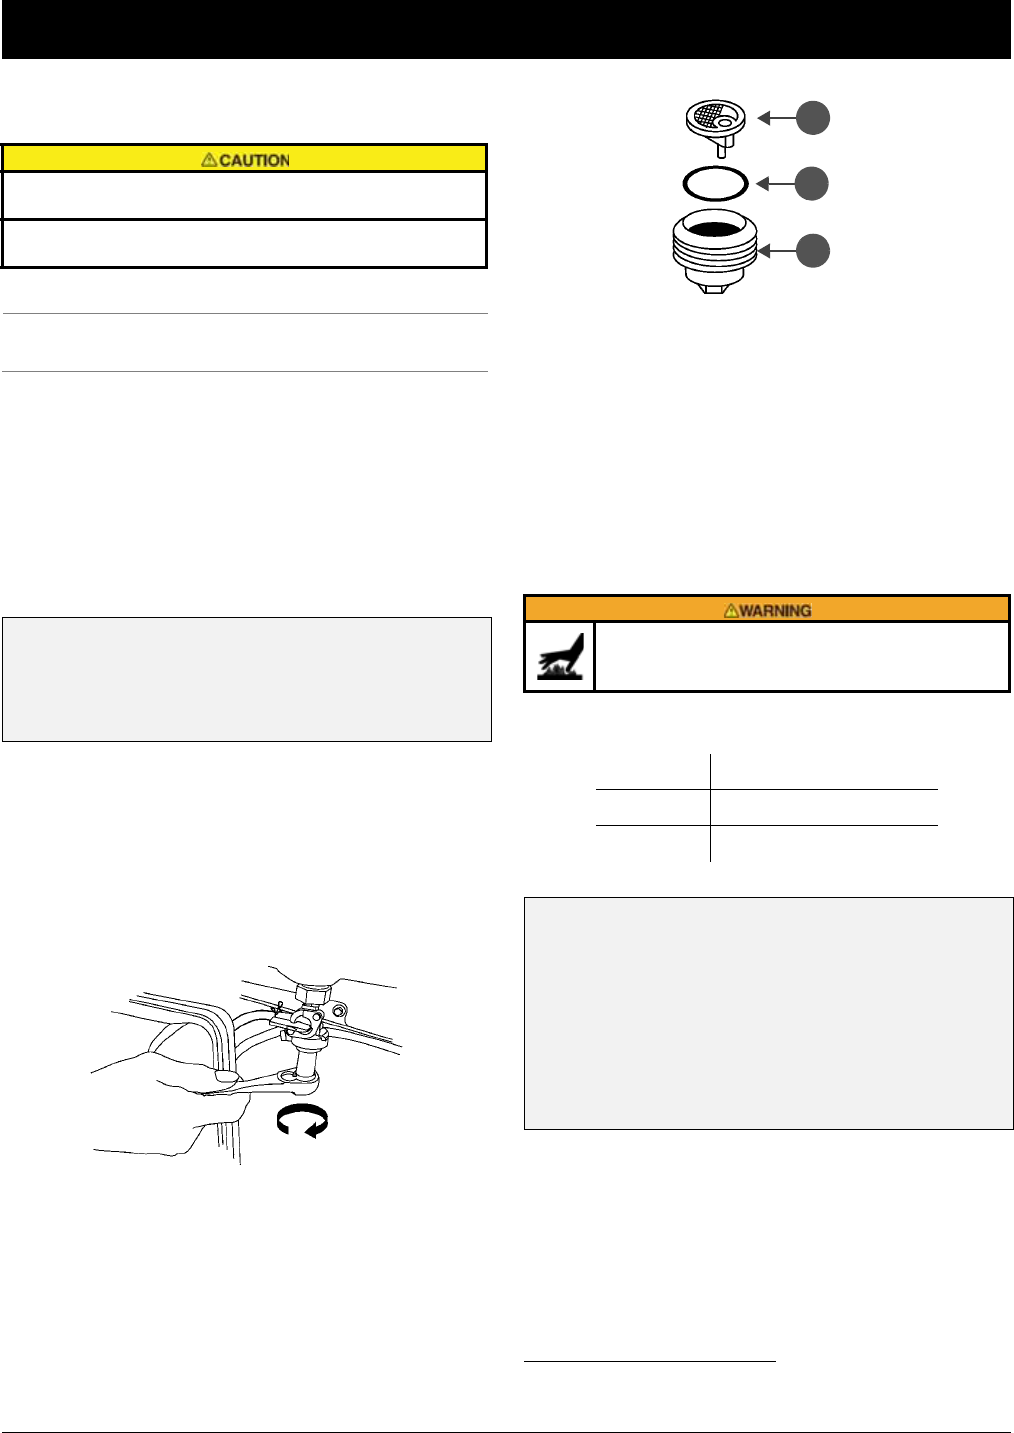
4. Using a socket wrench with 10 mm socket, remove
fuel sediment cup assembly (sediment cup, o-ring,
and fuel screen).
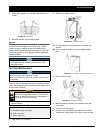
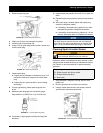
5. Clean fuel screen (A), o-ring (B), and sediment cup
(C), with soap and water.
6. Wipe pieces clean with clean, dry cloth.
7. Reinstall sediment cup, o-ring, and fuel filter.
8. Turn fuel valve to ON position and check for leaks.
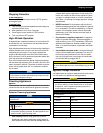
Spark Plug Service
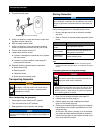
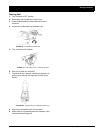
To ensure proper engine operation, spark plug must be
properly gapped and free of deposits.
Recommended Spark Plug Replacement: 100842A
*
1. Stop engine if it is running.
2. Be sure generator is set on flat, level surface.
Frequent or prolonged contact with engine oil may cause
skin cancer.
• Thoroughly wash hands and any areas of skin exposed
to used oil with soap and water.
To clean fuel sediment cup, you will need:
Socket wrench with 10 mm socket
Household soap and water
Clean, dry cloth
FIGURE 33: Fuel Sediment Cup Assembly Removal
FIGURE 34: Fuel Sediment Cup Assembly Pieces
If engine has been running, muffler will reach tem-
peratures that could cause severe burns. Do not
touch.
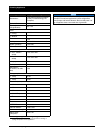
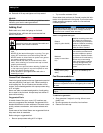
Bosch W20EPR
Champion RN9YC
Denso WR7DC
TABLE 4. Spark Plug Equivalents to 100842A
To service spark plug, you will need:
Clean cloth
13/16” Spark plug socket wrench
New spark plug (if existing spark plug is exces-
sively worn or damaged)
Wire brush
Wire feeler gauge (for setting spark plug gap to cor-
rect size)
* See Maintenance Parts at end of this manual.
A
B
C


