


13
Maintenance
Generator maintenance consists of keeping the unit clean and dry.
Operate and store the unit in a clean dry environment where it will
not be exposed to excessive dust, dirt, moisture or any corrosive
vapors. Cooling air slots in the generator must not become clogged
with snow, leaves, or any other foreign material.
Check the cleanliness of the generator frequently and clean when
dust, dirt, oil, moisture or other foreign substances are visible on
its exterior surface.
Never insert any object or tool through the air
cooling slots, even if the engine is not running.
NOTE:
DO NOT use a garden hose to clean generator. Water can enter
the engine fuel system and cause problems. In addition, if water
enters the generator through cooling air slots, some water will
be retained in voids and crevices of the rotor and stator winding
insulation. Water and dirt buildup on the generator internal
windings will eventually decrease the insulation resistance of
these windings.
Use a damp cloth to wipe exterior surfaces clean.
A soft, bristle brush may be used to loosen caked on dirt, oil,
etc.
A vacuum cleaner may be used to pick up loose dirt and debris.
Low pressure air (not to exceed 25 psi) may be used to
blow away dirt. Inspect cooling air slots and openings on the
generator. These openings must be kept clean and unobstructed.
When working on the generator, always
disconnect negative cable from battery. Also
disconnect spark plug wire from spark plug and
keep wire away from spark plug.
See the “Before Starting the Generator” section for information on
checking the oil level. The oil level should be checked before each
use, or at least every eight hours of operation. Keep the oil level
maintained.
Change the oil after the first 30 hours of operation. Change the
oil every 100 hours or every season thereafter. If running this
unit under dirty or dusty conditions, or in extremely hot weather,
change the oil more often.
Hot oil may cause burns. Allow engine to
cool before draining oil. Avoid prolonged
or repeated skin exposure with used oil.
Thoroughly wash exposed areas with soap.
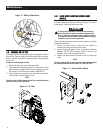
Use the following instructions to change the oil after the engine
cools down:
1. Clean area around oil drain plug.
2. Remove oil drain plug from engine and oil fill plug to drain oil
completely into a suitable container.
3. When oil has completely drained, install oil drain plug and
tighten securely.
4. Fill engine with recommended oil. (See “Before Starting the
Generator” for oil recommendations).
5. Wipe up any spilled oil.
6. Dispose of used oil at a proper collection center.
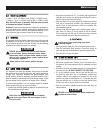
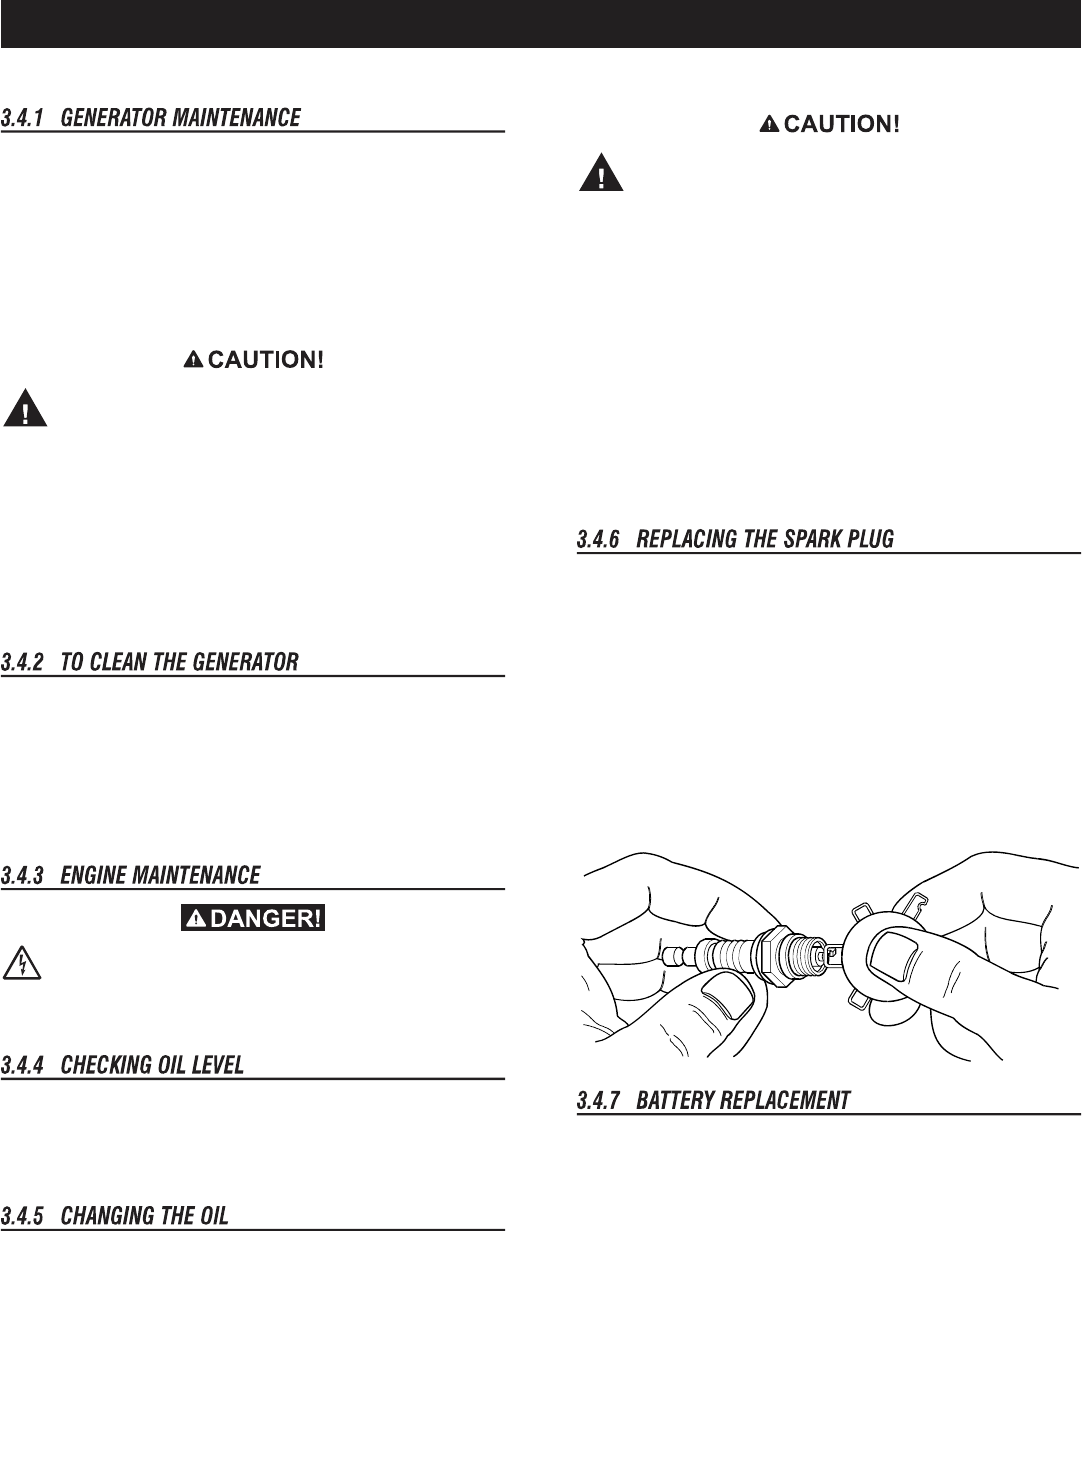
See Engine Specifications for recommended spark plug. Replace
the plug once each year. This will help the engine start easier and
run better.
1. Stop the engine and pull the spark plug wire off of the spark
plug.
2. Clean the area around the spark plug and remove it from the
cylinder head.
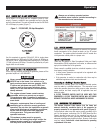
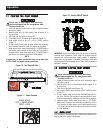
3. Set the spark plug's gap to 0.70-0.80 mm (0.028-0.031 in.).
Install the correctly gapped spark plug into the cylinder head
(Figure 14).
Figure 14 - Spark Plug Gap
NOTE:
The battery shipped with the generator has been fully charged.
A battery may lose some of its charge when not in use for
prolonged periods of time. If the battery is unable to crank the
engine, plug in the 12V charger included in the accessory box
(see the Charging a Battery section). RUNNING THE GENERATOR
DOES NOT CHARGE THE BATTERY. Refer to the Battery Cable
Connection section.