For technical questions, please call 1-800-444-3353;
Troubleshooting section at end of manual.
SKU 99741 PAGE 10
CONTROLS AND SETUP
Note: Familiarize yourself with the loca-
tion and function of all of the ma-
chine’s controls before proceeding to
setup of the machine.
Controls and features
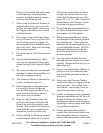
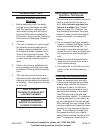
This item is equipped with a GFCI 1.
(Ground Fault Circuit Interruption)
plug. Read and follow these GFCI
precautions:
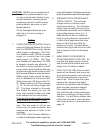
WARNING! TO PREVENT
ELECTRIC SHOCK AND DEATH:
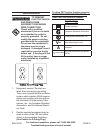
Test GFCI (Ground Fault Circuit
Interrupter) before each use as
follows:
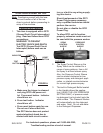
FIGURE A
INDICATOR
RESET
BUTTON
TEST
BUTTON
a. Make sure the trigger is released
and plug GFCI into power out-
let. Press reset button. Indicator
should turn on.
Press test button. Indicator b.
should turn off.
Press reset button again for use. c.
Do not use if above test fails.
The GFCI device does not protect
against electrical shock due to
contact with both circuit conduc-
tors or a fault in any wiring supply-
ing this device.
Should replacement of the GFCI
Power Plug become necessary,
only a qualied technician should
perform the service.
Do not alter or disable the GFCI
Power Plug.
To allow GFCI unit to function
properly, extension cords must not
be used with this pressure washer.
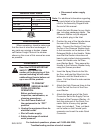
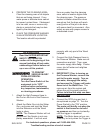
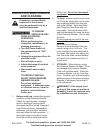
SPRAY
CONTROL
SLEEVE
PRESSURE
CONTROL
SLEEVE
FIGURE B
2. The Spray Control Sleeve on the
Spray Wand can be rotated for a
range of spray patterns, from a full
fan spray to a direct stream spray.
Also, the Pressure Control Sleeve
can be rotated clockwise for low-
pressure spray and detergent appli-
cation, or rotated counterclockwise
for normal high-pressure spray.
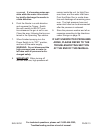
The built-in Detergent Bottle located 3.
in the Handle allows the applica-
tion (USING THE LOW PRESSURE
SETTING ONLY) of pressure wash-
ing detergent (not included) onto the
work surface. The Pressure Washer
will automatically mix the detergent
and water. Note: Do not add water
to the Detergent Dispenser.


