SKU 02433 PAGE 15
For technical questions, please call 1-800-444-3353;
Troubleshooting section at end of manual.
OPERATION
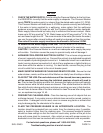
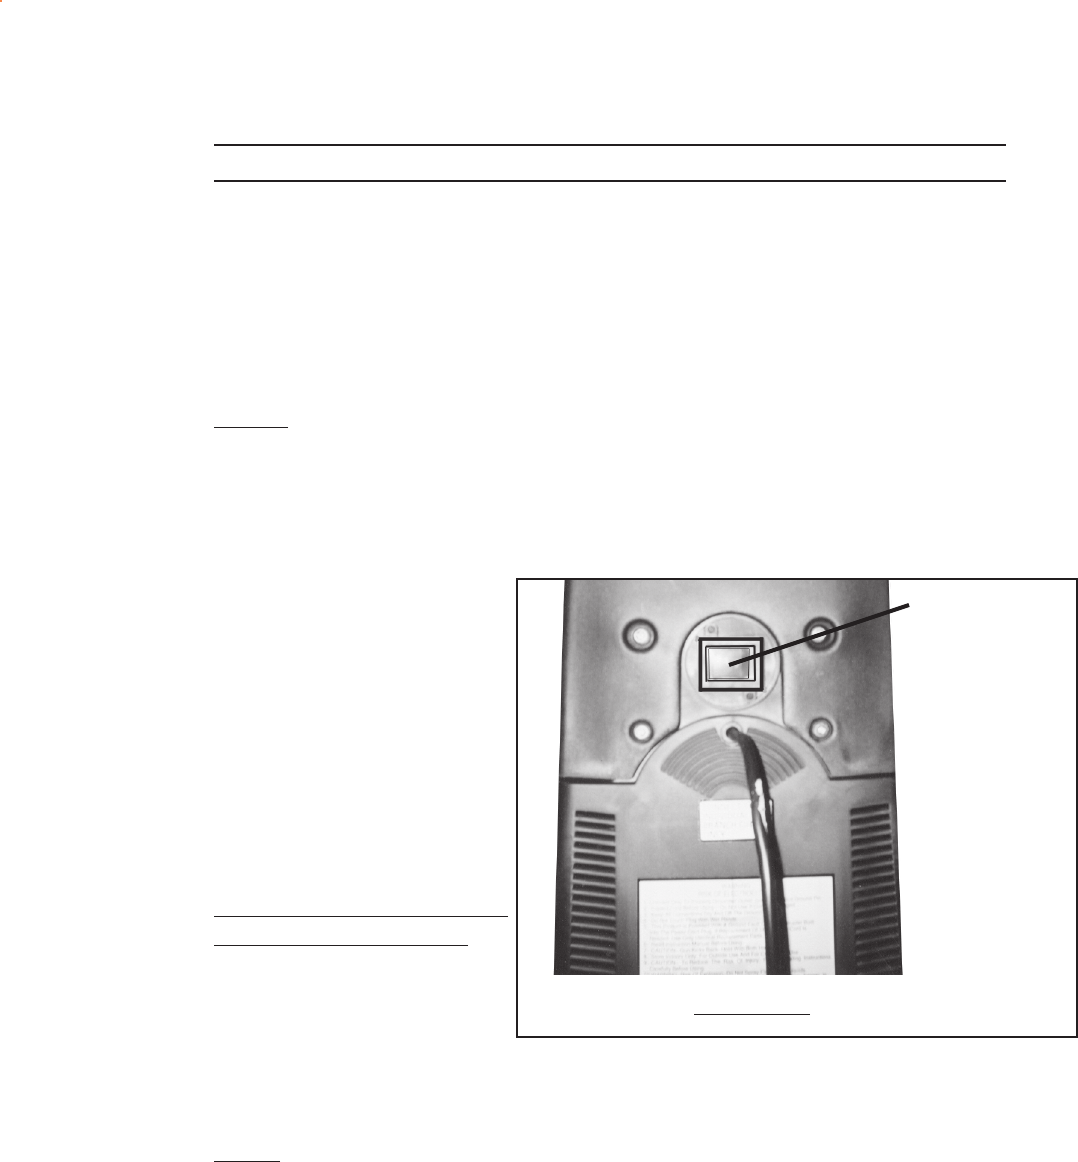
1. Make sure the Power Switch is in the “OFF” position. (See Figure M.)
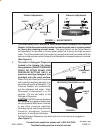
2. Attach the heavy duty hose to the Pressure Washer, using the Quick Connector Set
(36C). (See Figure G.)
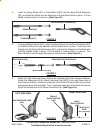
3. Attach the Spray Wand (9C), Turbo Wand (33C), or Brush Wand and Adapter (34C,
35C) into the Spray Wand Extension (8C), and press and twist the Wand into the
Extension until the Wand locks in place. (See Figures E and F.)
NOTE: The Pressure Washer will not pressurize if the Nozzle is not completely
assembled. It will not work properly with only part of the Wand installed.
4. Connect the High Pressure Hose (24C) to the Pressure Washer. (See Figure G.)
Make sure all connections are tight. Then, open the water supply valve fully. If
leaks occur, shut off water and retighten connections.
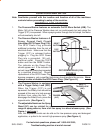
5. IMPORTANT! Prior to
turning on the Pressure
Washer, connect the unit
to the water supply. Turn
on the water, disengage
the safety, and squeeze the
Trigger (21C) until water
flows out of the Wash Gun
(5A). This removes air from
the system and allows the
unit to properly perform.
Failure to follow this step
can damage the Pump.
6. Test the cleaning capabilities
and the run before starting
your cleaning project, as
explained on page 17, #1. Turn the Power Switch to the “ON” position, it should
illuminate. The motor will briefly run when the switch is first turned on to build
up pressure and then go to standby until the trigger is squeezed.
NOTE: The Motor (3A) does not run continuously, but only when the Trigger is
squeezed. If a humming noise persists while the motor is on standby, briefly
discharge the nozzle in a safe direction.
7. Point the Nozzle in a safe direction. Then, disengage the Safety and squeeze the
Trigger (21C). Switch the unit’s switch to the OFF position whenever the gun is not
in use. (See Figures I and M.) Clean the area, following the tips contained in the
Operating Tips section.
8. When finished spraying, fully engage the Trigger Safety Lock (26C), turn the Power
Switch to its “OFF” position, and turn off the water supply. (See Figure M.)
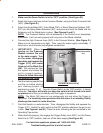
FIGURE M (REAR VIEW)
POWER SWITCH
(Illuminates while
on.)


