7 -28
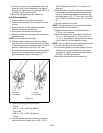
23.Place equal amount of shims and a shellacked
gasket on each axle housing. Install L.H. axle
housing and differential assembly in tractor. Secure
axle housing to tractor.
24.Install R.H. axle housing on tractor, being sure the
shifting clutch fits on the shifting gear. Secure axle
housing to tractor. Torque bolts to 45 ft-lbs
(61 Nm).
25.Remove the engine and high-low planetary or the
advance casting and the forward-reverse
planetary.
26.Using a screwdriver or similar tool, check the
differential assembly for play. Running clearance
should be .008" - .012". Adjust by adding or
removing an equal amount of shims from each axle
housing.
27.Adjust axles for .008" - .012" end play. Add or
remove shims behind the bearing cap.
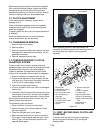
7.8 POWER TAKE OFF (PTO)
If it becomes difficult to shift the power takeoff in and
out of gear, check external linkage for binding.
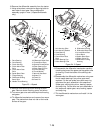
To examine the PTO, remove attachment boss plate on
the front of advance casting. At this point the dog gear
and shifting eccentrics are exposed (Figure 30).
Proceed as follows:
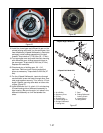
1. Check the dog block for wear.
2. Examine shifter shaft for wear.
3. For closer inspection of the shifter assembly,
remove the assembly by removing jam nut inside
of advance casting and then removing the shoulder
bolt.
4. Inspect shifter body and its components for
damage.
5. Check for bearing failures.
6. Examine pinion shaft for twisting.
7. Replace worn or damaged parts.
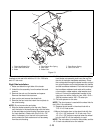
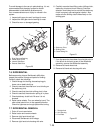
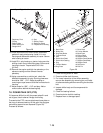
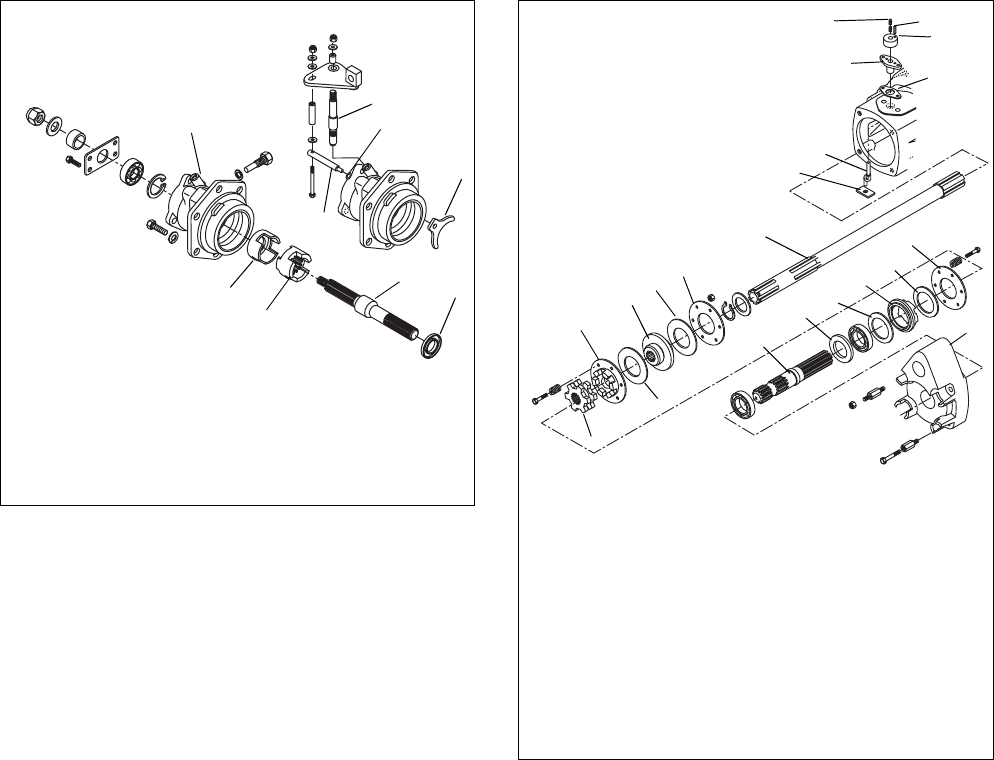
Figure 28
1. Stationary Pivot
2. O-Ring
3. Shifting Yoke
4. Clutch Sliding Pin
5. Straight Axle
6. Seal
7. Shifting Clutch
8. Stationary Clutch
9. 2-Speed Axle Housing
4-Speed Right Hand Axle
1
2
3
4
5
6
7
8
9
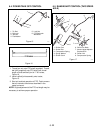
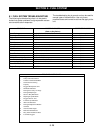
Figure 29
1. Back Plate
2. Brake Disc
3. Dog Plate Brake
4. Trunnion Block
5. Seal
6. Quick Hitch Shaft
7. Quick Hitch Casting
8. Dog
9. Friction Washer
10.Dog Plate
11.Drive Plate
12.Friction Washer
13.Back Plate
14.PInion Shaft
15.Shipper Shaft
16.Shipper Shaft Gasket
17.Shipper Shaft Body
18.Shipper Shaft
19.Set Screw
20.Roll Pin
1
2
3
2
5
6
7
8
9
10
11
12
13
14
15
16
17
18
19
4
20


