6 -20
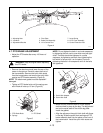
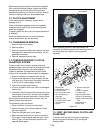
Fasten the instruction plate and the brake handle
brackets to the rear hitch with the 1/2-13 x 2.00 bolts
and 1/2" lock nuts.
Right Side Installation:
1. Raise and block the right side of the tractor.
2. Unbolt the tire assembly from the wheel hub and
remove.
3. Remove the axle nut, flat washer and spacer.
Remove the wheel hub set screw.
4. Use a puller and remove the wheel hub.
5. Remove the four bolts that retain the end plate to
the axle housing.
NOTE:
Do not remove the end plate.
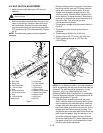
6. Slide the brake assembly over the axle. Rotate
until the holes in the back plate align with the holes
in the end plate and axle housing (cam lever arm at
2 o’clock position). Retain with four 3/8-16 x 7/8"
bolts. If necessary, turn the bolt in the cam lever
arm to where the lock washer and nut face away
from the axle housing.
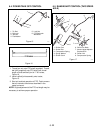
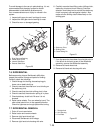
7. Slide the brake handle onto the rear of the right
hand brake rod assembly and insert the rod into
the slot of the brake handlebar weldment. Place
the carriage bolt through the brake handle, and put
two nylon washers on the bolt between the handle
and the handlebar weldment. Push the bolt through
the handlebar weldment and retain with another
nylon washer, rubber washer, steel washer, and
lock nut. Connect the adjustment bracket to the
cam lever arm with a clevis pin, two .406 x .812 x
.065 flat washers and a .09 x .75 cotter pin.
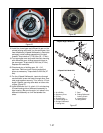
8. Put both spacers on the axle.
NOTE:
The short spacer is used with the wheel hub for
the 8.50 x 8 tire assembly.
9. Replace the set screw in the wheel hub with a
7/16-14 x 3/4 set screw.
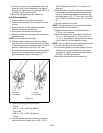
10.Mount the brake drum to the wheel hub with four
1/2-13 x 1-3/8" bolts and 1/2-13 lock nuts. Four
1/2-13 x 1-5/8" bolts are required when the wheel
hub for the 8.50 x 8 tire assembly is used.
NOTE:
The valve stem is turned to the outside, and the
1/2-13 lock nuts should be on the outside.
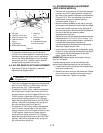
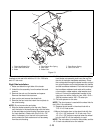
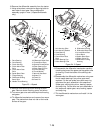
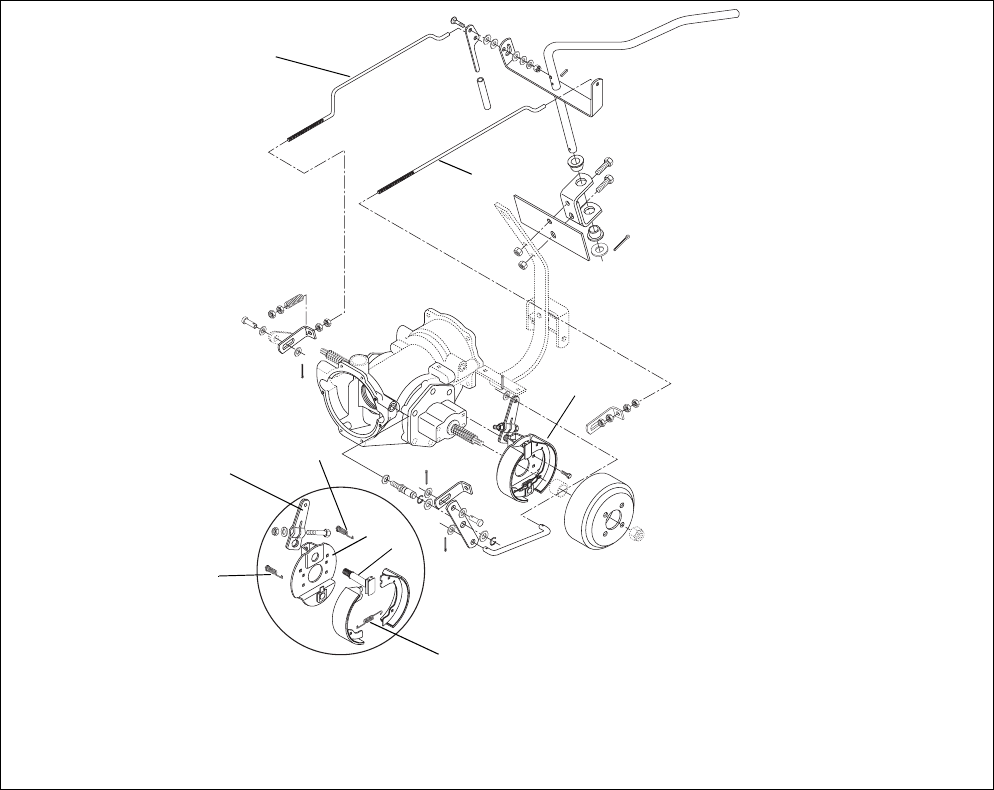
Figure 13
1. Right Hand Brake Rod
2. Left Hand Brake Rod
3. Brake
4. Shoe Return Box Spring
5. Back Plate
6. Brake Cam
7. Shoe Return Spring
8. Cam Lever Arm
PH0220
1
2
3
4
4
5
6
7
8


