


10
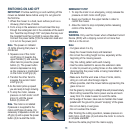
ADJUSTING THE CUTTING HEIGHT
CAUTION. Never carry out
any assembly operations or
adjustments with the power
connected to the mower. Always
ensure that the power button is
in the off position and that the
power plug is disconnected from
the supply.
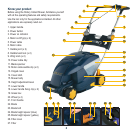
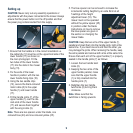
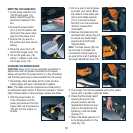
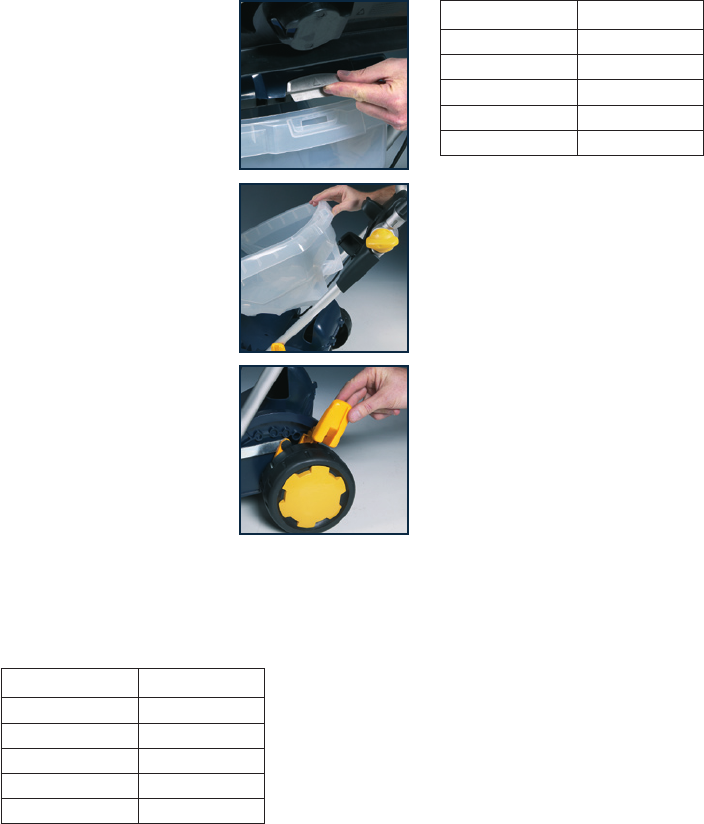
1. Choose a level area with a
firm surface, press the cover
latch (14), lift the cover (13)
and remove the grass box
(19).
2. Pull the height adjustment
lever (16) towards you
then move it to the right to
increase the cutting height
or to the left to decrease the
cutting height.
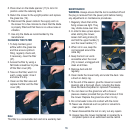
3. Release the lever to lock it in
one of the five stop positions.
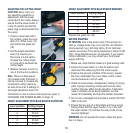
Note. There is a blue spacer
(24) located under the blade. It
can be removed to increase the
incremental cutting heights by
an extra 6mm at all 5 settings of
the height adjustment lever (16).
Instructions on how to remove this spacer are given in
CHANGING THE MOWER BLADE on Page 12.
HEIGHT ADJUSTMENT WITH BLUE SPACER IN POSITION
HEIGHT ADJUSTMENT WITH BLUE SPACER REMOVED
Replace the grass box (19).
BEFORE STARTING
ATTENTION.
Due to the power input of this product on
start up, voltage drops may occur and this can influence
other equipment (e.g. dimming lights). So for technical
reasons we advise, if the mains-impedance is Zmax<0.444
Ohm, these disturbances are not expected. If you require
further clarification, you may contact your local power
supply authority.
1. Before use, check that the mower is in good working order.
2. Ensure the power button is in the off position and
disconnect the cable plug from the mains supply.
3. Examine the general condition of the mower. Inspect
the body underneath the cover, blade, switch, power
cord and extension cord (if used).
4. Check for loose screws, misalignment, binding of moving
parts, improper mounting, broken parts and any other
condition that may affect its safe operation. If abnormal
noise or vibration occurs during operation, turn the
mower off immediately and have the problem corrected.
5. Do not use a damaged tool and attach a label “DO NOT
USE” to the tool.
6. Ensure that you are on a flat surface and have secure
footing.Check that the upper handle (1) is in line with
the lower handle (17) and that the wing knobs (9) are
securely tightened.
WARNING. Do not operate the mower unless the grass
box is in place.
Lever position Cutting height
1 16 mm
2 25 mm
3 35 mm
4 45 mm
5 60 mm
Lever position Cutting height
1 22 mm
2 31 mm
3 41 mm
4 51 mm
5 66 mm