


5
GB
In addition to time-based watering, it is also possible to include
the soil moisture or rain sensor in the watering programs.
If the soil is moist enough, the program will be stopped, or a
program will be prevented from starting. Manual operation via
man. On/Off is unaffected by this.
1. Remove controller
4
from the housing of the Water Timer.
2. Place soil moisture sensor in the watered area
– or –
place rain sensor (with extension cable if necessary)
outside the watered area.
3. Insert the sensor in the sensor connection
9
of the Water
Timer.
An adapter cable may be required to connect older sensors,
which can be purchased from GARDENA Service,
GARDENA Adapter cable Art. No. 1189-00.600.45.
To secure your Water Timer against theft, you can obtain the
GARDENA Anti-theft device Art. No. 1815-00.791.00 from
GARDENA Service.
1. Screw clamp
0
with screw
A
firmly to the back of the Water
Timer.
2. Use clamp
0
e.g. for fixing a chain.
It is no longer possible to remove the screw after it has been
screwed in.
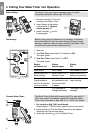
5. Operating Your Water Timer
To set the program, the controller can be removed and mobile
programming can be carried out (see 4. Putting Your Water
Timer into Operation
“Insert battery”
).
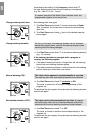
Set watering duration:
The watering duration can be set between 1 and 120 minutes in
13 steps.
v Tur n Run Time control knob
1
to the required watering
duration (e.g. 10 minutes).
Set watering frequency:
The watering frequency can be set between 8 hours (8h) and
every 7
th
day (7th) in 6 steps.
v Tur n Frequency control knob
2
to the required watering
frequency (e.g. every 8 hours = 8h).
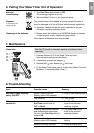
Watering start time:
5 seconds after setting the watering frequency, the set values
are accepted and first watering begins. The time at which this
happens is the future watering start time.
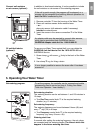
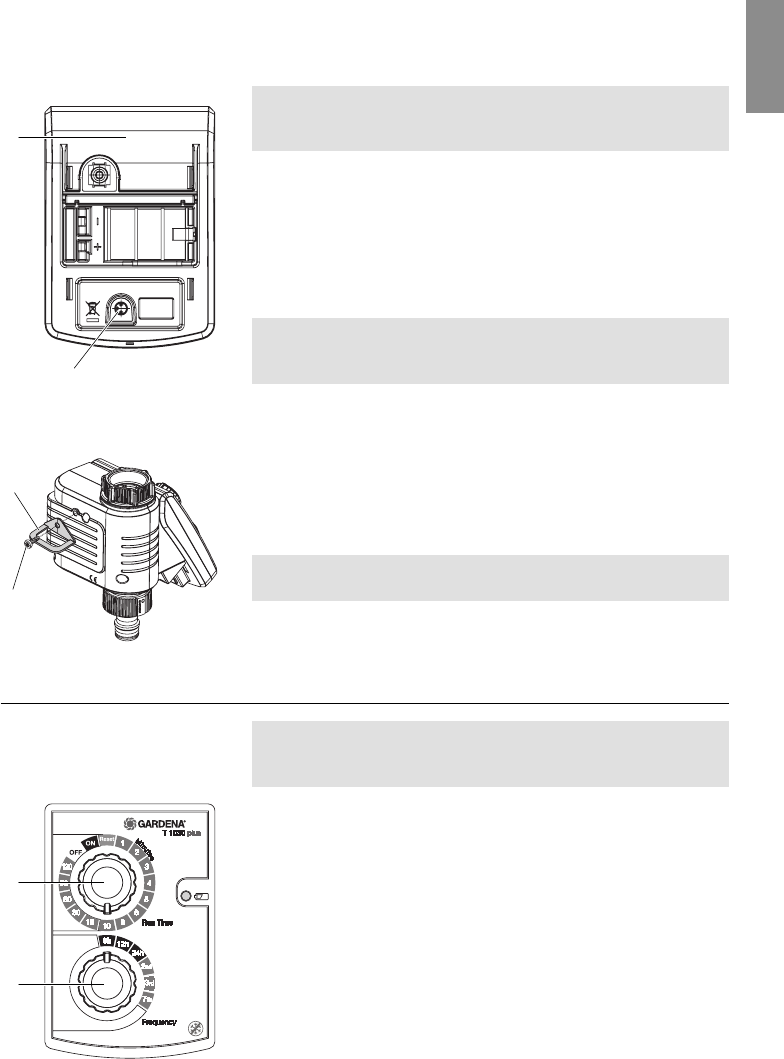
Fit anti-theft device
(optional):
0
A
Connect soil moisture
or rain sensor (optional):
4
9
1
2
Set watering program: