47
Troubleshooting, Adjustment & Repair
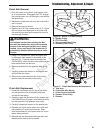
Clutch Belt Removal
1. Park the tractor on a smooth, level surface such
as a concrete floor. Disengage the PTO, engage
the parking brake, turn off the engine, and remove
the ignition key.
2. Release the hood latch and raise the hood until it
locks in place.
3. Remove the rear belt shield.
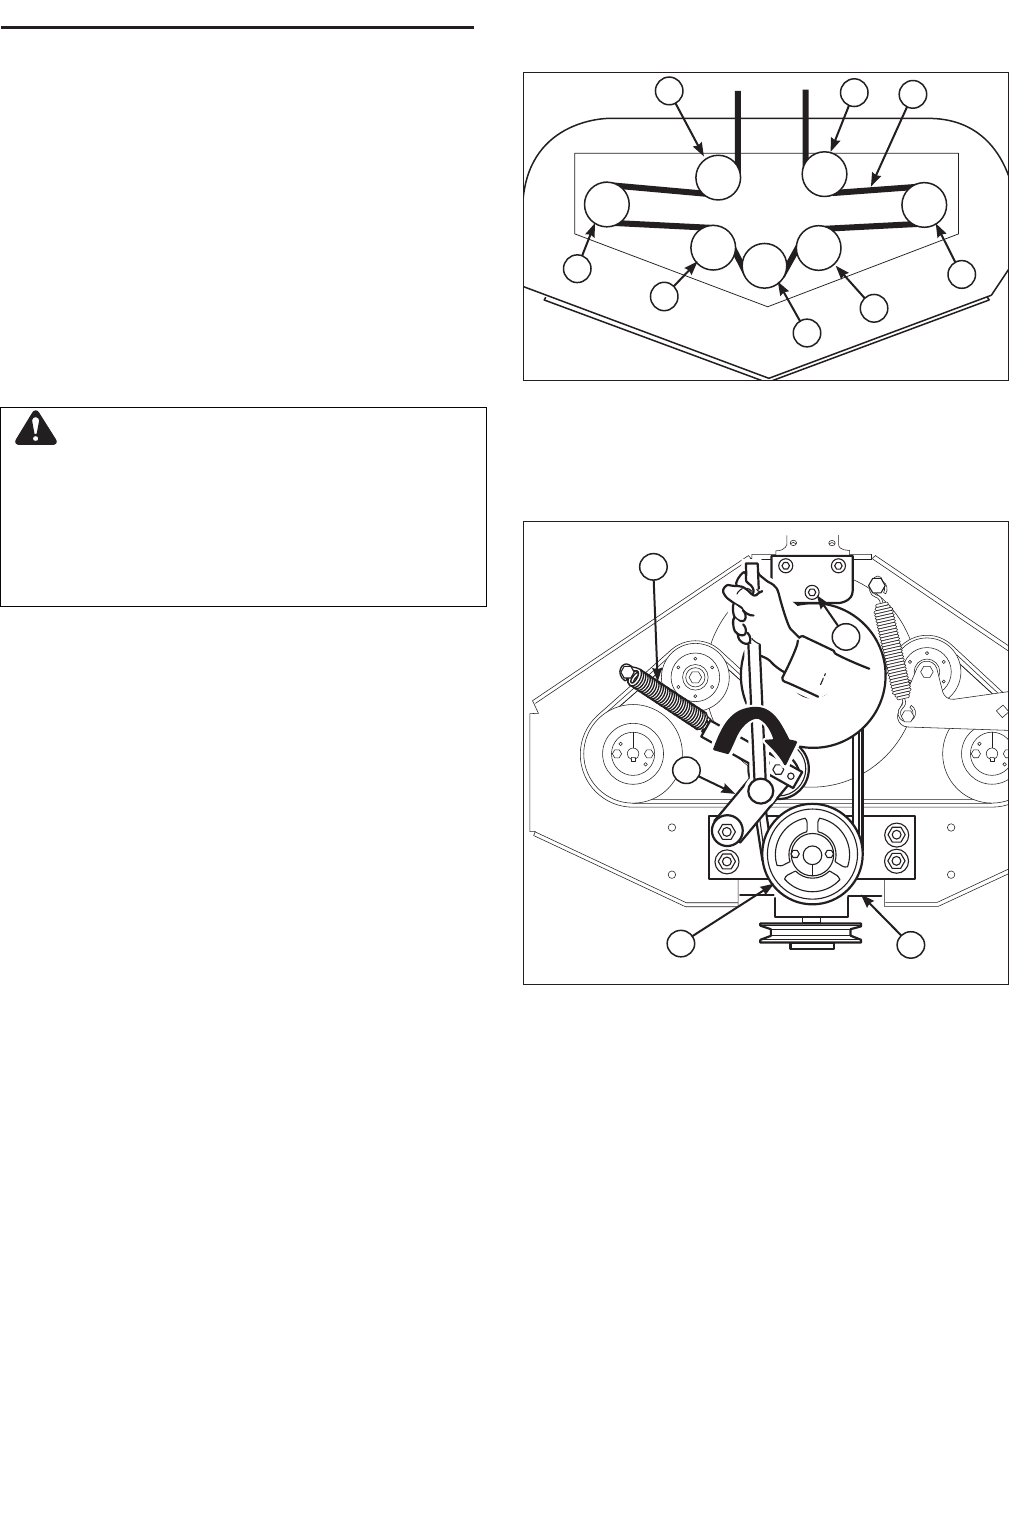
4. Remove the 5/16” bolt, washer and nut (C, Figure
48) that fasten the rubber pad to the clutch and
unscrew the wire ends that connect the clutch to
the electrical harness.
5. Using a 1/2” breaker bar, place the square end
in the square hole located in the middle of the
idler arm (A). Carefully rotate the breaker bar
CLOCKWISE, which will relieve the tension on the
belts exerted from the idler arm.
6. Remove the belts from the gearbox drive pulley
(D).
7. Carefully release the tension on the breaker bar
until the idler arm stops.
8. Remove the clutch belts from the clutch pulley
grooves and pull around the idler pulley.
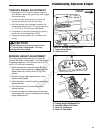
Figure 47. Clutch Belt Removal & Replacement
A. Idler Arm
B. Clutch Belt Idler Spring
C. Clutch Anchor Hardware
D. Gearbox Drive Pulley
E. Gearbox
E
C
A
B
D
WARNING
Use extreme caution when rotating the idler
arm with the breaker bar, due to the increased
tension in the spring as the idler arm is being
rotated. Injury may result if the breaker bar is
prematurely released while the spring is under
tension.
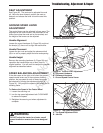
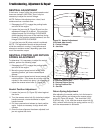
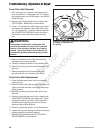
Figure 46. Mower PTO Belt Routing
A. Spindle Pulley
B. PTO Drive Belt
C. Spring-loaded Idler Pulley
D. Stationary Idler Pulley
B
C
D
A
A
A
D
D
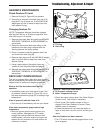
Clutch Belt Replacement
1. Install the clutch belts over the top of the clutch,
into the grooves of the crankshaft pulley and
around the idler pulley.
2. Carefully rotate the idler arm with the breaker bar
CLOCKWISE (see Figure 47) and install the belts
into the grooves of the gearbox drive pulley.
3. Carefully release the tension on the breaker bar.
4. Reinstall the clutch anchor pad to the clutch with
the hardware (C) previously removed. Make
sure the hardware is in the same order as is was
before being removed.
5. Reinstall the rear belt shield and lower the hood.
Make sure the hood is firmly latched.
Not for
Reproduction


