


Page 38
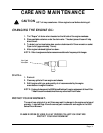
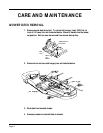
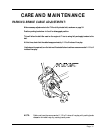
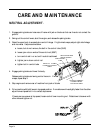
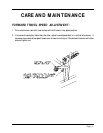
CARE AND MAINTENANCE
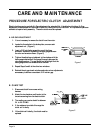
PROCEDURE FOR ELECTRIC CLUTCH ADJUSTMENT
Electric clutches require periodic Air Gap adjustments for extended life. Listed below is both an Air Gap
adjustment procedure and an Ohms test to check for a faulty coil within the clutch. No replacement parts are
available to repair a faulty assembly. The entire clutch must be replaced.
A. AIR GAP ADJUSTMENT
1.
It is not necessary to remove the clutch from the motor.
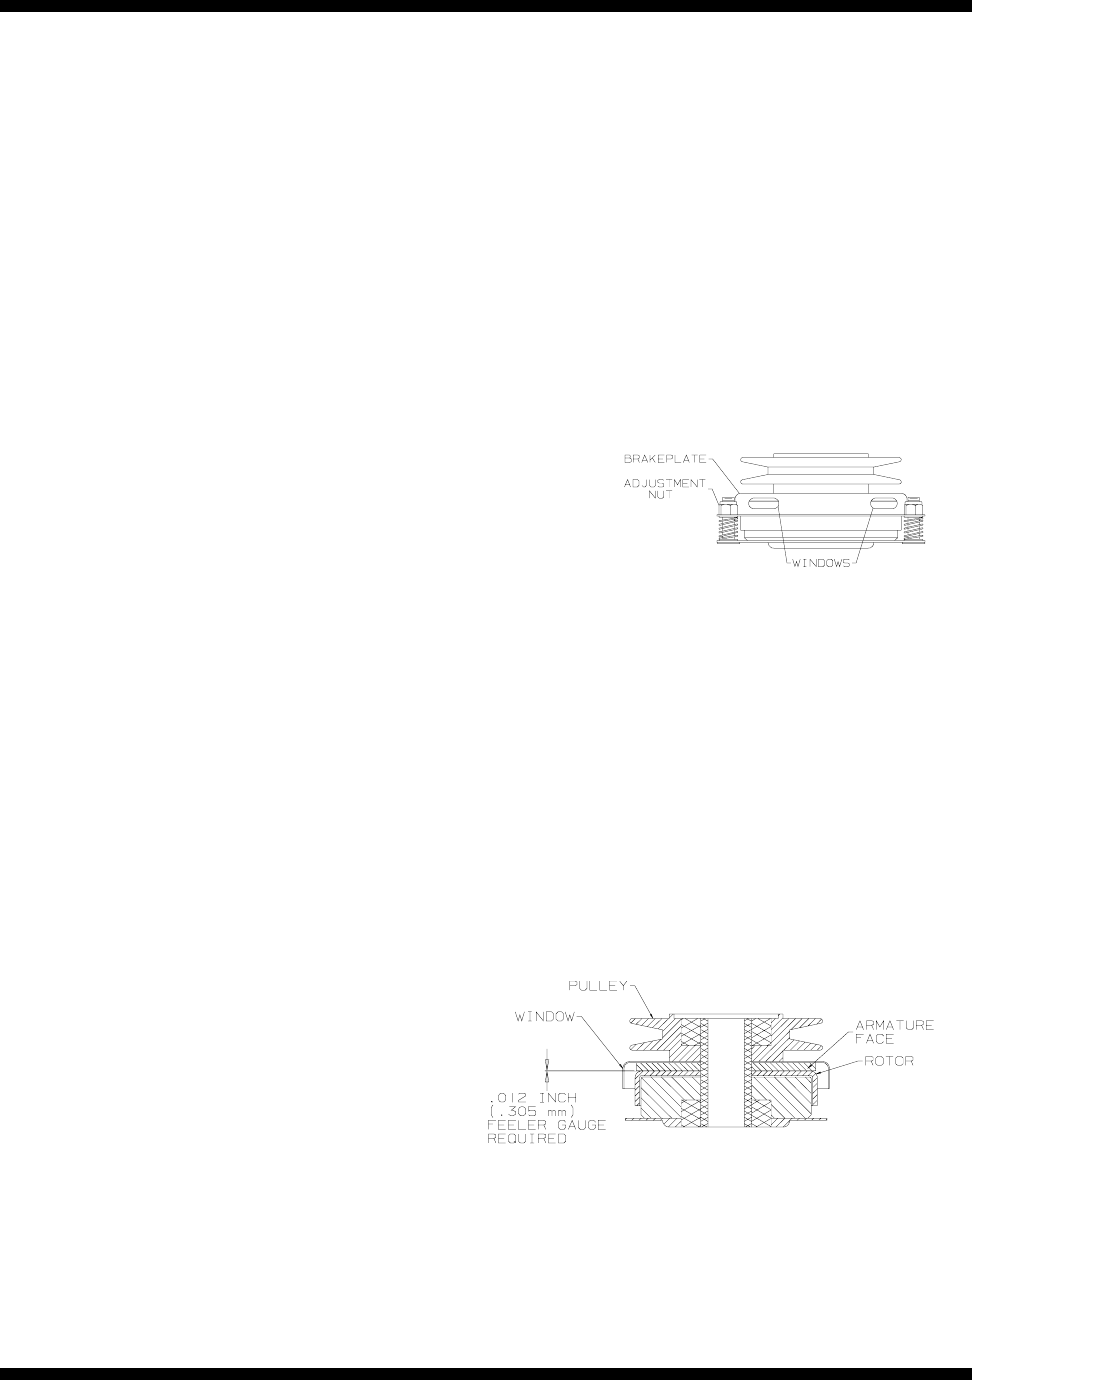
2. Locate the three holes in the brake plate, one near each
adjustment nut. (Figure 1)
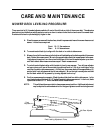
3. Insert a .012 inch feeler gauge into one of the three
windows. Be careful to position the feeler gauge between
the rotor and armature faces. (Figure 2)
4. Tighten the adjusting nut adjacent to the window with the
feeler gauge inserted until the gauge fits snugly between the
rotor and armature. The gap should not be so tight that the
feeler gauge cannot be reinserted after removal.
5. Repeat Steps 5 and 6 at the other two windows.
6. Recheck the air gap at each window and make minor adjustments
as necessary to achieve a consistent .012 inch air gap.
B. OHMS TEST
1. Disconnect clutch from mower wiring
harness.
2. Attach the two leads on multi-meter to the
two wires coming from the electric clutch.
3.
The reading you receive should be between
2.4 to 2.9 OHMS.
4.
If the resistance is outside this range the
clutch coil is faulty.
5. If the clutch coil is faulty, the clutch must be
replaced.
Figure 1
Figure 2