


2002 @ Home Hot Tubs
Owner’s Manual
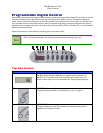
On initial start-up, you can confirm that the heater is on by looking to see that the HEAT Indicator
Iight located above the Digital Display on the control panel is illuminated. Once you have verified
that the heater is functioning, you can reinstall the equipment door.
11. After completing the above steps, it is necessary to ensure proper water chemistry. See the Water Chemistry
section in this manual for the easy steps to maintaining clean and safe water. The schedule shown may require
more frequent adjustment depending on the bather load.
12. Place the thermal cover on the spa to conserve energy and to keep it ready for use.
Care for Your Hot Tub
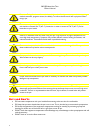
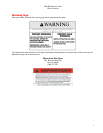
Risk of Accidental Drowning. Extreme caution must be exercised to prevent unauthorized access by
children. To avoid accidents, ensure that children cannot use this system unless they are supervised
at all times.
Draining Your Hot Tub
All Dimension One hot tubs are gravity drained. Do not drain water onto your lawn or plants unless all of the bromine
or chlorine has dissipated from the hot tub water. The sanitizer in your hot tub water will dissipate quickly by leaving
the hot tub cover off and exposing the water to direct sunlight. Drain and replace your hot tub water every six
months. For heavy hot tub use, you may wish to change the water more frequently.
Filter Cleaning
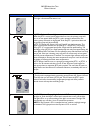
Always turn off the power to the hot tub before cleaning the filter elements. Your hot tub is equipped with one or two
top access filter cartridges. We recommend that you clean the filters every month as preventative maintenance.
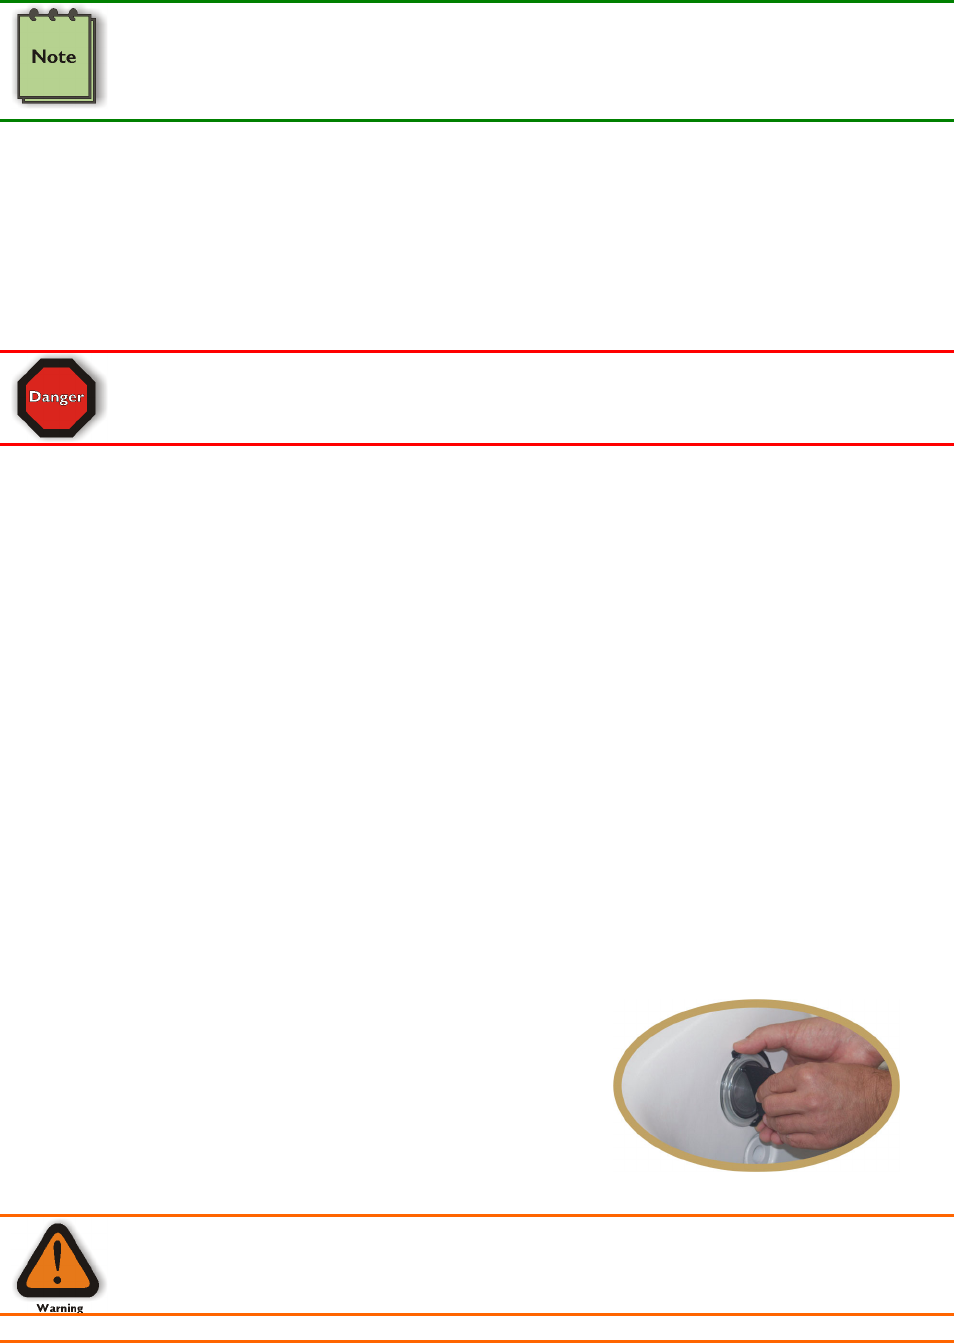
To clean the filter cartridge, remove the access lid covering the filter area. Lift the center float of the skimmer assembly
until it is fully extended. Hold the centerpiece of the assembly and turn it counter clockwise until the flats of the basket
are aligned with the securing tabs. Then pull the basket assembly straight up to remove. Next, remove the E-Z Lock
Filter cartridge by twisting the cartridge 1/4 turn counterclockwise to its stop. (Be careful not to overturn the filter)
Then lift the filter out of its canister. Clean the cartridge with a high-pressure garden hose. Every other cleaning, soak
the cartridge in a filter cleaning solution, rinse it thoroughly, and reinstall. Replace the skimmer basket assembly and the
access lid or cover. After cleaning, run the pump for a few minutes at high speed, then return to the heating mode.
Light Bulb Replacement
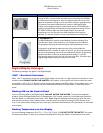
All systems are equipped with a 12 volt light using a GE912 bulb. To change the bulb:
1. Turn the power off and drain the system below the level of the
light.
2. Using the special tool provided in the owner’s manual packet,
unscrew the cover for the light housing.
3. Remove the old bulb and install the new bulb.
4. Use the special tool to replace the cover for the light housing.
5. Check to ensure proper operation of the new bulb before
refilling the system.
Do not attempt to remove the light housing cover without lowering the water level below the light
housing cover.
14