10 Section 2— ASSembly & Set-Up
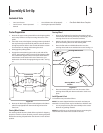
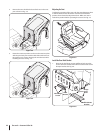
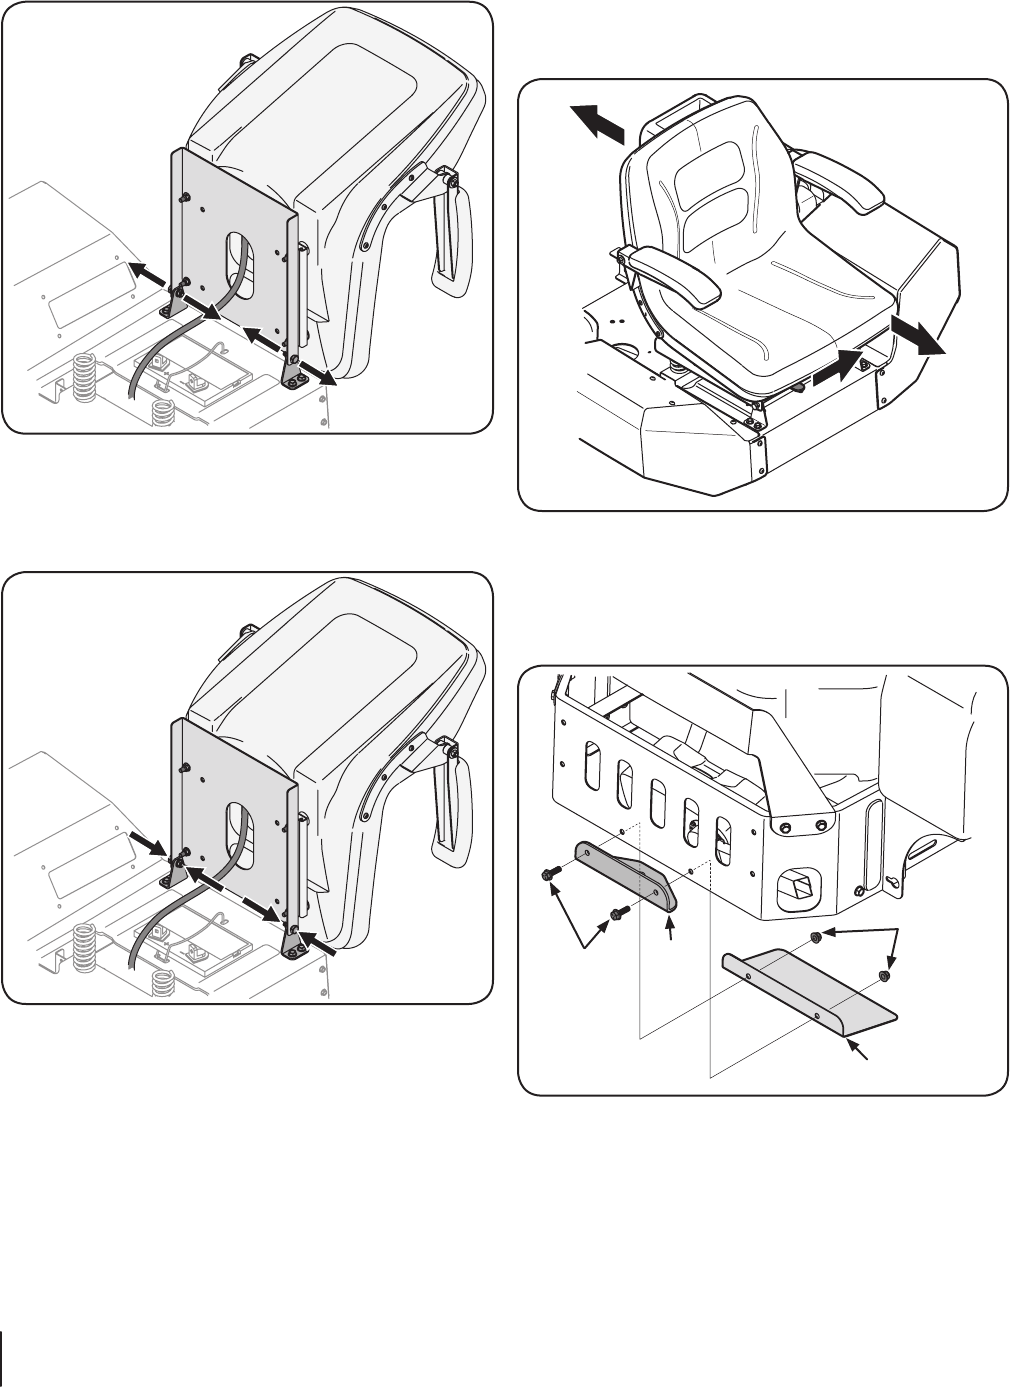
2. Remove the two shoulder bolts and lock nuts in the seat
Figure 3-3
Rotate the seat into position and secure the seat into place
with the previously removed shoulder bolts and lock nuts.
Be careful not to crimp or damage the wire harness while
Figure 3-4
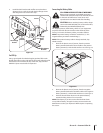
Adjusting the Seat
To adjust the position of the seat, push the seat adjustment lever
to the left. Slide the seat forward or rearward to the desired
position; then release the adjustment lever. Make sure seat is
Figure 3-5
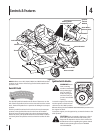
Install the Rear Hitch Bracket
Remove the hex flange screws and flange lock nuts that
secure the hitch bracket and muffler mount bracket to the
Hex Flange
Screws
Flange
Lock
Nuts
Hitch
Bracket
Muffler Mount
Bracket
Figure 3-6


