30
Refer to Figure 27 for information
regarding the proper type of oil to add
to the crankcase.
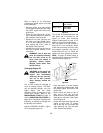
• Place the tractor on a level surface
and engage the parking brake. Stop
the tractor engine and remove the
ignition key.
• Clean the area around the oil filler
cap to prevent debris from entering
the crankcase. See Figure 26.
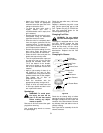
• Remove the oil filler cap from the
left valve cover and SLOWLY pour
in oil. Fill the crankcase until the oil
level reaches the “FULL” mark on
the dipstick. See Figure 25.
• Reinstall the oil filler cap and turn to
the right to tighten securely in the
valve cover.
WARNING: The oil filler cap
must be tightened securely
into the valve cover at all
times when the engine is
operating. Severe engine
damage could result from
failure to do so.
Changing Engine Oil
WARNING: If the tractor has
recently been operated, the
engine and surrounding
areas may be hot. Use cau-
tion not to burn yourself
when working around the
engine.
The oil filter should be changed at
every oil change interval. The filters
can be obtained through your Cub
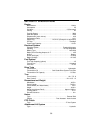
Cadet dealer. See the Quick
Reference Chart on page 44 for the
correct part number. Refer to the
MAINTENANCE CHART on page 19
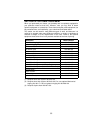
and the SPECIFICATIONS TABLE on
page 36 for information regarding the
frequency of required oil changes and
the quantity of oil needed.
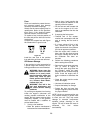
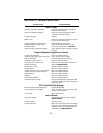
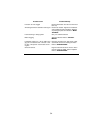
See the VISCOSITY CHART in Figure
27 for the proper type of oil.
Figure 27
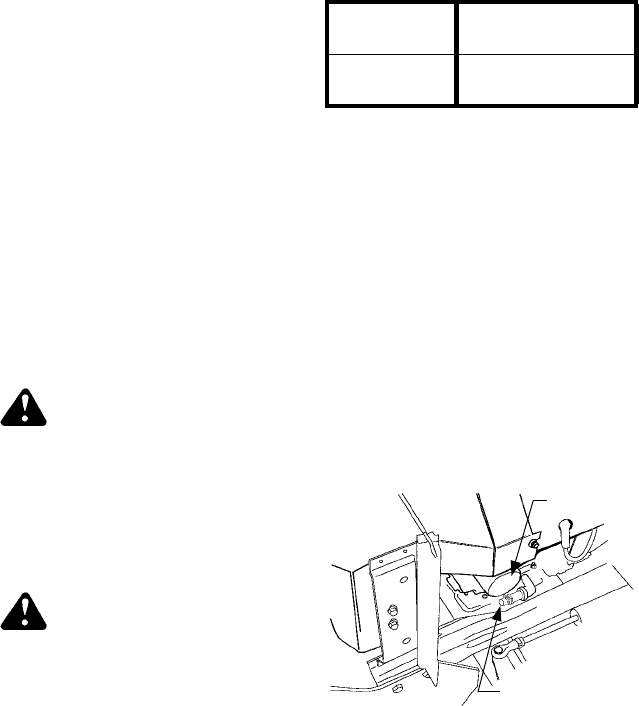
The oil filter is located behind the left
side panel and is mounted on the
engine oil cooler. See Accessing
Engine Compartment on page 21 for
details on removing the side panels.
Run the engine for a few minutes to
warm the oil in the crankcase. Warm
oil will flow more freely and carry away
more engine impurities. Use care to
avoid burns from hot oil. While the
engine oil is warm, proceed as follows:
NOTE: A length of flexible tubing is
supplied with the tractor and should be
used to drain the engine oil.
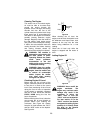
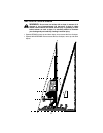
Figure 28
• Place the tractor on a level surface
and engage the parking brake. Stop
the tractor engine and remove the
ignition key.
• Clean around the base of the oil
filter, the oil filler cap, and the
dipstick tube to prevent debris from
entering the crankcase. See Figure
26 and Figure 28.
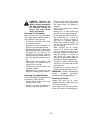
• Unseat the plastic dust cap from the
engine oil drain valve. To prevent
loss of the cap, do not remove the
cap’s retaining ring from the drain
valve. Remove the dipstick.
Above +32° F SAE 10W30
SAE 10W40
Below +32° F SAE 5W20
SAE 5W30
Oil Filter
Oil Drain Valve


