


7
3
Setting Up
Your Snow
Thrower
IMPORTANT
Prior to operating
your snow thrower,
refer to Auger Control
Test in the Operation
section. Read and
follow all instructions
carefully and perform
all adjustments to verify
your snow thrower is
operating safely and
properly.
Figure 3-5
Figure 3-7
Figure 3-6
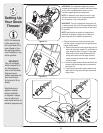
3. a. Remove the flat washer and hairpin clip from the
end of the chute directional control. See Figure 3-3.
b. Insert the end of the chute directional control
into the chute bracket and secure with the flat
washer and hairpin clip just removed. If necessary,
the chute bracket can be adjusted. Refer to the
Adjustments section.
IMPORTANT: Prior to operating your snow thrower,
refer to Auger Control Test in the Operation section.
Read and follow all instructions carefully and perform
all adjustments to verify your snow thrower is operating
safely and properly.
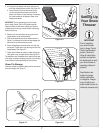
4. Remove lock nuts and screws securing one of the
flange keepers to the chute assembly.
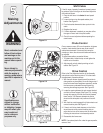
5. Place chute assembly onto chute base as shown in
Figure 3-4, making sure that the notches engage with
the spiral end of chute directional control.
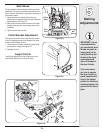
6. Secure flange keeper removed earlier with lock nuts
and screws. Tighten down nuts securing the other two
flange keepers. See Figure 3-5.
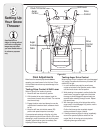
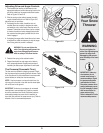
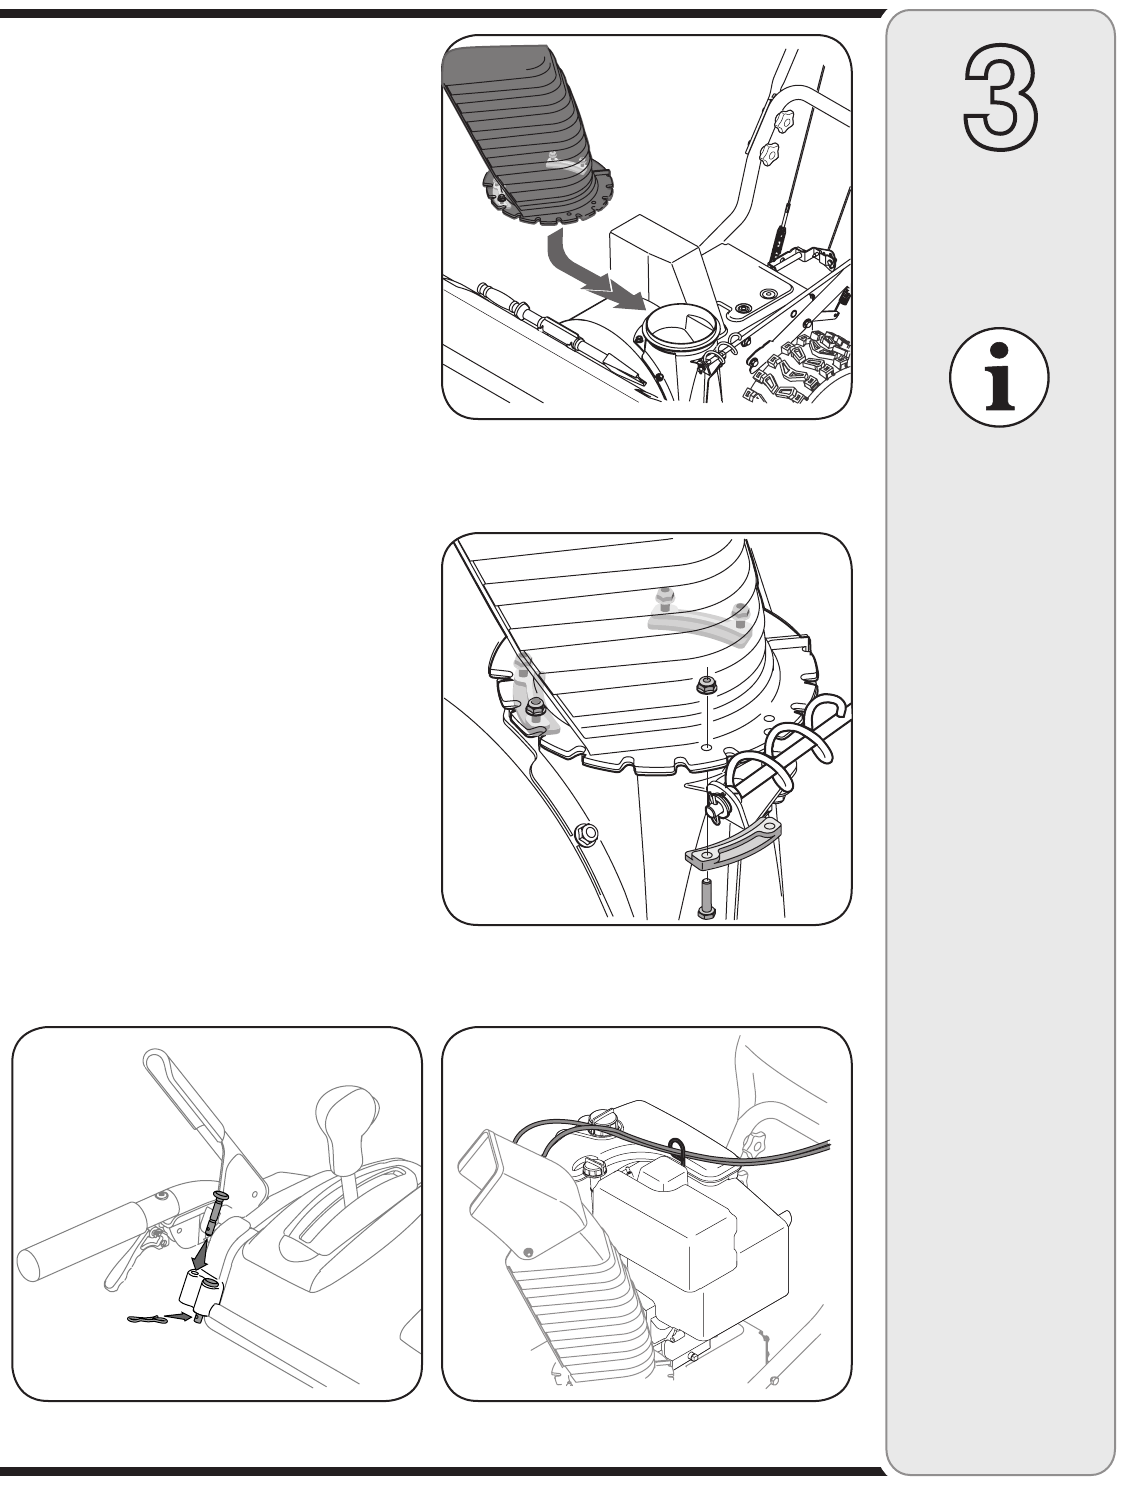
7. Check that all cables are properly routed through the
cable guide on top of engine shroud. See Figure 3-6.
The extension cord is fastened with a cable tie to the rear
of the auger housing for shipping purposes. Cut the cable
tie and remove it before operating the snow thrower.
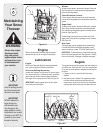
Shear Pin Storage
Holes are located in the plastic dash panel for convenient
shear pin storage. See Figure 3-7.
Figure 3-4
Specifications are
subject to change
without notification
or obligation. Images
may not reflect your
exact model and are for
reference purposes only.