19
6
Maintaining
Your Snow
Thrower
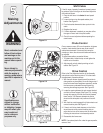
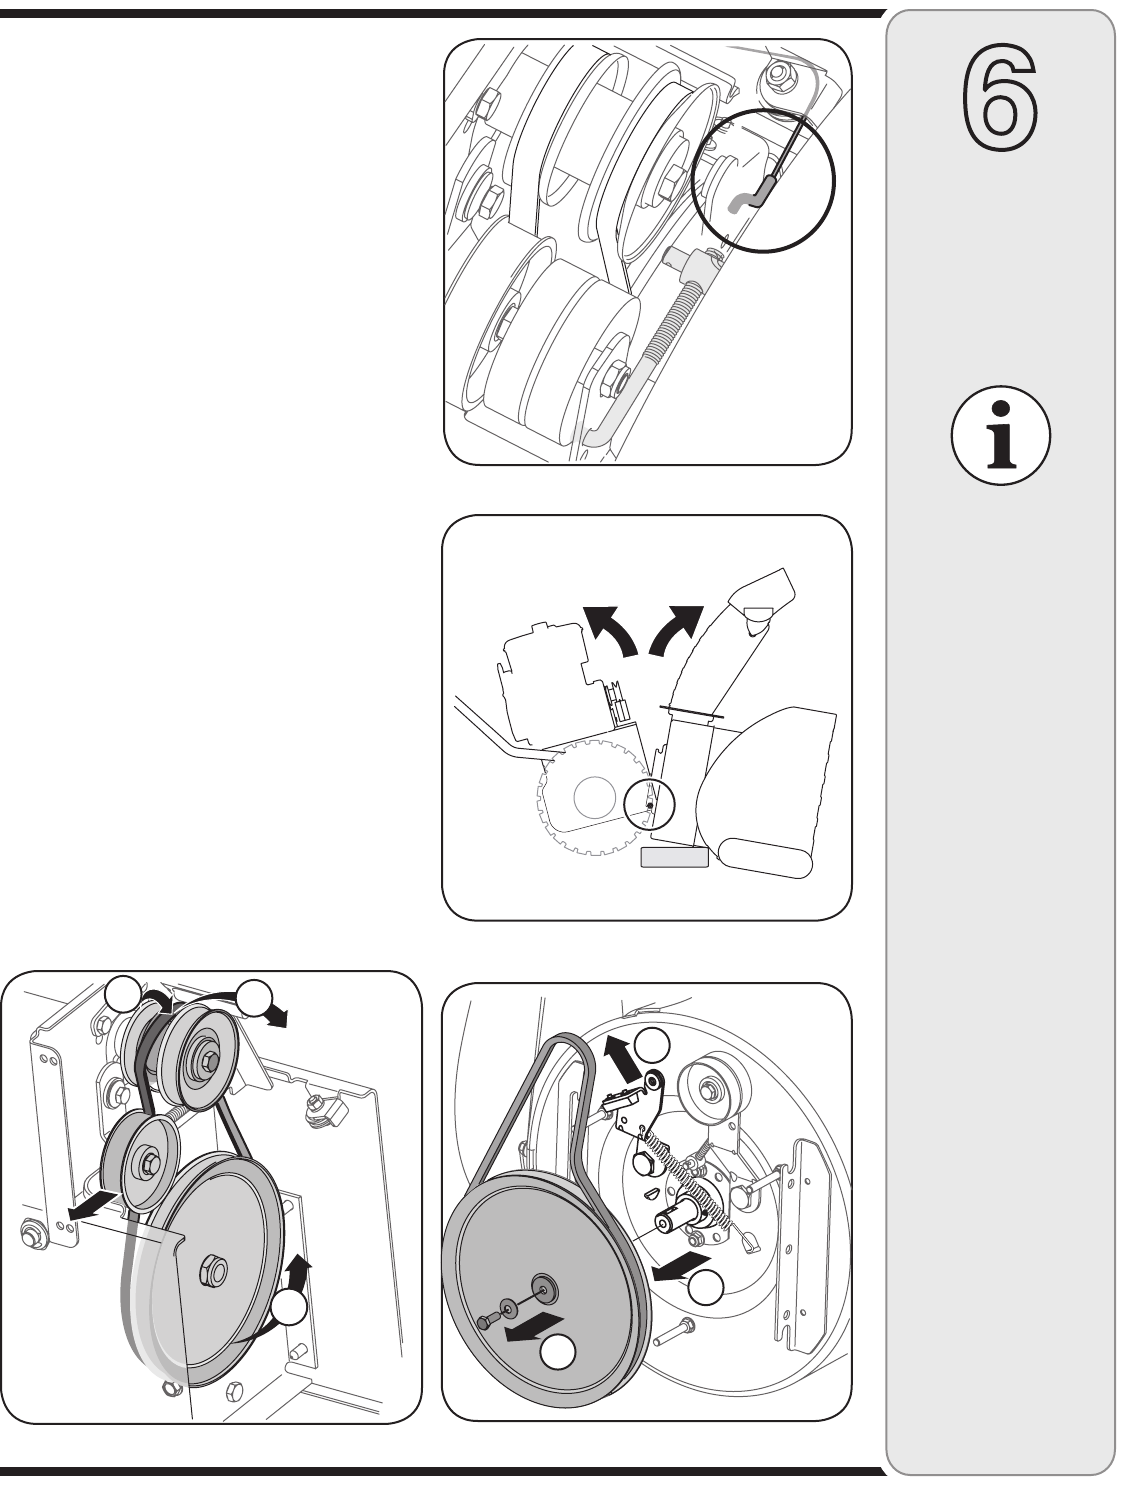
Figure 6-12
Figure 6-11
Figure 6-9
Figure 6-10
A
C
B
1
2
3
If also replacing the drive belt, proceed to the “Drive Belt”
instruction. If not, reassemble by performing the previous
steps in the opposite order and manner of removal.
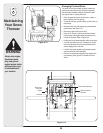
Proper Adjustment: With the auger clutch lever in the
disengaged position, the top surface of the new belt should
be even with the outside diameter of the pulley.
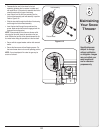
1. To adjust, disconnect ferrule from brake bracket as-
sembly and thread ferrule in (towards idler) to increase
tension on belt, and out to decrease tension.
NOTE: The brake puck must always be firmly seated in the
pulley groove when auger control is disengaged.
Drive Belt
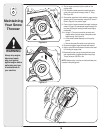
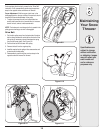
1. Pull the idler pulley away from the backside of the drive
belt to relieve the tension and slide the drive belt off the
idler pulley (If necessary unhook the extension spring
from the belt cover plate). See Figure 6-12.
2. Roll the drive belt off the lower drive pulley.
3. Remove the belt from the engine pulley.
4. Install the new belt on the pulleys in the reverse order and
re-tension with the idler pulley.
5. Reassemble by performing the previous steps in the
opposite order and manner of removal.
Specifications are
subject to change
without notification
or obligation. Images
may not reflect your
exact model and
are for reference
purposes only.


