36
WARNING: Use care when servicing any
component in the engine area. If the
engine has recently been operated,
components will be hot and could cause
burns. Allow the engine to cool before
servicing.
WARNING: Before servicing the engine,
place the tractor on a level surface, stop
the engine, engage the parking brake,
and remove the key from the ignition
switch.
ACCESSING THE ENGINE COMPARTMENT
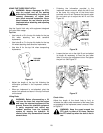
Opening the Front Grille
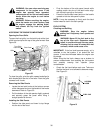
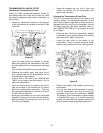
To open the front grille, turn the latch knob at the front
of the hood and pivot the top of the grille forward. See
Figure 50.
Figure 50
To close the grille, pivot the grille upward and align its
latch bracket with the slot in the hood. Push the grille
rearward until it locks.
Removing the Side Panels
• Locate the two latch knobs at the bottom corners
of the side panel and turn the handle of the knobs
downward. Refer to Figure 50.
• Pull the bottom of the side panels slightly outward
and securely grasp the panel while lifting it
straight upward to remove.
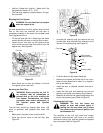
Installing the Side Panels
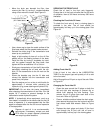
• Position the side panel and lower its top flange
into the slot of the hood.
• Pivot the bottom of the side panel inward while
making certain the pins of the latch knobs align
with the latch springs on the tractor.
• Press the latch knobs inward and turn the handle
upward to lock the side panel in place.
NOTE: It may be necessary to firmly push the latch
knobs inward to lock in the latch springs.
FUEL SYSTEM
Checking and Refilling
WARNING: Stop the engine before
adding fuel. Keep away from sparks and
flames.
WARNING: Never fill the fuel tank to the
top of the filler neck. Expansion could
result in overflow through the cap vents,
allowing fuel to come in contact with hot
surfaces, which could cause a fire.
IMPORTANT: If the fuel tank becomes empty, air is
admitted to the fuel system. If air enters the fuel
system, it must be eliminated before the engine can
be started.
When filling the fuel tank, always use a strainer to
prevent contaminants from entering the fuel system
and possibly causing fuel injection pump
contamination.
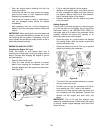
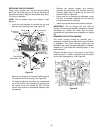
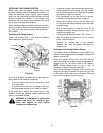
• Check the fuel level before each use. Take care
that the fuel tank is not allowed to become empty.
See Figure 51.
Figure 51
Turn Grille
Latch Knob
Grille
Side Panel
Side Panel
Latch Knob
ACCESS
DOOR
FUEL CAP


