


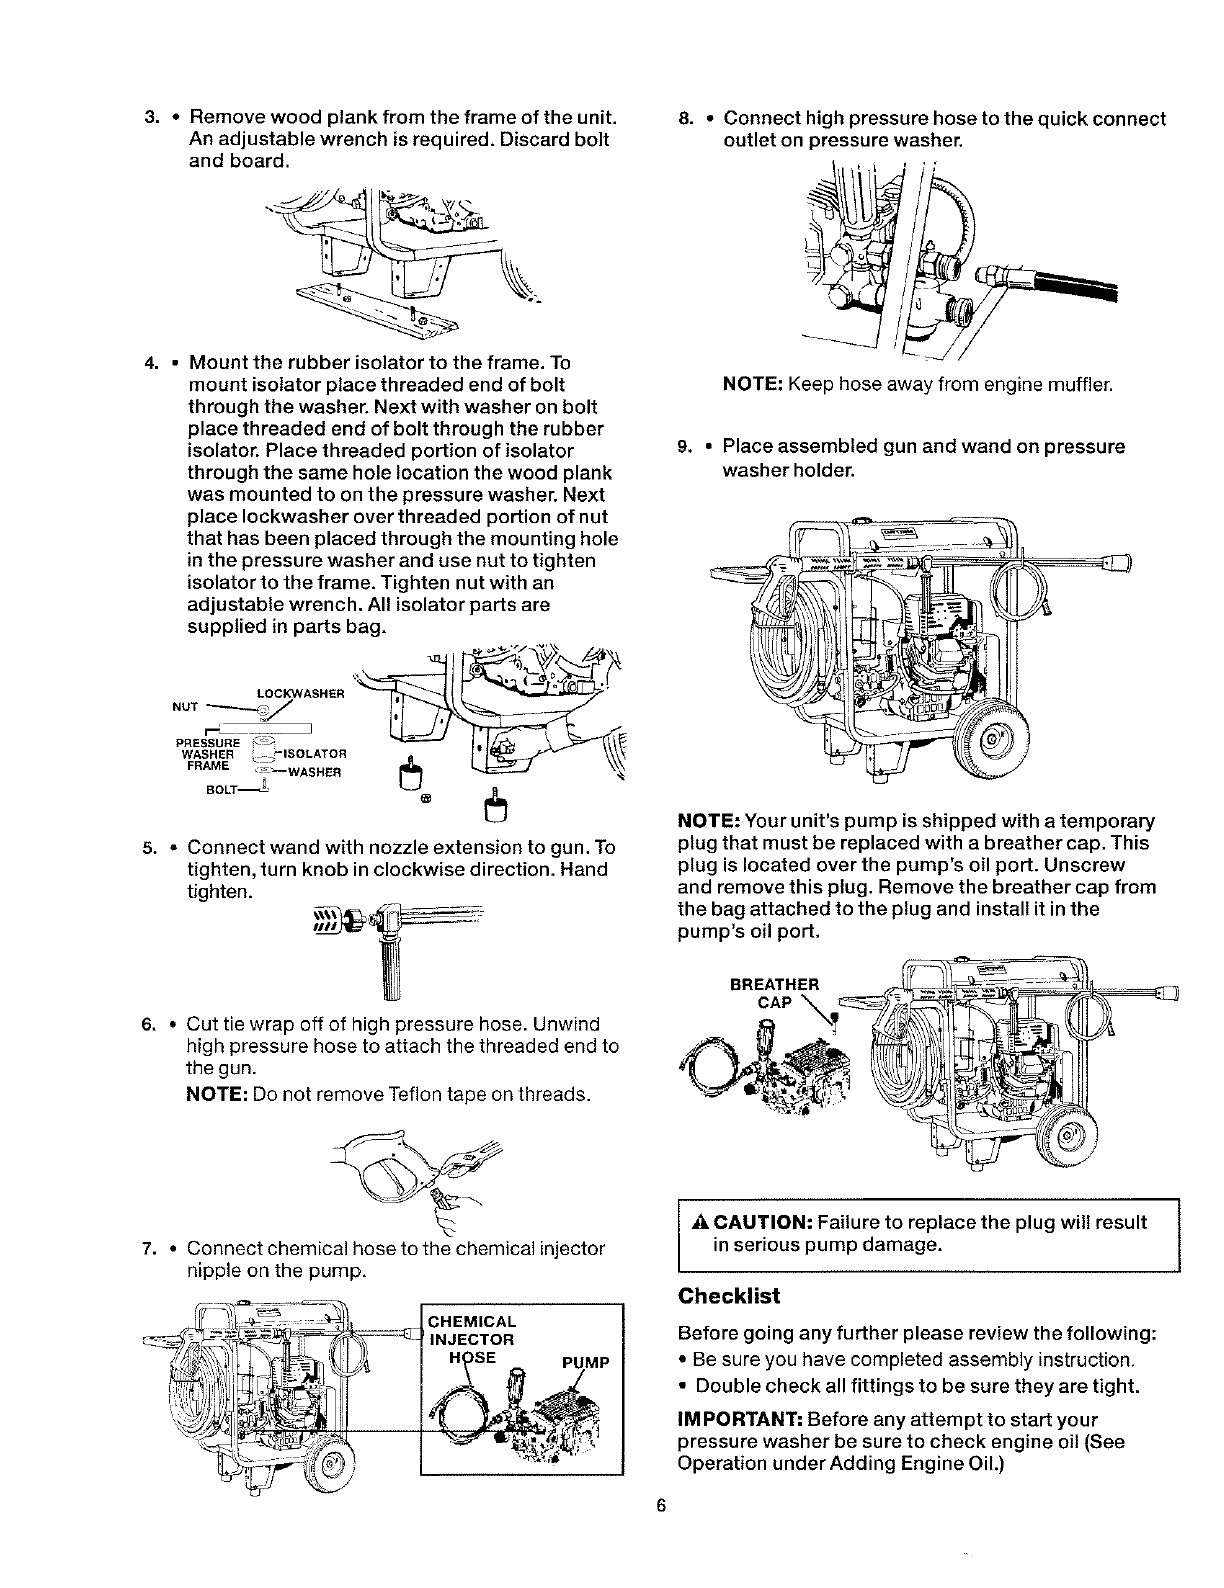
3. ° Remove wood plank from the frame of the unit.
An adjustable wrench is required. Discard bolt
and board.
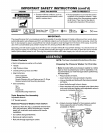
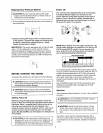
4. • Mount the rubber isolator to the frame. To
mount isolator place threaded end of bolt
through the washer. Next with washer on bolt
place threaded end of bolt through the rubber
isolator. Place threaded portion of isolator
through the same hole location the wood plank
was mounted to on the pressure washer. Next
place Iockwasher over threaded portion of nut
that has been placed through the mounting hole
in the pressure washer and use nut to tighten
isolator to the frame. Tighten nut with an
adjustable wrench. All isolator parts are
supplied in parts bag.
LOCK3NASHER ':_' "_
NUT _
WASHER _-ISOLATOR
FRAME _-" WASHER
BOLT_
5. ° Connect wand with nozzle extension to gun. To
tighten, turn knob in clockwise direction. Hand
tighten.
= •
6. ° Cut tie wrap off of high pressure hose. Unwind
high pressure hose to attach the threaded end to
thegun.
NOTE: Do not remove Teflon tape on threads.
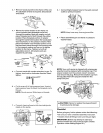
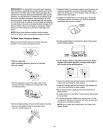
7. ° Connect chemical hose to the chemical injector
nipple on the pump.
CHEMICAL
INJECTOR
P
8. • Connect high pressure hose to the quick connect
outlet on pressure washer.
4
NOTE: Keep hose away from engine muffler.
9. • Place assembled gun and wand on pressure
washer holder.
L-
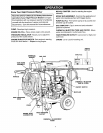
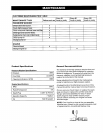
NOTE: Your unit's pump is shipped with a temporary
plug that must be replaced with a breather cap. This
plug is located over the pump's oil port. Unscrew
and remove this plug. Remove the breather cap from
the bag attached to the plug and install it in the
pump's oil port.
BREATHER
CAUTION: Failure to replace the plug will result
in serious pump damage.
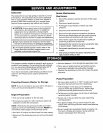
Checklist
Before going any further please review the following:
• Be sure you have completed assembly instruction.
• Double check all fittings to be sure they are tight.
IMPORTANT: Before any attempt to start your
pressure washer be sure to check engine oil (See
Operation underAdding Engine Oil.)
6