8
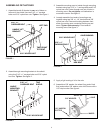
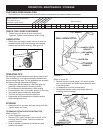
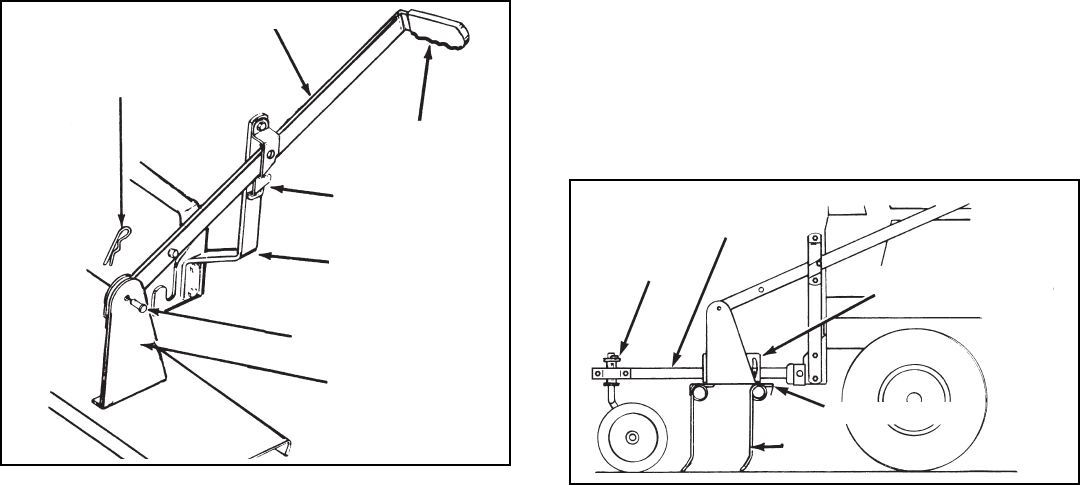
19. Install vinyl grip on lift handle as shown in gure 14.
20. Slide lift handle down between lift handle arm and
handle lock bracket. See gure 14.
21. Assemble lift handle to lift handle bracket using 3/8" x
3/4" clevis pin and 3/32" (small) hairpin cotter.
See gure 14.
FIGURE 14
22. Raise and lock dethatcher in transport position (see
operation instructions on pages 9 and 10). Move
tractor with front mounted dethatcher onto a level
surface, such as a drive or garage oor. Lower the tine
dethatcher from transport position to rest on the level
surface.
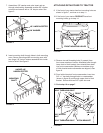
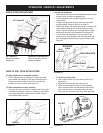
23. Adjust tine shield until spring tines come in contact
with level surface, keeping front and back tines at
the same height. Tighten carriage bolts securing
mounting arms to angle brackets. See gure 15.
24. If you need more adjustment, try moving the axle
bushing up or down between the mounting arms. Be
sure to retighten the bolts securing the bushing.
FIGURE 15
SMALL HAIRPIN COTTER
LIFT HANDLE
LIFT HANDLE
BRACKET
CLEVIS PIN
LIFT HANDLE
ARM
HANDLE LOCK
BRACKET
HANDLE GRIP
ANGLE BRACKETS
MOUNTING
ARMS
GROUND
TINES
TINE SHIELD
AXLE
BUSHING


