7
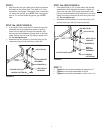
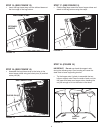
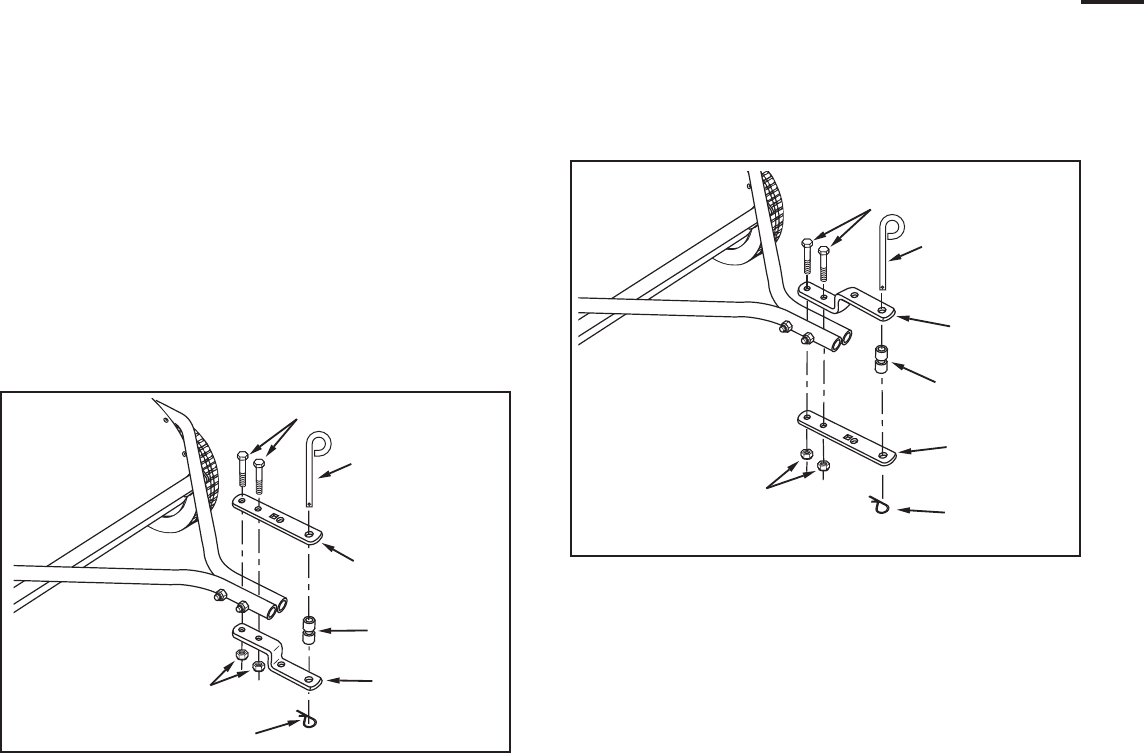
FIGURE 9
STEP 10b: (SEE FIGURE 9)
• Ifthetractorhitchis10"ormoreabovetheground,
assemblethehitchbracketsasshowningure10.
Inserttwohexbolts(B)throughthebrackets,with
therearhexboltbetweenthecrossboltsinthehitch
tubes.Securethehexbolts(B)withtwonylocknuts
(G).Do not tighten yet.
• Assemblethetwospacers(I)ontothehitchpin(N)
andsecurethepinwiththehairpincotter(M).
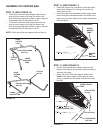
FIGURE 8
STEP 10a: (SEE FIGURE 8)
• Ifthetractorhitchislessthan10"abovetheground,
assemblethehitchbracketsasshowningure9.
Inserttwohexbolts(B)throughthebrackets,with
therearhexboltbetweenthecrossboltsinthehitch
tubes.Securethehexbolts(B)withtwonylocknuts
(G).Do not tighten yet.
• Assemblethetwospacers(I)ontothehitchpin(N)
andsecurethepinwiththehairpincotter(M).
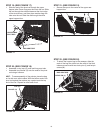
STEP 9
• Usethemarkalongthesideofthispagetomeasure
theheightofthetractorhitch.Themarkis10"from
thebottomofthepage.Ifthetractorhitchislessthan
10"abovetheground,gotoSTEP 11a. If the tractor
hitchis10"ormoreabovetheground,gotoSTEP
11b.
STEP 11
• Tightenthefourboltsassembledinsteps6and7.
• Tightenthetwoboltsassembledinstep9.
• Tightenthetwoboltsassembledinstep11aor11b.
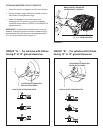
10"
NYLOCK NUTS (G)
HITCH BRACKET
ASSEMBLY
BENT HITCH
BRACKET
HEX BOLTS (B)
HITCH PIN (N)
HAIRPIN COTTER (M)
SPACERS (I)
NYLOCK NUTS (G)
BENT HITCH
BRACKET
HITCH
BRACKET
ASSEMBLY
HEX BOLTS (B)
SPACERS (I)
HAIRPIN
COTTER (M)
HITCH PIN (N)


