5
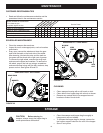
TOOLS REQUIRED FOR ASSEMBLY
(1) Hammer
(2) 7/16"Wrenches
(2) 1/2"Wrenches
ASSEMBLY
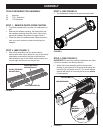
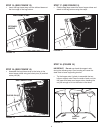
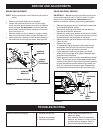
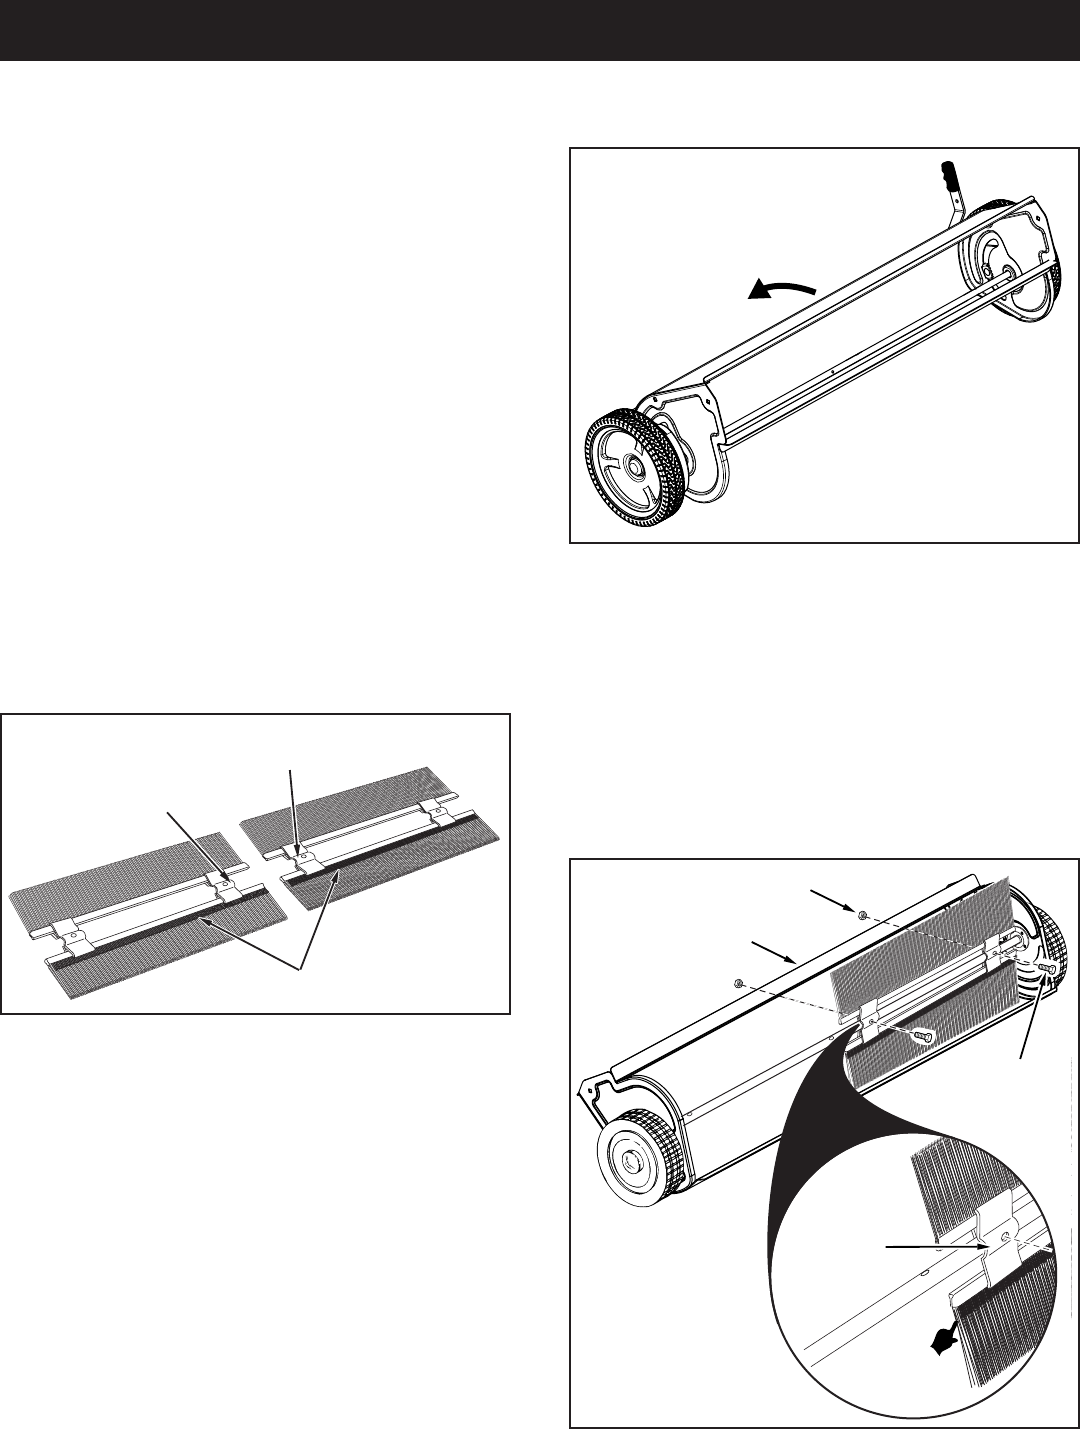
STEP 2: (SEE FIGURE 1)
• Eachbrushassemblyhasonebrushretainer
markedwitheitherredorblackink.Layoutthebrush
assembliesasshownsothatthebrushretainers
markedwithinkareinthemiddlewiththeblackone
on your right and the red one on your left.
OVERLAP BRISTLES
BRUSH RETAINER
MARKED RED
BRUSH RETAINER
MARKED BLACK
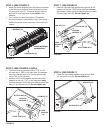
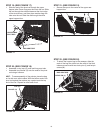
• Attachthebrushassemblywiththeblackbrush
retainertotherightendofthebrushshaftusingtwo
hexbolts(D)andnylocknuts(F).Thebrushretainer
markedwithblackinkmustbeplacedtothemiddle
of the sweeper.
STEP 1 - REMOVE PARTS FROM CARTON
• Toprotectpaintedparts,laythemoncardboardora
mat.
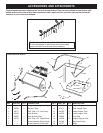
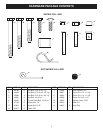
• Removethesweeperhousing,theloosepartsand
thehardwarepackagefromthecarton.Layoutthe
partsandhardwareasshownonpages3and4.
• Placethesheetofcardboardfrominsidethecarton
ontoyourworksurfacetopreventscratchingthe
sweeper.
FIGURE 1
FIGURE 3
NYLOCK NUT (F)
BRUSH
RETAINER
MARKED
BLACK
OVERLAP
BRISTLES
HEX BOLT (D)
WELDED BRACE
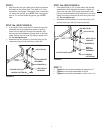
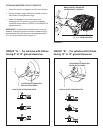
STEP 3: (SEE FIGURE 2)
• Tipthesweeperforwardtoaccessthebrushshaft.
FIGURE 2
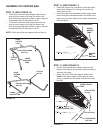
STEP 4: (SEE FIGURE 3)
IMPORTANT:Besuretheoverlapbristlesfaceoutwhen
abrushisrotatedtothebottomposition.


