8
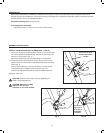
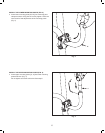
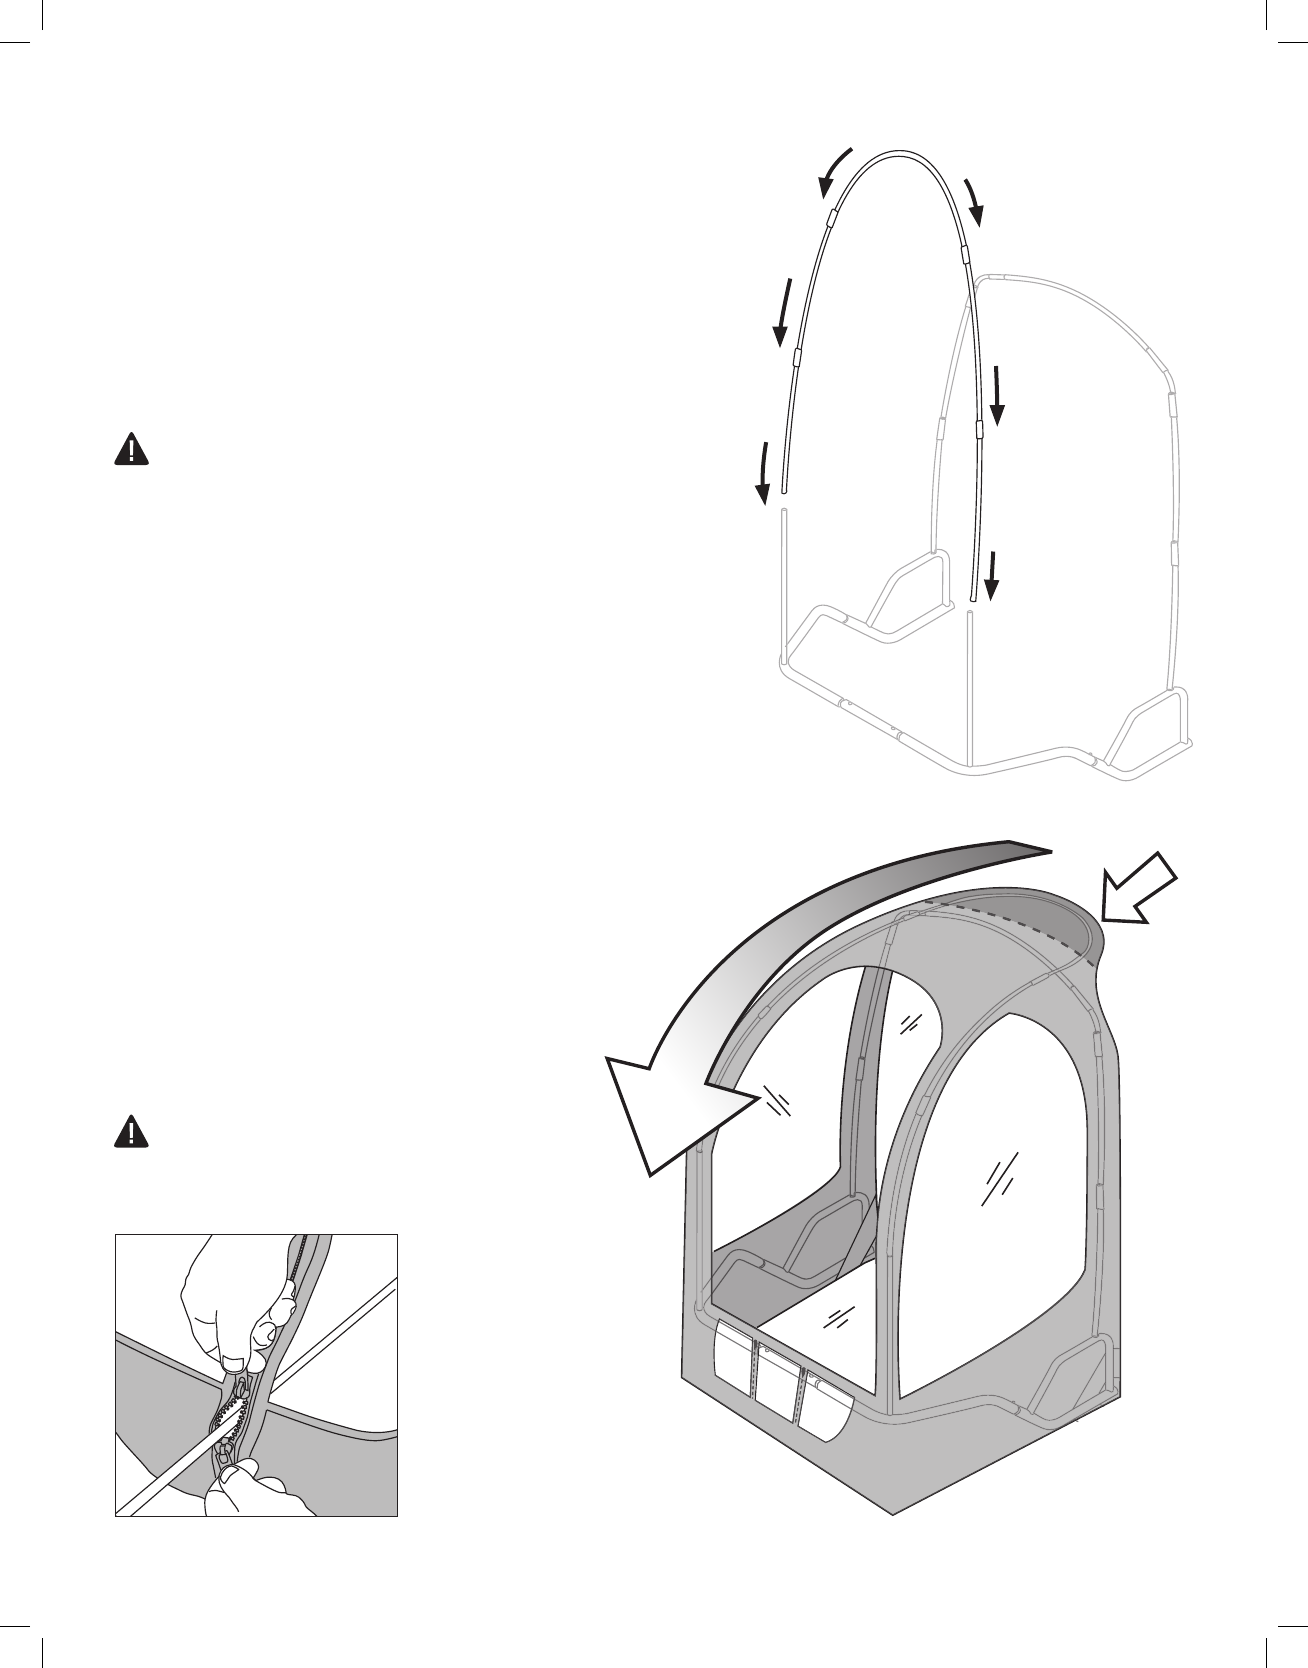
INSTALL THE FRONT HOOP POLES (FIG. 7)
10. Insert the front hoop side poles [H] first into each assembled
front pole [D1, D2] on the frame. Insert another pair of front hoop
side poles into the one installed on the front poles. Finish by
carefully inserting the front hoop top pole [I] into both the top most
front hoop side poles, forming a curve. The curved poles will be
standing quite high up in the air. This is normal. (Fig. 7)
Note: The front hoop side poles each have a metal/PVC sleeve
on one end. The front hoop top pole DOES NOT have a sleeve on
either end. During assembly, make sure the poles end with the PVC
sleeves face up.
CAUTION: Use care when assembling the front hoop side
and top poles. Poles under tension can slip out of the metal/
PVC sleeves causing serious injury
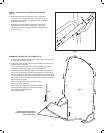
INSTALL THE FABRIC CAB SKIN TO THE ASSEMBLED FRAME
(FIG. 8)
11. Unfold the fabric cab skin [Q] and find the pocket sewn into
the top rear part of the cab skin roof. Carefully insert the top
curved section of the assembled front hoop poles into the
pocket on the cab skin. The front hoop poles and roof of
the cab skin will rest on top of the assembled frame
hoop poles. (Fig. 8)
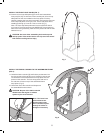
12. Unfold the rest of the cab skin and drape over
the assembled frame as shown.
CAUTION: No part of the fabric cab skin
should touch the engine or exhaust
system of your snow thrower.
Fig. 7
Fig. 8
H
H
I
H
H
Note: The lower front
panel features two
double zippers that
allow convenient pass-
through of cables or
linkages if necessary


