


5
SS
SS
S
IEIE
IEIE
IE
NANA
NANA
NA
™™
™™
™
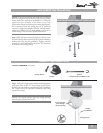
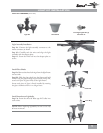
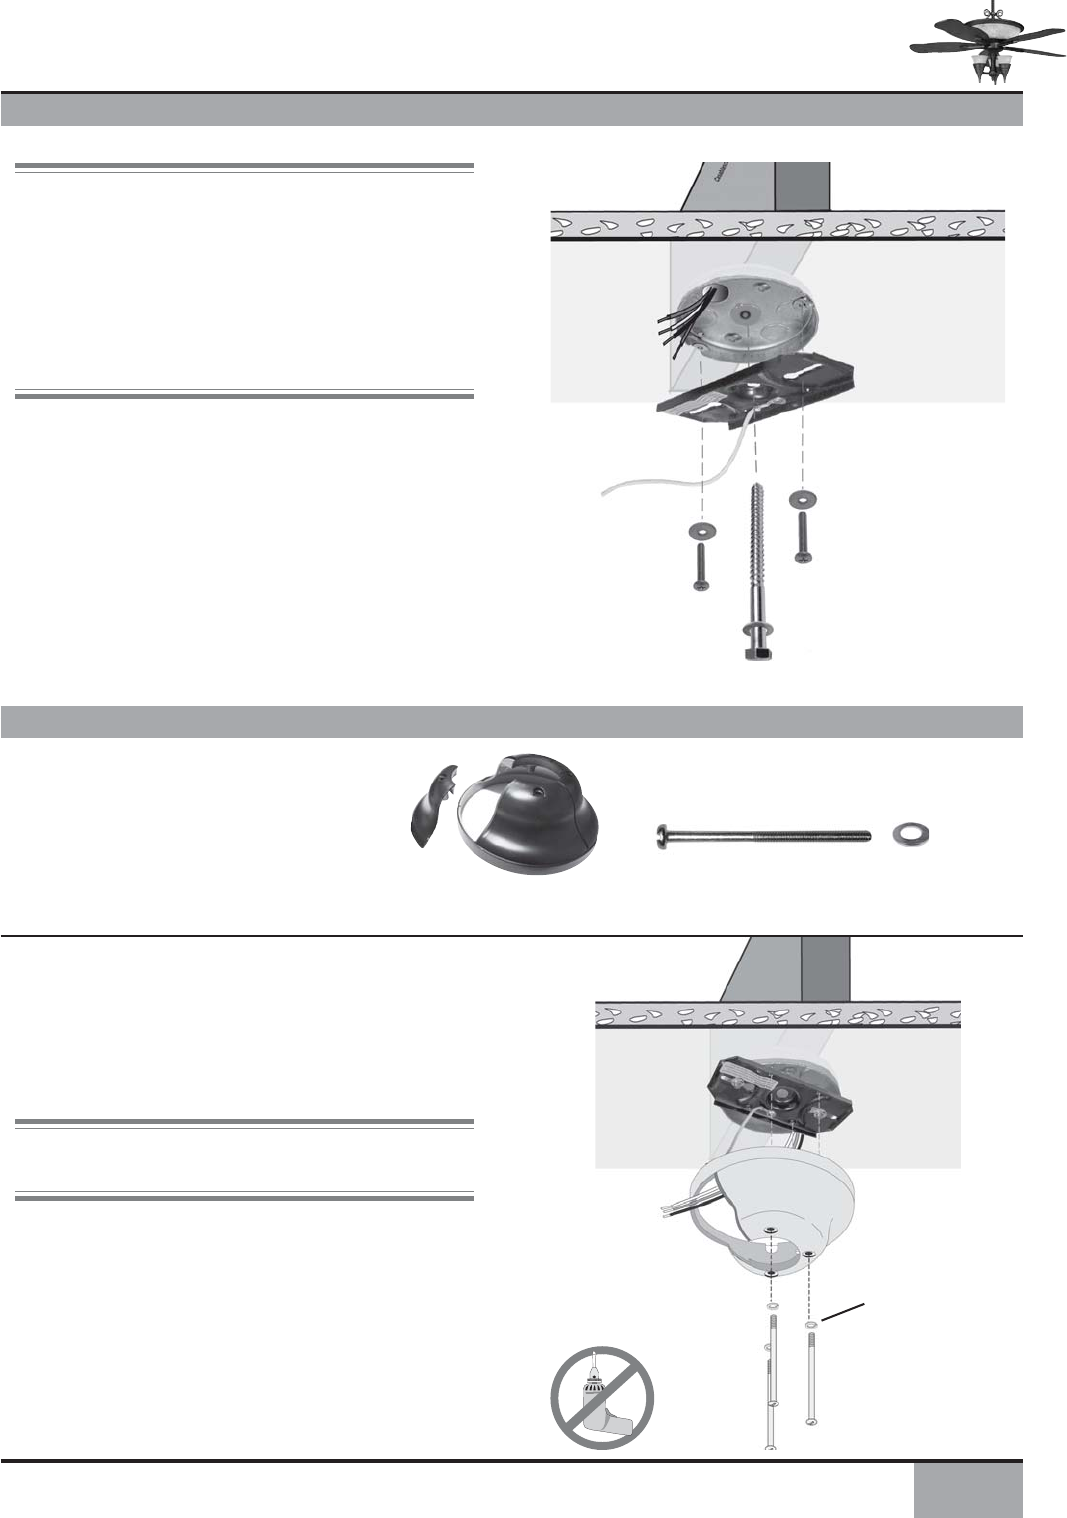
LAG SCREW INSTALLATION
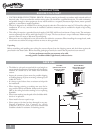
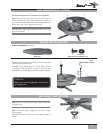
CANOPY INSTALLATION
NOTE: This step is required only under two conditions:
If the fan weighs 36 lbs. or more or if the existing ceiling
fixture outlet box needs to be modified for a ceiling fan
application (for example, if the house is not new
construction and you are replacing an existing light fixture).
We recommend that the ceiling box be of sufficient
capacity to support the weight of the fan and light fixture
under any conditions. If in doubt whether you need to
install the lag screw, consult a qualified electrician.
Step 2. With the large washer attached, pass the lag screw
(Pack A) through the center hole of the crossbar mounting
bracket and screw into the guidehole. Tighten until the
outlet box is mounted firmly to the beam. This box must
be secured to the ceiling firmly.
Step 3. Attach the canopy to the crossbar mounting bracket
with three of the 8-32 x 2
1
/
2
" long canopy screws (Screw
Pack B) and lock washers provided with your Casablanca
fan. Tighten using the provided screwdriver until snug
against the ceiling.
NOTE: On sloped ceilings, align the canopy opening
with the top or peak of the room.
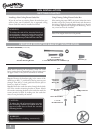
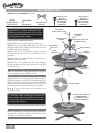
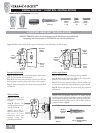
CANOPY HARDWARE (not to scale)
Canopy
Canopy Hatch
Feed outlet box
wires through
canopy opening
Canopy
Lock Washer
Canopy Screw
Pack B:
Canopy Screws and Washers (5)