Page 8 62-61138-20 (02/03)
DataCOLD T-Version
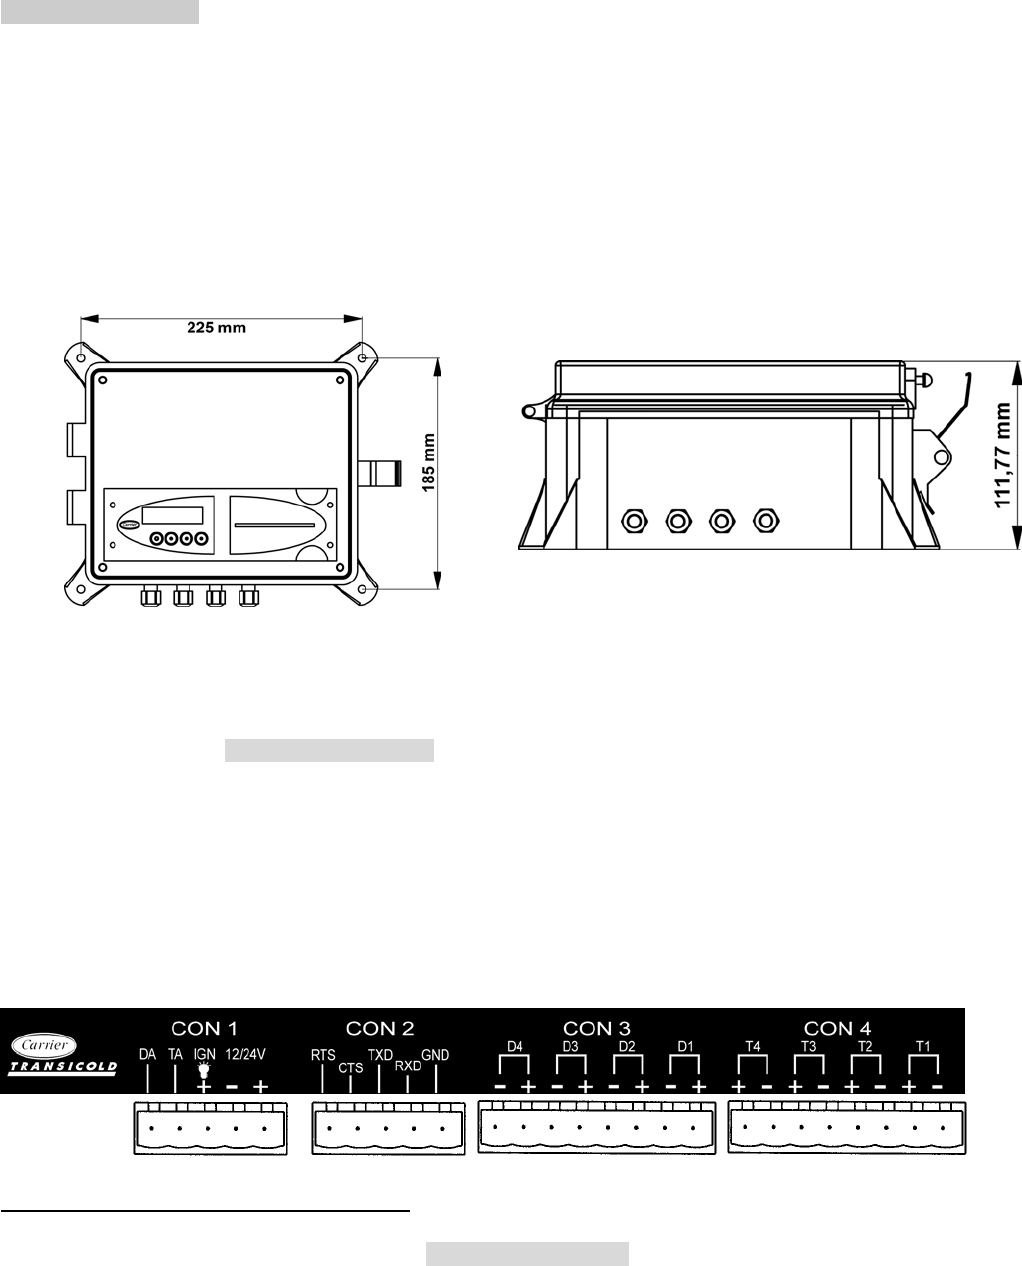
The T-Version has been designed for outside mounting directly on the body. Usually it is fixed under the
refrigeration unit on the front side of the body, where it is easily accessible. For fixing proceed as follows: First hold
the box in the desired position and mark the mounting holes. Next step is to drill the holes so that the rubber
sleeves fit in exactly and the box can be screwed on.
Cables should be installed via watertight cable glands. This avoids moisture penetration into the box. For each
cable a separate gland should be used, unless you use a gland especially designed for more cables.
1. Mark the four holes at the front of body in an easily accessible location (usually underneath the refrigeration
unit to the right or left hand side). Then drill holes with a ∅ 25/64 inch (10mm) drill.
2. Insert the four rubber mounting nuts. Mount recorder using the four screws and washers provided (note metal
washer to be located on the outside of the mounting lug fixed to the box). Ensure screws are screwed in tight.
3. Drill hole large enough at suitable location through bulkhead to pass the temperature sensors through.
4. Connect power cable directly to the battery as described in the connection and wiring diagram section.
Recorder will start recording automatically.
5. Ensure all holes drilled through body are sealed with a suitable silicone sealer.
2.3 Connectors
Since both versions are provided with identical PCB’S, the connections are the same for both versions. On the
back of the recorder you will find four connector blocks . Each of them are described in detail in the next
paragraphs.
Connector CON 1 (Power supply and outputs)
- Power supply
Connect power supply on pin 1 (+) and pin 2 (-) directly to the battery. The recorder is suitable for a voltage
between 10 - 36 Volt DC. Power consumption when printing is 25W.


