


2009 Saunas
LTR20091007, Rev. A
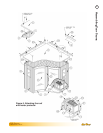
Assembling Your Sauna
35
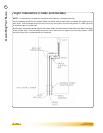
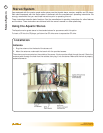
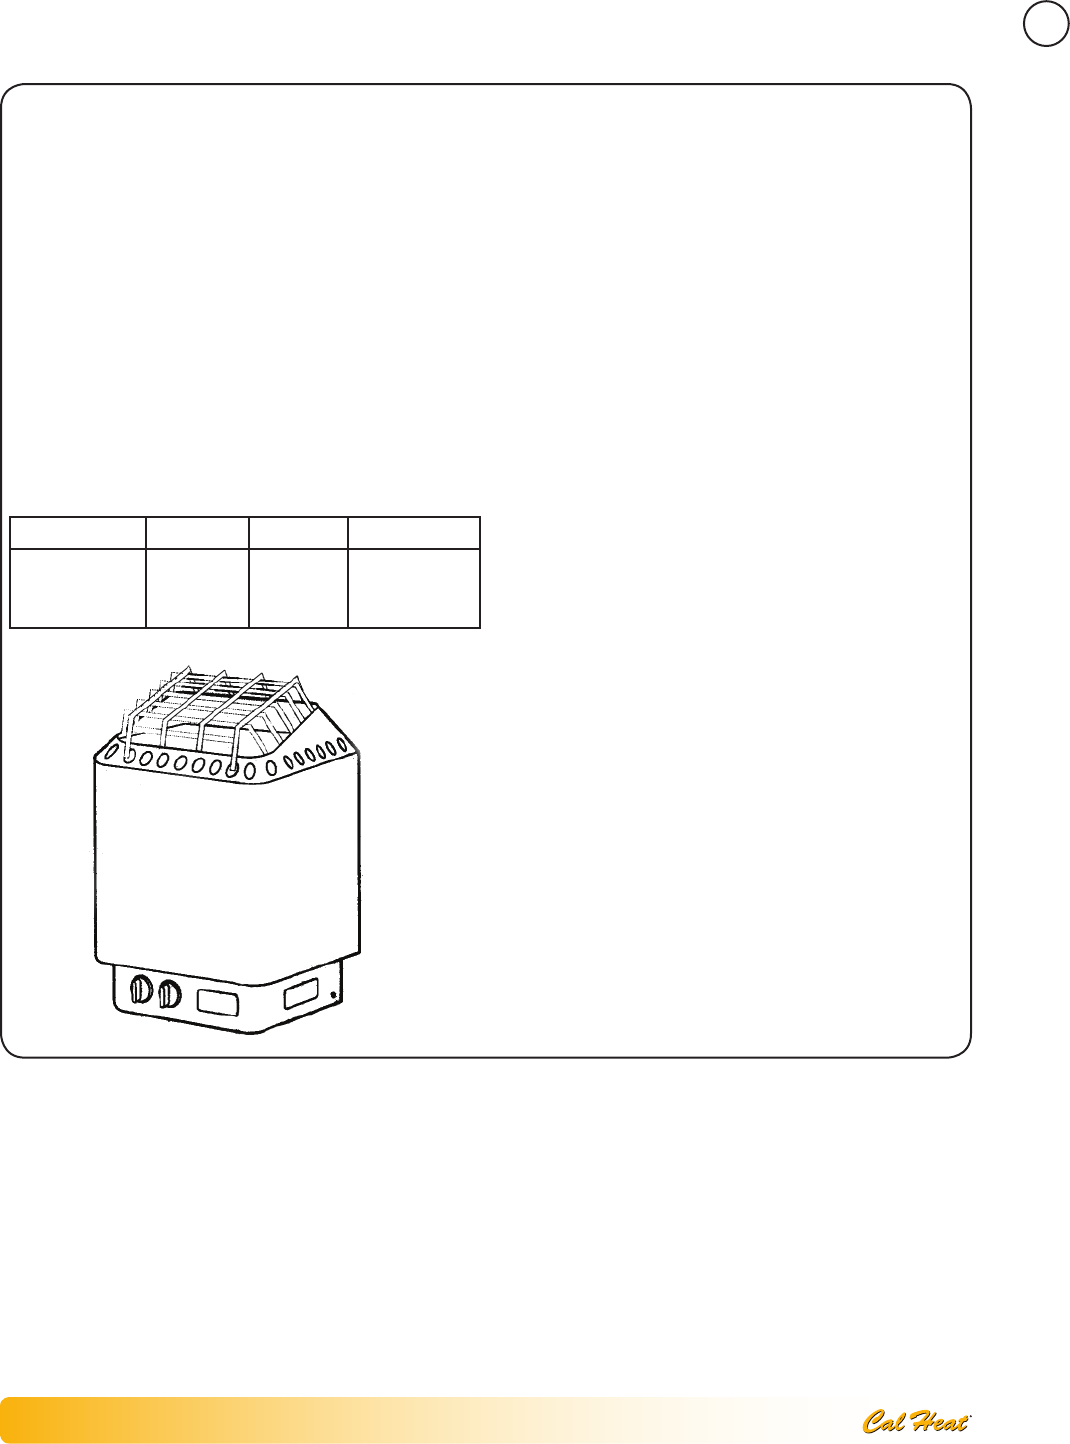
Heater Electrical Installation
The electrical heater is UL approved for permanent
installations and electrical connections. Built with
splash proof construction, the conducting parts are
protected against water. All wiring must be performed
in accordance with local codes. The heater is wall
mounted and has built-in controls.
Electrical installation must be made by a
licensed electrician in accordance with the
National Electrical Code and local regulations.
Remove the heater’s electrical box cover and connect
the feed with wires to the terminal block. Use only
copper wire, suitable for a minimum of 90 degrees C
(194 degrees F).
Dimensions Voltage Amps Wires
16” width
11” depth
23” height
220V 17.5 Two 8 AWG
wires
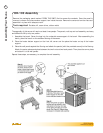
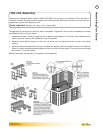
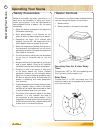
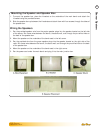
Mounting the Sauna Heater
Using the heater mounting bracket as a guide, drill
four 1/8” holes to fasten the bracket on the wall.
Attach the bracket with the 1/4” x 1 1/2” screws
supplied with the heater. The screws must be
threaded through the wall into a framing member or
backing board to hold the heater weight.
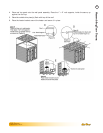
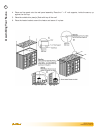
The heater is reversible. You can choose to locate the
heater timer and thermostat controls on either the
right or left side for easy operation. To reverse the
heater, simply remove the rock guard from the top of
the heater, rotate them and reinstall.
Line up the four holes at the bottom of the heater
with four lugs on the mounting bracket. Push the
heater gently towards the wall, so the lugs of the
mounting bracket pass through the four holes in the
heater. Fasten the heater to the mounting bracket
using the two #8 sheet metal screws provided with
the heater.
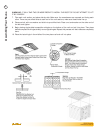
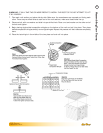
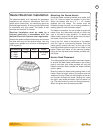
Heater Rock Placement
The rocks supplied with the heater have been chosen
to provide the best heater performance. Use of any
type of rock other than those provided will void the
heater’s warranty. Never operate the heater without
rocks in place.
Rinse the rocks with water before placing them in the
heater. Place the larger rocks at the bottom and the
smallest at the top. Place the rocks loosely so that air
can circulate through the heater. Packing the rocks
too tightly may cause the heater high limit switch to
trip. The rocks must fully cover the heating elements.
Attach the guard with the screws provided.