


2009 Spa Wraps
LTR20091032, Rev. A
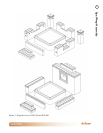
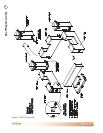
Spa Wrap Assembly
www.calspas.com
5
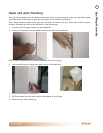
Seam and Joint Finishing
After you have unpacked all of the pieces and have put them in place around your spa, you may wish to apply
grout and stucco to the seams to give your spa wrap a more “nished” appearance.
Note: When access is needed inside your spa, the seams will need to be split. When work inside the spa is
nished, the seams will need to be renished, so plan accordingly.
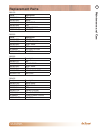
Prepare and ll the gap or seam line with speed set.1.
Using your ngertips, push and atten out the speed set into the seam line.2.
NOTE: Allow the speed set to dry before proceeding with the next step.
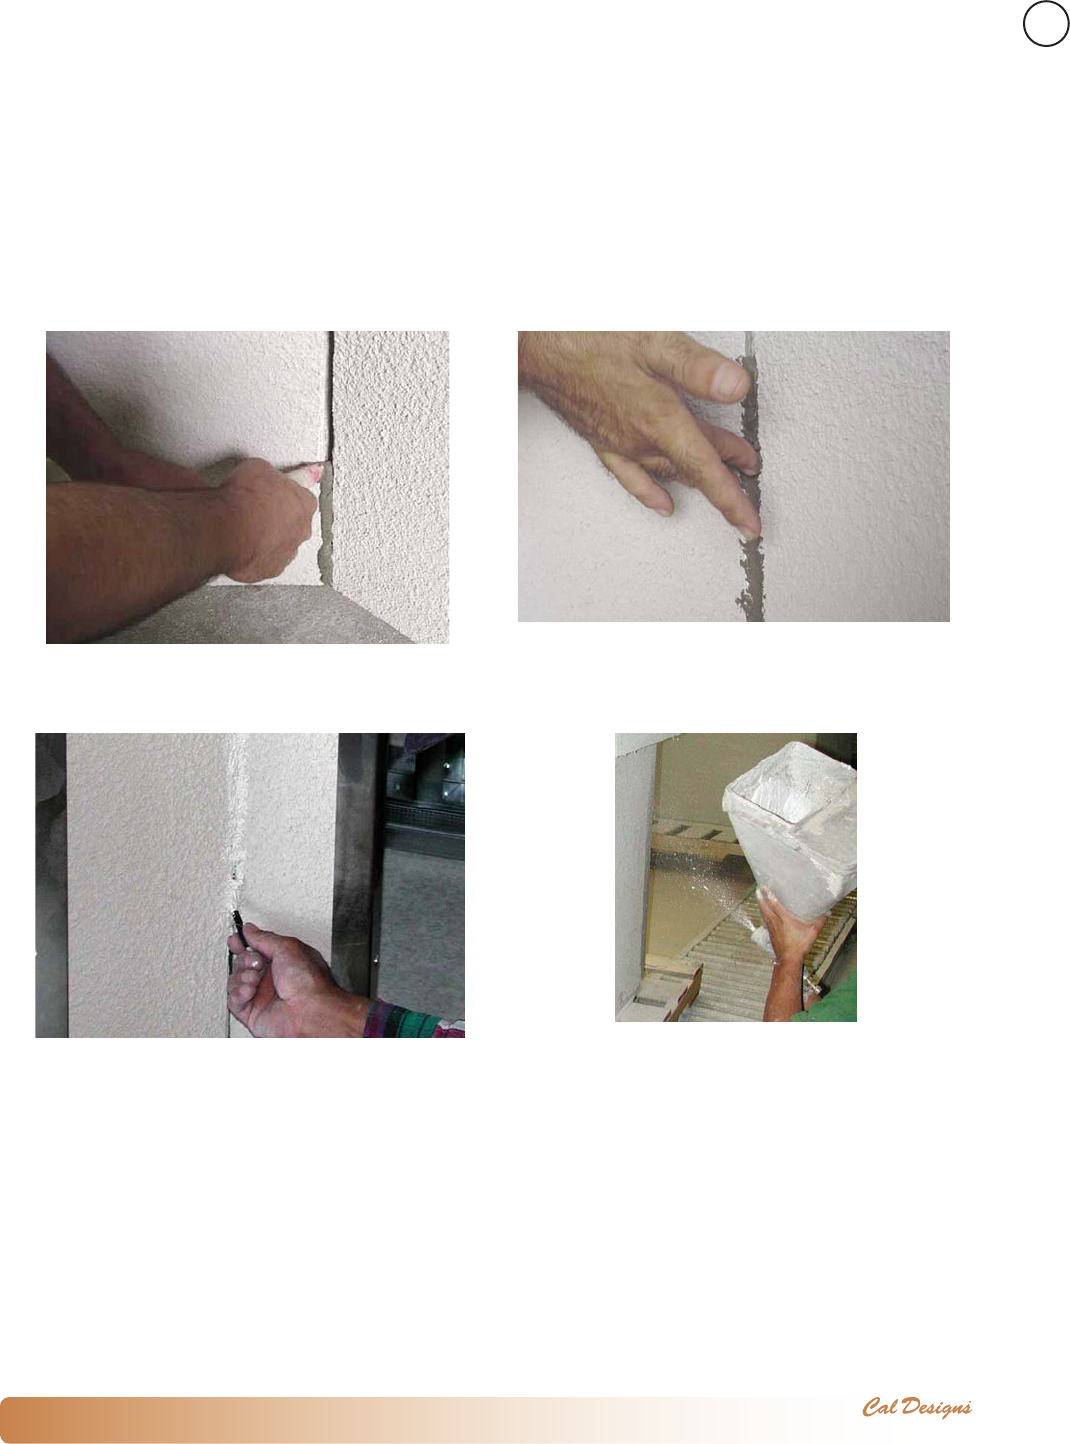
Using a small brush or hopper gun, apply stucco to the seam line.3.
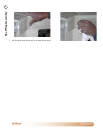
Mix grout with water in a container.4.
Fill the tile seam line with grout using a small spatula or your nger.5.
Clean the grout with a damp rag.6.