7
Model 1609A Only
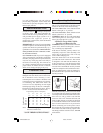
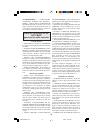
Insert the 4mm hex wrench supplied into the
hole in the top of the offset base to hold the
spindle in position, and loosen the collet in a
counterclockwise direction with one of the
combination wrenches supplied. Insert a lami-
nate trim bit into the collet as far as it will go,
and back out slightly until the cutters are 1/8"
to 1/4" away from the collet. Holding the
spindle firmly with the 4mm hex wrench,
tighten the collet in a clockwise direction with
the combination wrench to firmly grip the bit.
To remove bit, use the wrenches as described
above, and turn the collet in a counterclock-
wise direction until the bit can be pulled out.
Note that the collet is self-extracting; it is NOT
necessary to strike the collet to free the bit.
CAUTION! The minimum insertion of the bit
shank is 5/8" to ensure proper gripping and
minimize bit run-out.
Collet Care
With the router bit removed, continue to turn
the collet or collet nut counterclockwise until
it is free of the spindle and the collet can be
removed. To assure a firm grip, occasionally
blow out the collet with compressed air and
clean the taper in the spindle shaft with a tissue
or fine brush.
After cleaning, reinsert the collet and lightly
thread in place. To avoid damage, NEVER
tighten the collet or collet nut unless a bit is
inserted. Replace worn or damaged collets
immediately.
Assembling Motor to Base
All Models Except Model 1609A
Insert router motor into clamping ring 4. Ro-
tate motor to the desired position, and tighten
clamping ring screw 8 with a screwdriver. Be
sure clamping ring holds motor firmly before
turning tool "ON ", but do not overtighten the
ring.
Model 1609A Only
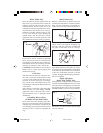
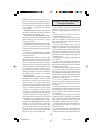
Remove collet and nut (if fitted) from motor
spindle as described earlier. Lock the armature
shaft with the combination wrench 14 fur-
nished, and screw the toothed pulley 15 in
place with a screwdriver. Remove the combi-
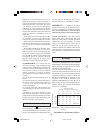
nation wrench, and with the clamping ring
loosened, slide the offset base assembly 16
into place on the motor as far as it will go.
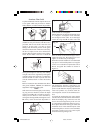
As the base is installed, it is necessary to guide
the toothed belt 17 over the pulley by using a
screwdriver inserted through the U-shaped hole
in the sub-base. Position the motor in the base
in the most comfortable position to suit the
operator, and tighten the clamping ring firmly.
Do not overtighten.
Depth Adjustment
Model 1608, 1608LX Only
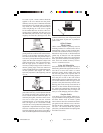
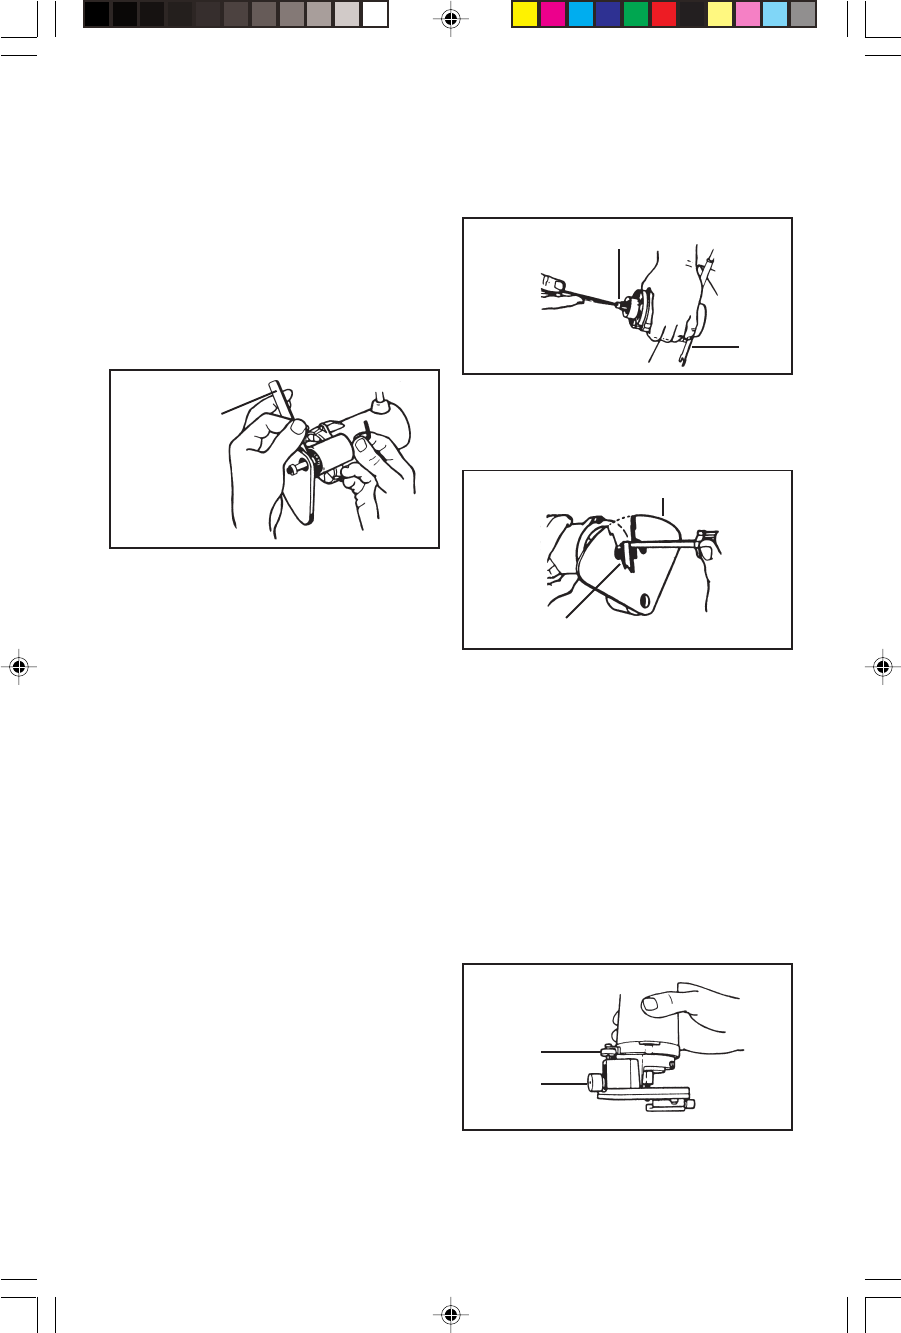
With the motor clamped in the base and the bit
installed, loosen knob 10 and raise or lower the
motor and cutter with adjusting screw 11 until
the desired amount of bit is exposed. Tighten
knob 10 and make a test cut in scrap material.
Repeat this procedure until the desired depth
of cut is achieved.
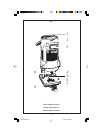
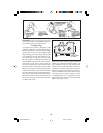
Fig. 6
16
17
Fig. 4
Wrench
Fig. 5
15
14
Fig. 7
10
11
BM 2610909755 7/01 7/26/01, 12:03 PM7


