10
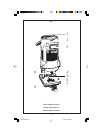
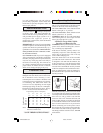
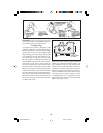
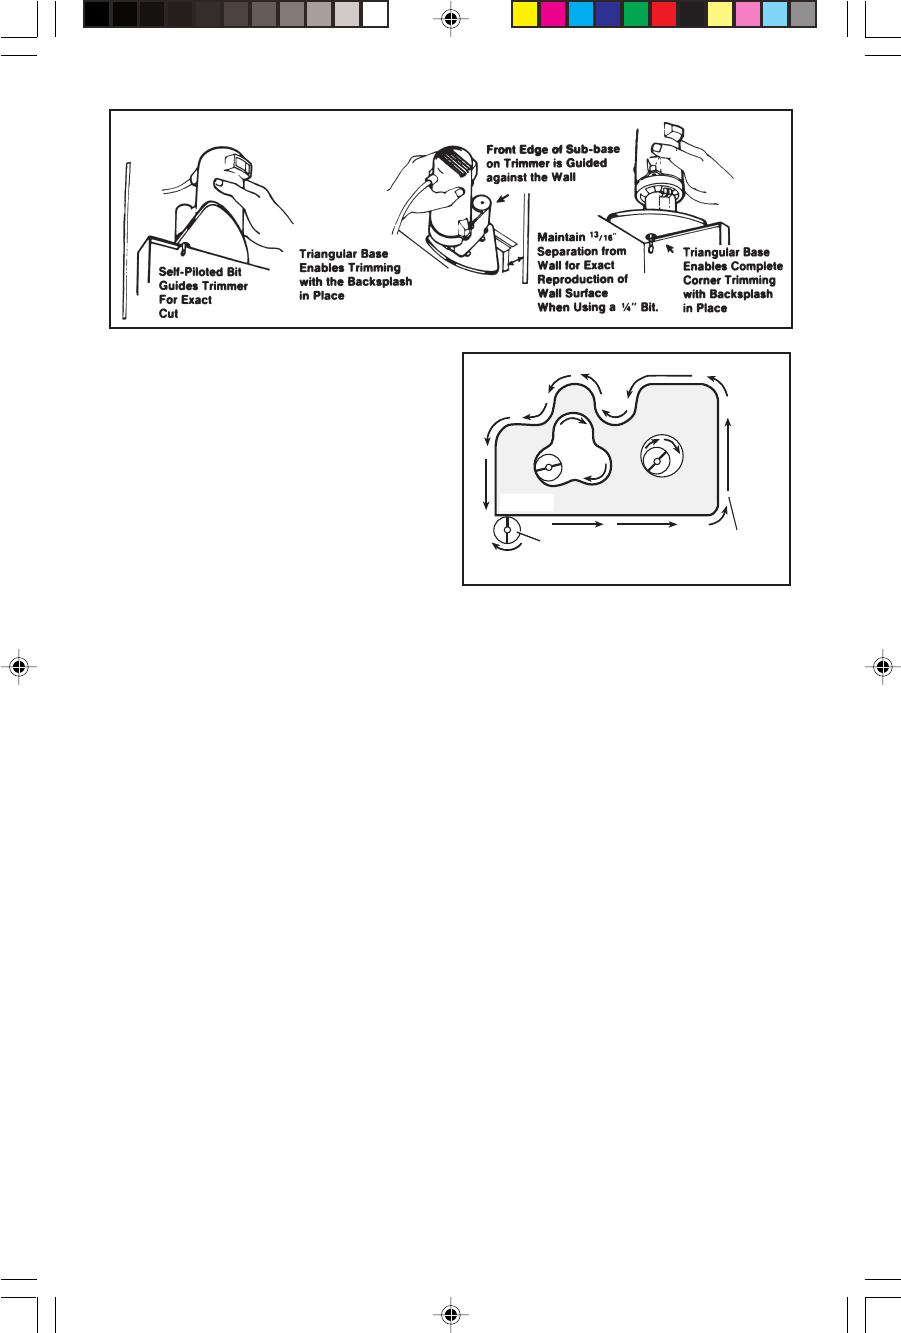
Fig. 17
WARNING! Use of any accessory not speci-
fied in this manual or the BOSCH catalog for
use with this tool may create a hazard.
Trimming Tips
Your Bosch trim router is designed to trim
laminates, phenolics, or other materials which
have been bonded to a substrate and overhang
by about 1/8" (3 mm). It is also handy for light
edge forming, grooving, and sign making with
1/4" shank bits. Be sure the workpiece is se-
cure, and clamp it in place if necessary. With
the tool properly assembled and adjusted, be
certain that the switch is in the “OFF” position,
and connect to the power source. Grasp the
motor housing firmly to resist starting torque,
and slide switch 3 to the “ON” position. With
the motor running at full speed, place the base
of the trimmer on the work surface and feed the
bit with a smooth steady motion into the mate-
rial to be cut. The correct relationship between
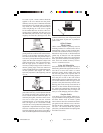
the direction of bit or cutter rotation and router
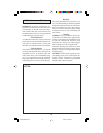
feed is shown in Fig 18; feed in this direction
or chatter will result.
Fig. 18
Support the router on the long edge of the base
whenever possible for maximum stability. At
the completion of the cut, slide switch to the
“OFF” position and allow the bit to come to a
complete stop before setting the tool down.
When using edge forming bits, it may be nec-
essary to make the cut in more than one pass
with progressively deeper settings to avoid
overloading the motor. If the bit cuts freely
and the motor does not slow down, the cutting
depth is generally correct.
WORK
CUTTER
DIRECTION
OF FEED
BM 2610909755 7/01 7/26/01, 12:03 PM10


