


ASSEMBLY
TW120 01/11 Assembly Section 3-2
© 2011 Alamo Group Inc.
ASSEMBLY
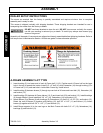
DEALER SETUP INSTRUCTIONS
The mower as received from the factory is partially assembled and requires minimum time to complete
assembly and is ready for sale.
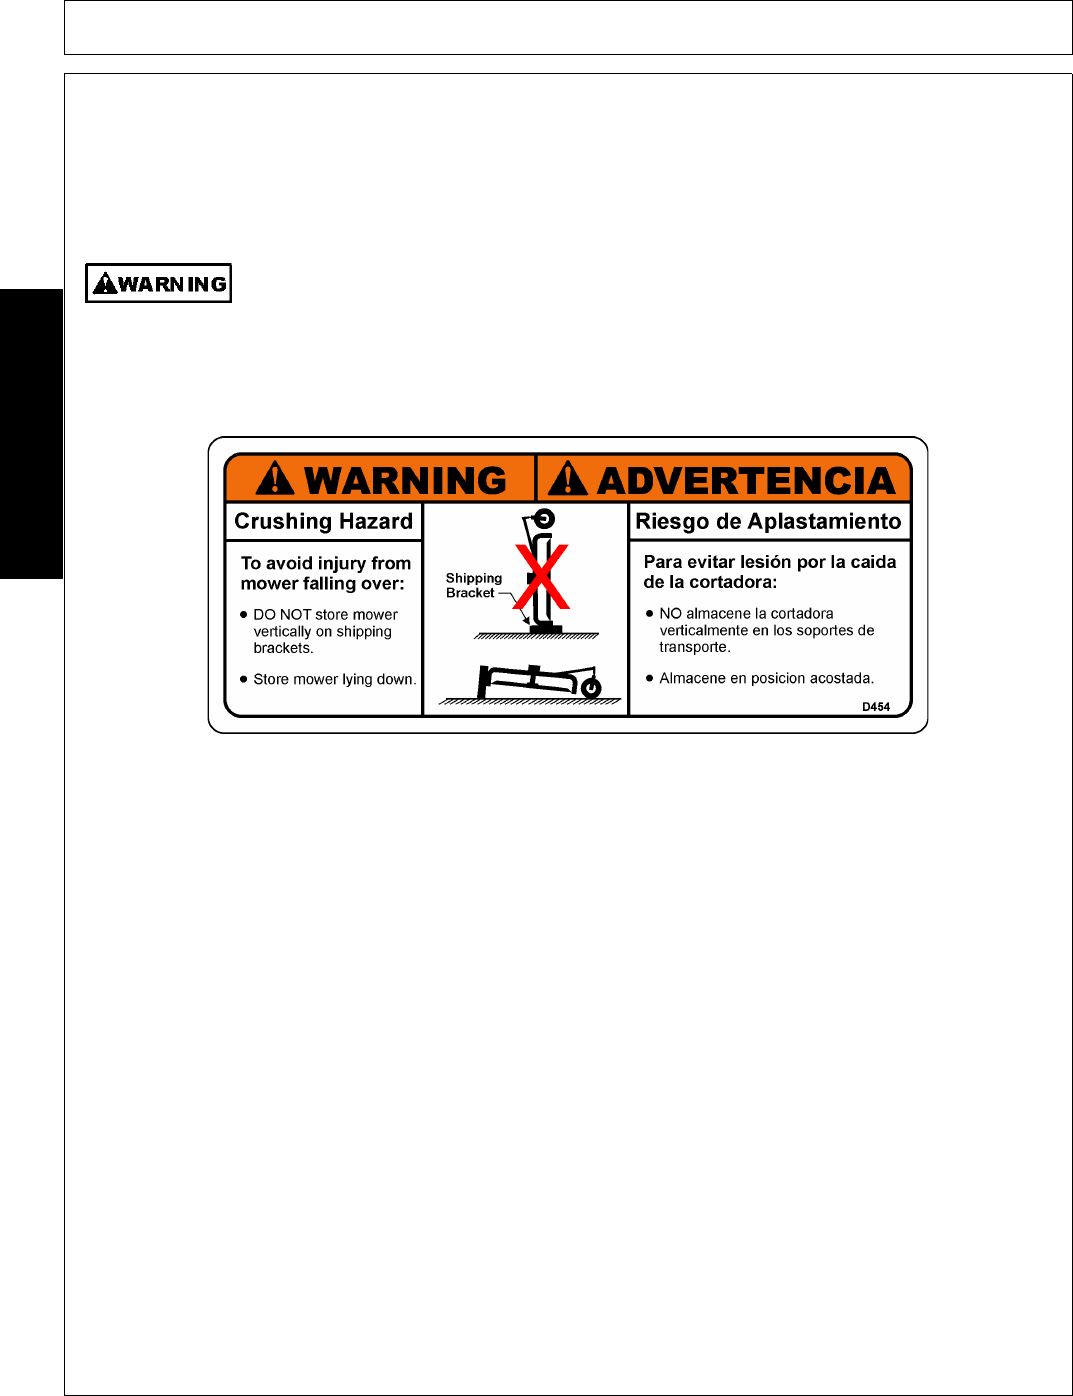
This mower is shipped vertically with shipping brackets. These shipping brackets are intended for use in
transporting the mower from the factory to dealer.
DO NOT use these brackets to store the unit. DO NOT store mower vertically, the mower
can fall over resulting in serious injury or death. To avoid injury always store mower lying
down on flat ground.
Assembly will be easier if components are aligned and loosely assembled before tightening hardware. Refer to
bolt torque chart in Maintenance Section. All bolts are grade 5 unless otherwise specified.
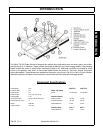
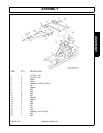
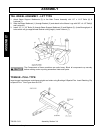
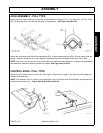
A-FRAME ASSEMBLY-LIFT TYPE
1. Insert bushing (5) into lower end of each A-Frame half (1 & 2). Position each A-Frame half so the large
hole in the top is towards the tractor. Install 3/4” x 2" bolt (10) with Flatwasher (14) through bushing (5) in
A-Frame half (1 & 2) and rear hole in inside Main Frame lug. Install locknut.
2. Install bushing (8) between braces (3) through top rear hole of A-frame and insert bolt (12), flatwasher (14)
and locknut (13).
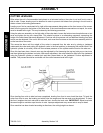
3. Install bushing (22) between A-Frame halves (1 & 2) and insert bolt (23) and locknut (13). Install bushings
(6) through Braces (4) and install bolt 3/4” x 5" (10), flatwashers (14) and locknut (13).
4. Attach Braces (3) to Braces (4) with bushings (6), flatwashers (14), bolt 3/4” x 2-1/2” (16), and locknut (13).
Retain the rear of Braces (3) together with bushing (15), bolt 3/4” x 2-1/2” (11) and locknut (13). Attach
braces (4) together with bolt 3/4” x 1-1/2” (17) and locknut (13).
5. Install Brace supports (4) to the rear lugs on the Main Frame with bolts 3/4” x 2" (10), flatwashers (14),
bushings (6) and locknuts (13).