


ASSEMBLY
TW120 01/11 Assembly Section 3-10
© 2011 Alamo Group Inc.
ASSEMBLY
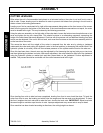
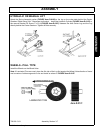
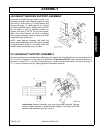
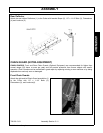
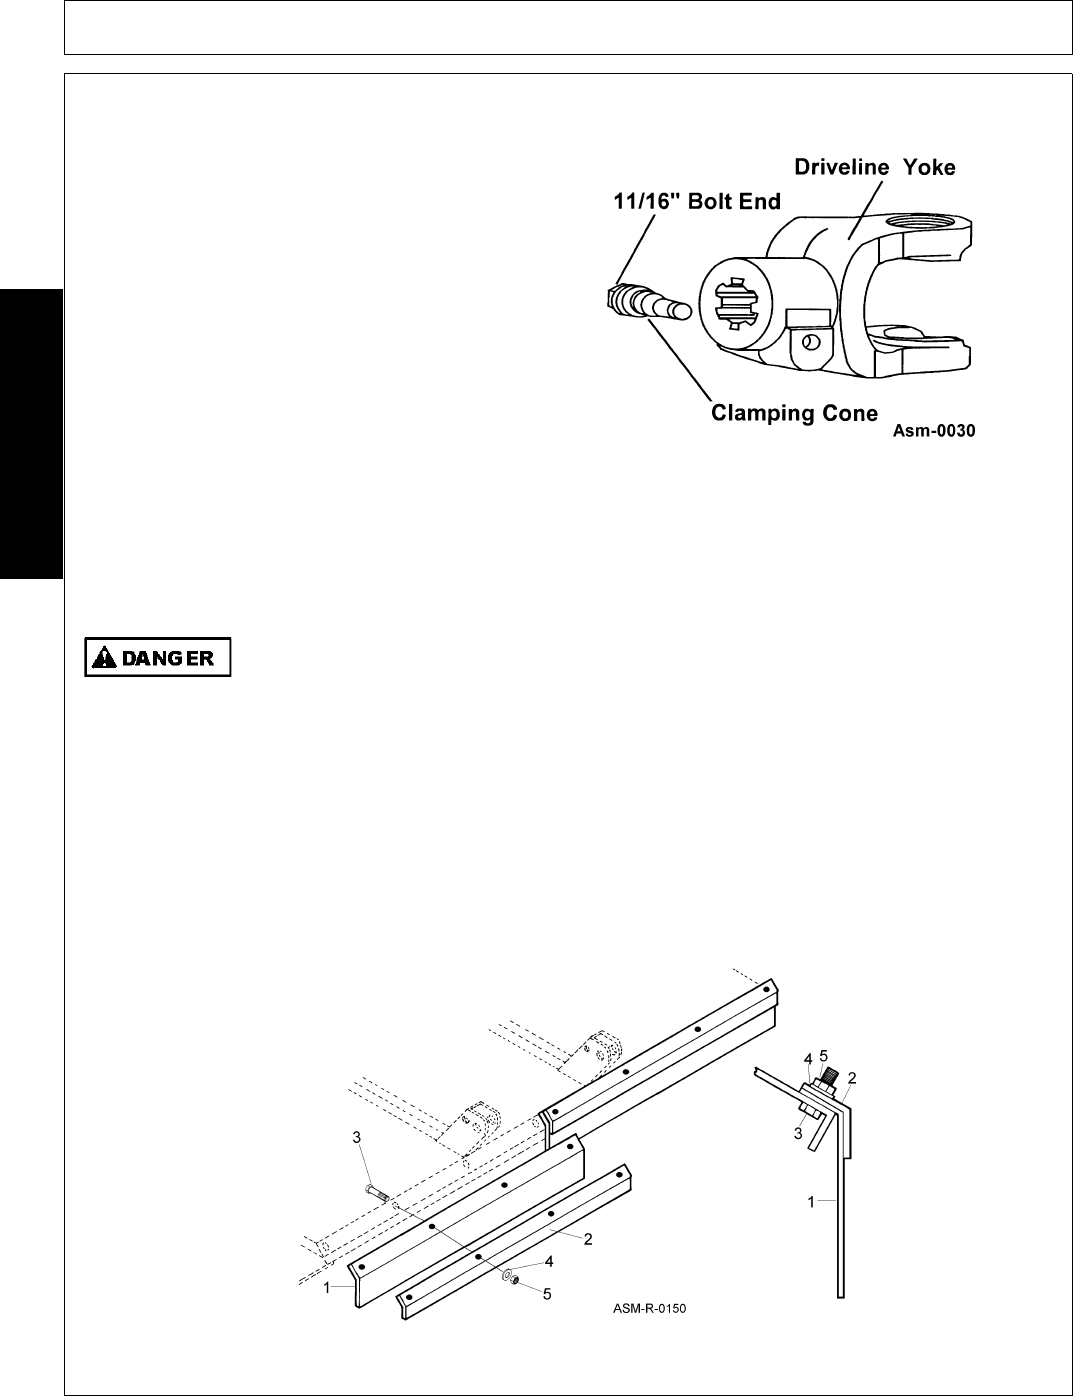
DRIVELINE CLAMP CONE YOKE OPERATING INSTRUCTIONS
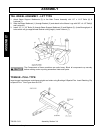
Loosen the yoke clamp cone with a 11/16” (17mm)
wrench and remove the cone from yoke. Slide yoke
onto the shaft and align hole for clamping cone with
annular groove of gearbox shaft. Reinstall cone and
tighten (75 lb.-ft. torque). Push and pull the driveline
to ensure it is securely attached to the shaft.
Regularly check the driveline yoke to ensure a tight
connection. To remove the yoke, remove the
connecting cone and pull yoke off the shaft. If the
cone cannot be easily removed by hand, drive it out
from the other side using a hammer and punch.
NOTE: The clamping cone is serviced only as a complete assembly. Do not attempt to disassemble the
clamping cone
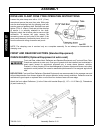
FRONT AND REAR DEFLECTORS (Standard Equipment)
CHAIN GUARDS (Optional Equipment at extra cost)
Front and Rear rubber-fabric Deflectors are Standard Equipment and Front and Rear Chain
Guards are optional at extra cost. One type of guards must be installed (and maintained in
good repair) except for agricultural purposes only in areas where persons, vehicles,
livestock, or other property will not be endangered by thrown objects and where such safety
equipment would prevent the mower's reasonable performance of its assigned agricultural
task.
DEFLECTORS: Front and Rear Deflectors (Standard Equipment) are recommended for the average user and
will provide protection from thrown objects with proper operation under normal conditions. Deflectors must be
maintained in good repair or replaced after no more than two inches of wear off lower edge.
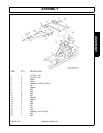
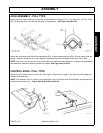
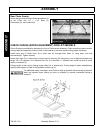
Attach the front rubber Deflectors (1) to the Cutter with bracket Straps (2), 1/2” x 1-1/4” Bolts (3), Flatwashers
(4) and Locknuts (5).