


Part No. 890207 Form No. F021795E
Page 5 of 12
OPERATION 5
Under normal circumstances, allow time for machine
to clear all wood from chipper hopper before stopping
engine. Otherwise, remaining pieces of wood will jam inside
of chipper when engine stops. See Tamper on page 7.
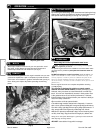
Disconnect spark plug wire.
Remove debris bag quick disconnect from debris outlet on
machine.
Wearing durable gloves, access impeller through
debris outlet on fan housing and rotate impeller counter
clock wise to dislodge and remove jam and remove debris
from hopper with tongs or equivalent.
Reconnect debris bag quick disconnect to machine.
Reconnect spark plug wire.
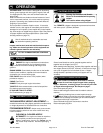
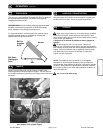
Several small branches can be grouped together and fed
together into the chipper (see fig 2.).
When feeding forked branches, squeeze forks together and feed
into chipper entrance (DO NOT overload). If forks are too large,
use a pair of loppers to trim forks down to size. A lopper
storage bracket is provided on every unit (loppers are not
included).
Wearing Eye Protection and Durable
Gloves is recommended while operating
chipper.
Use caution when using chipper
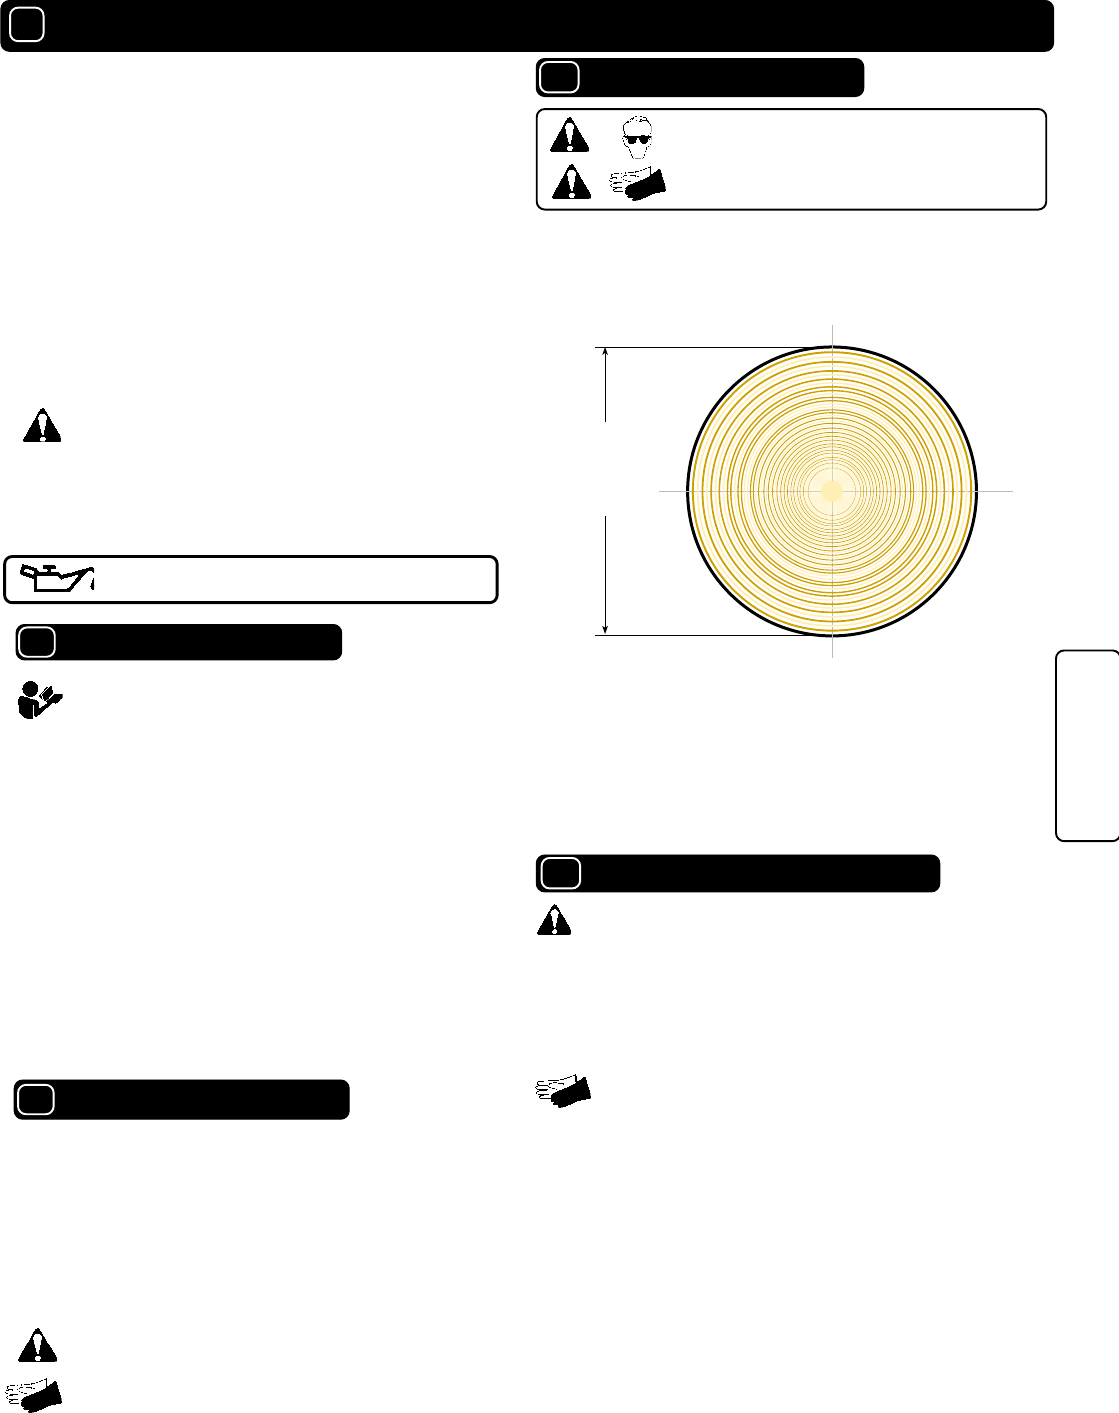
Your
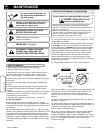
TERMITE
® chipper is designed to process tree branches
and limbs up to 2" (50.8mm) diameter.
INTENDED USE: This machine is designed for vacuuming
leaves, grass clippings and other types of organic litter and
for chipping brush, limbs, corn and sunflower stalks and
palm fronds.
Debris mixed with cans, bottles and small amounts of sand
can be vacuumed; however, it is not this machine's primary
purpose. Vacuuming cans, bottles and sand will affect the
longevity of your machine.
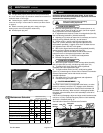
VACUUM NOZZLE HEIGHT ADJUSTMENT: is
raised and lowered by lifting slightly upward on handle and up
on height adjustment rod located at left rear of machine.
FOR MAXIMUM PICKUP: Adjust nozzle close to debris,
but without blocking airflow into the nozzle.
NOTE
: Never bury
nozzle into debris.
CLEARING A CLOGGED NOZZLE
& EXHAUST: Turn engine off and wait for impeller to
stop completely and disconnect spark plug wire.
Wearing urable gloves, remove clog. Danger, the clog
may contain sharp materials. Reconnect spark plug
wire.
ENGINE: See engine manufacturer’s instructions
for type and amount of oil and gasoline used.
Engine must be level when checking and filling oil and
gasoline.
ENGINE SPEED: Controlled by throttle lever on the handle.
Under normal conditions, operate at minimum throttle to
accomplish your current cleaning task.
FUEL VALVE: Move fuel valve to "ON" position (when
provided on engine).
CHOKE: See Primer.
PRIMER: Push primer per engine instructions.
THROTTLE: Move remote throttle control to fast position.
Pull starting rope to start engine.
IF YOUR UNIT FAILS TO START:
See Troubleshooting on page 12.
PUT OIL IN ENGINE BEFORE STARTING.
Inspect machine work area and machine before operat-
ing. Make sure that all operators of this equipment are
trained in general machine use and safety.
Do not operate if excessive vibration occurs. If excessive
vibration occurs, shut engine off immediately and check for
damaged or worn impeller, loose impeller bolt, loose impeller
key, loose engine or lodged foreign objects. Note: See parts list
for proper impeller bolt torque specifications. (See trouble
shooting section on page 12).
(50.8 mm)
Maximum
Diameter
2
"
1616
1616
16
16.116.1
16.116.1
16.1
OPERATION
CHIPPING OPERATION
16.716.7
16.716.7
16.7
CLEARING A CLOGGED CHIPPER HOPPER
16.816.8
16.816.8
16.8
VACUUMING OPERATION
16.216.2
16.216.2
16.2
STARTING
Like all mechanical tools, reasonable care must
be used when operating machine.