


MAINTENANCE
GR60/72 02/07 Maintenance Section 5-6
© 2007 Alamo Group Inc.
MAINTENANCE
Blade Removal
To remove blades for sharpening or replacement,
remove the cover plate on deck of cutter near gear
box. Remove lock nut from blade bolt. NOTE:
Inspect lock nut after removal and replace if threads
are damaged. Always replace nut when replacing
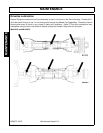
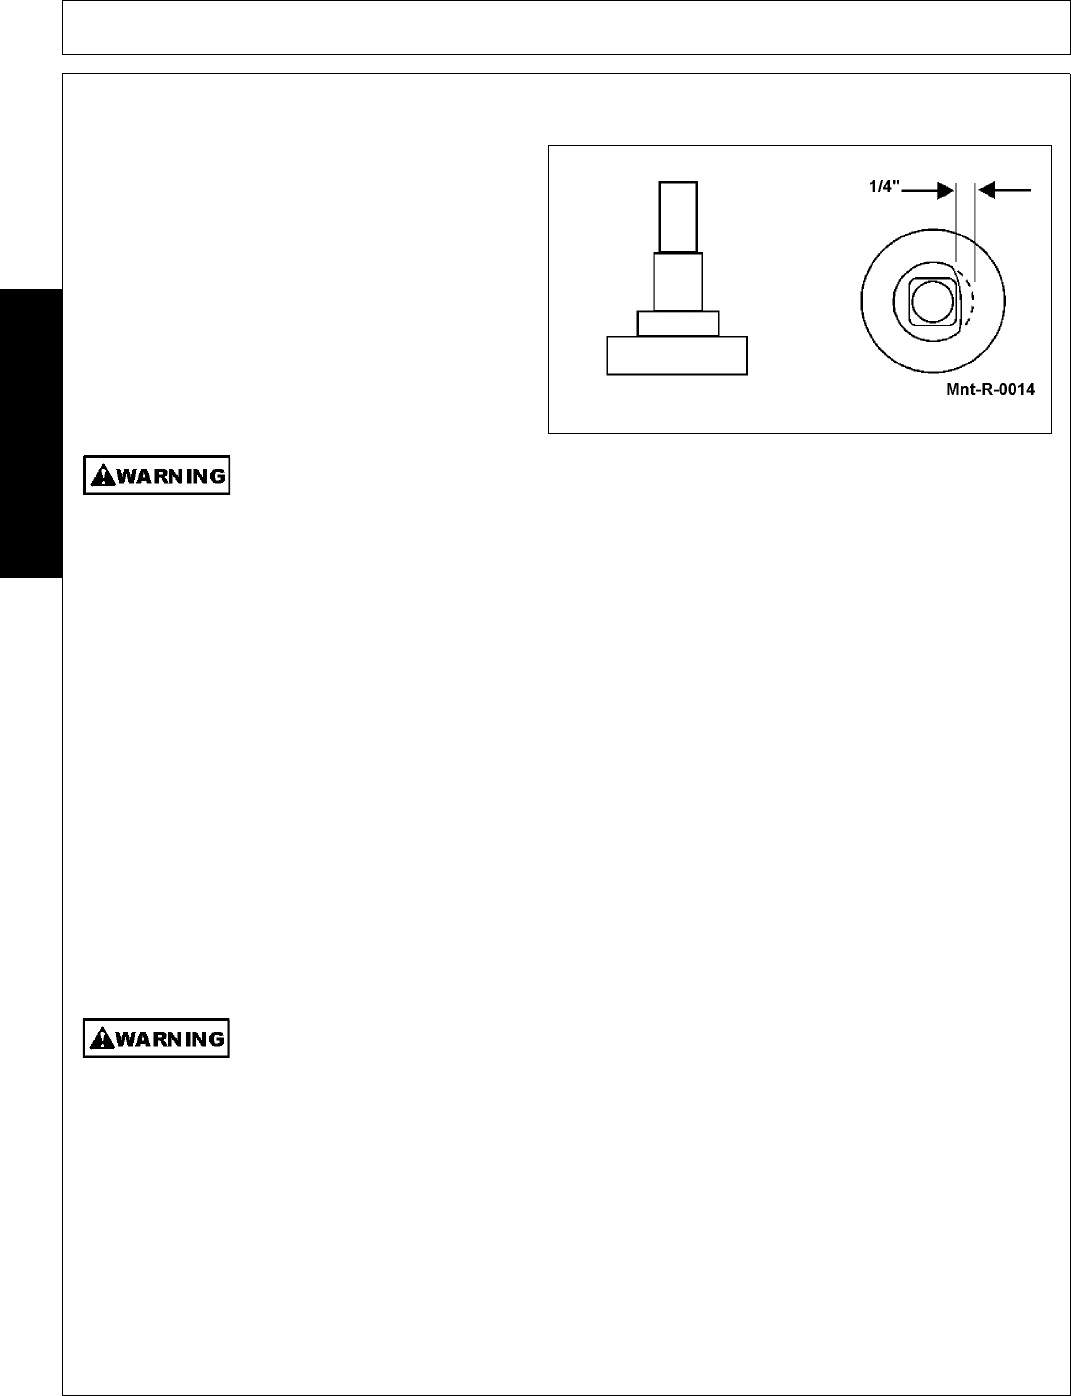
blade bolt. When installing blades be sure and
check blade bolt pivot diameter for wear. Replace
bolt if worn more than 1/4 inch at any point. Install
blade bolts with partially worn side of bolt either
toward or away from center. Tighten lock nut to 250
ft. lbs.
Avoid personal injury. Blade and/or blade carrier removal should be done only with the
tractor engine shut off, key removed, in neutral, parking brake on, and PTO disengaged and
the cutter blocked in the raised position.
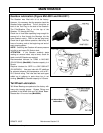
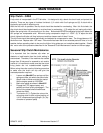
Blade Carrier Removal
Remove cotter pin and loosen slotted nut on gearbox shaft. Loosen but do not remove the nut until the blade
carrier is loosened. Use a suitable 2 jaw gear puller to pull carrier off tapered gearbox shaft. If gear puller is
not available use long bar inserted through blade bolt access hole with end against rotor bar. Strike opposite
end of bar with sledge hammer. Rotate blade carrier 180 degrees and repeat process.
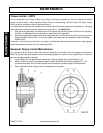
Blade Carrier Installation
Clean the hub on the blade carrier and the output shaft on the gearbox. Position carrier on the gearbox output
shaft and install hardened washer, slatted nut, and cotter pin.
Tighten nut holding blade carrier to minimum 450 ft. pounds, strike the carrier near the hub several times with a
heavy hammer to seat the hub. Use a suitable spacer over the nut to prevent damage to the nut and threads.
Retighten the nut to 450 ft. pounds. Install cotter pin and spread.
IMPORTANT: Always recheck gearbox output shaft slotted blade carrier retaining nut torque after a few hours
operation.
Avoid personal injury. Do not work under cutter without support blocks to keep frame from
falling.