


ASSEMBLY
4211-4211SS MSL 01/11 Assembly Section 3-6
© 2011 Alamo Group Inc.
ASSEMBLY
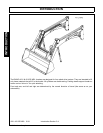
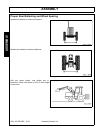
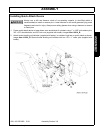
Mounting Loader
Mounting is basically reverse of dismounting.
1. Slowly drive tractor up to loader. Shut off tractor and apply brakes.
2. Connect hydraulic hoses.
3. Start engine and release brakes. Operate loader control lever to extend bucket cylinder, which will rotate
bucket down, causing the loader upright to rotate downward into mounting pocket and onto mounting shaft.
Operate loader control lever to retract lift cylinders, causing the top of loader upright to rotate rearward into
upper mounting saddle. Continue to rotate loader upright into mounting saddle until upright will no longer
rotate rearward and front tires of tractor are slightly off the ground.
4. Shut off tractor, apply brakes.
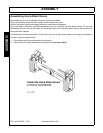
5. Install hitch pins and linch pins, into mounting.
6. Remove linch pins and clevis pins from parking stands, rotate stands into storage position and secure with
clevis pins and linch pins (Image Asm-L-0001).
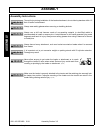
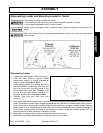
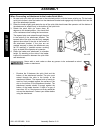
Attaching Pin on Bucket
Always wear safety glasses when removing or installing buckets.
Always use a drift and hammer made of non-sparking material (a shot-filled mallet is
recommended) to install or remove pins. A steel hammer or drift could generate flying metal
fragments and result in injury. Always wear safety glasses when using a hammer to remove
or install pins.
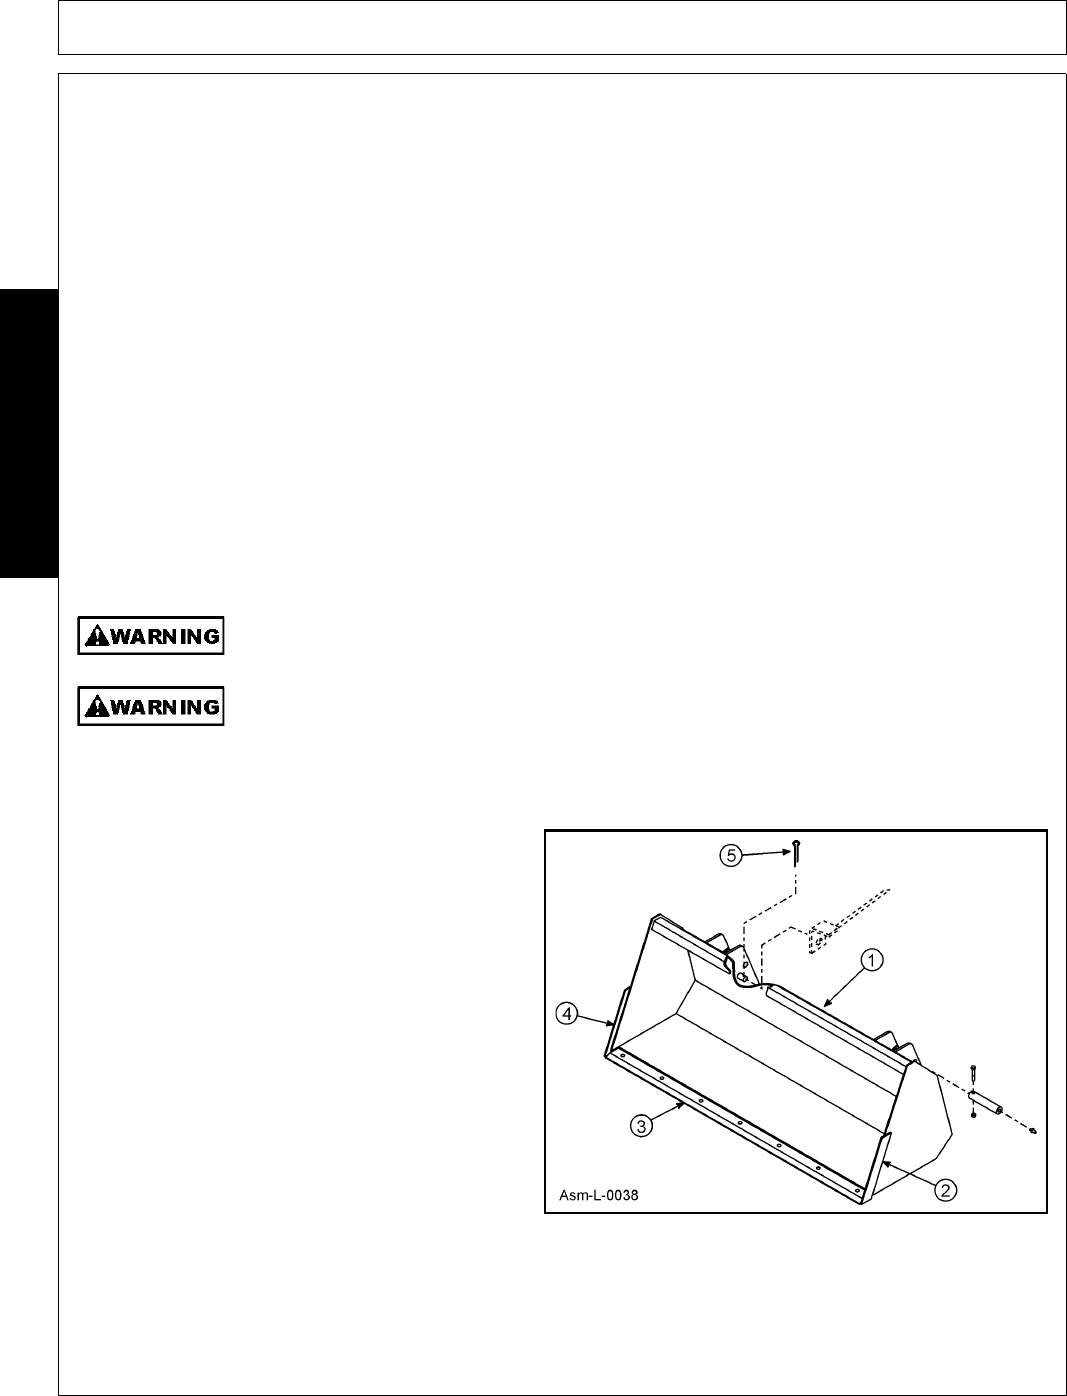
Material buckets can be installed using tools
ordinarily available.
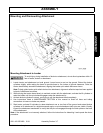
Attach bucket to lift boom frame and bucket
cylinders with four 3/8” cap screws and 3/8” lock
nuts (supplied with loader).
Attach bucket leveling rod (supplied with loader)
through slot in bucket leveling bracket attached to
tilt cylinder and inner ear on right side of bucket with
3/16“x 2” cotter pin (5).