


ASSEMBLY
4211-4211SS MSL 01/11 Assembly Section 3-5
© 2011 Alamo Group Inc.
ASSEMBLY
Dismounting Loader and Mounting Loader to Tractor
To avoid injury during installation of loader:
• Place loader bucket against barrier to restrict forward movement of loader.
• Do not permit bystanders within 15 feet of loader.
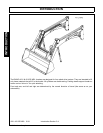
Loader must be equipped with a bucket or other optional attachment to dismount from
tractor.
When dismounting loader, maintain clearance between loader side frames and tractor hood
and front axle.
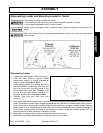
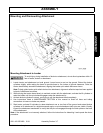
Dismounting Loader
1. Locate tractor and loader on firm level ground.
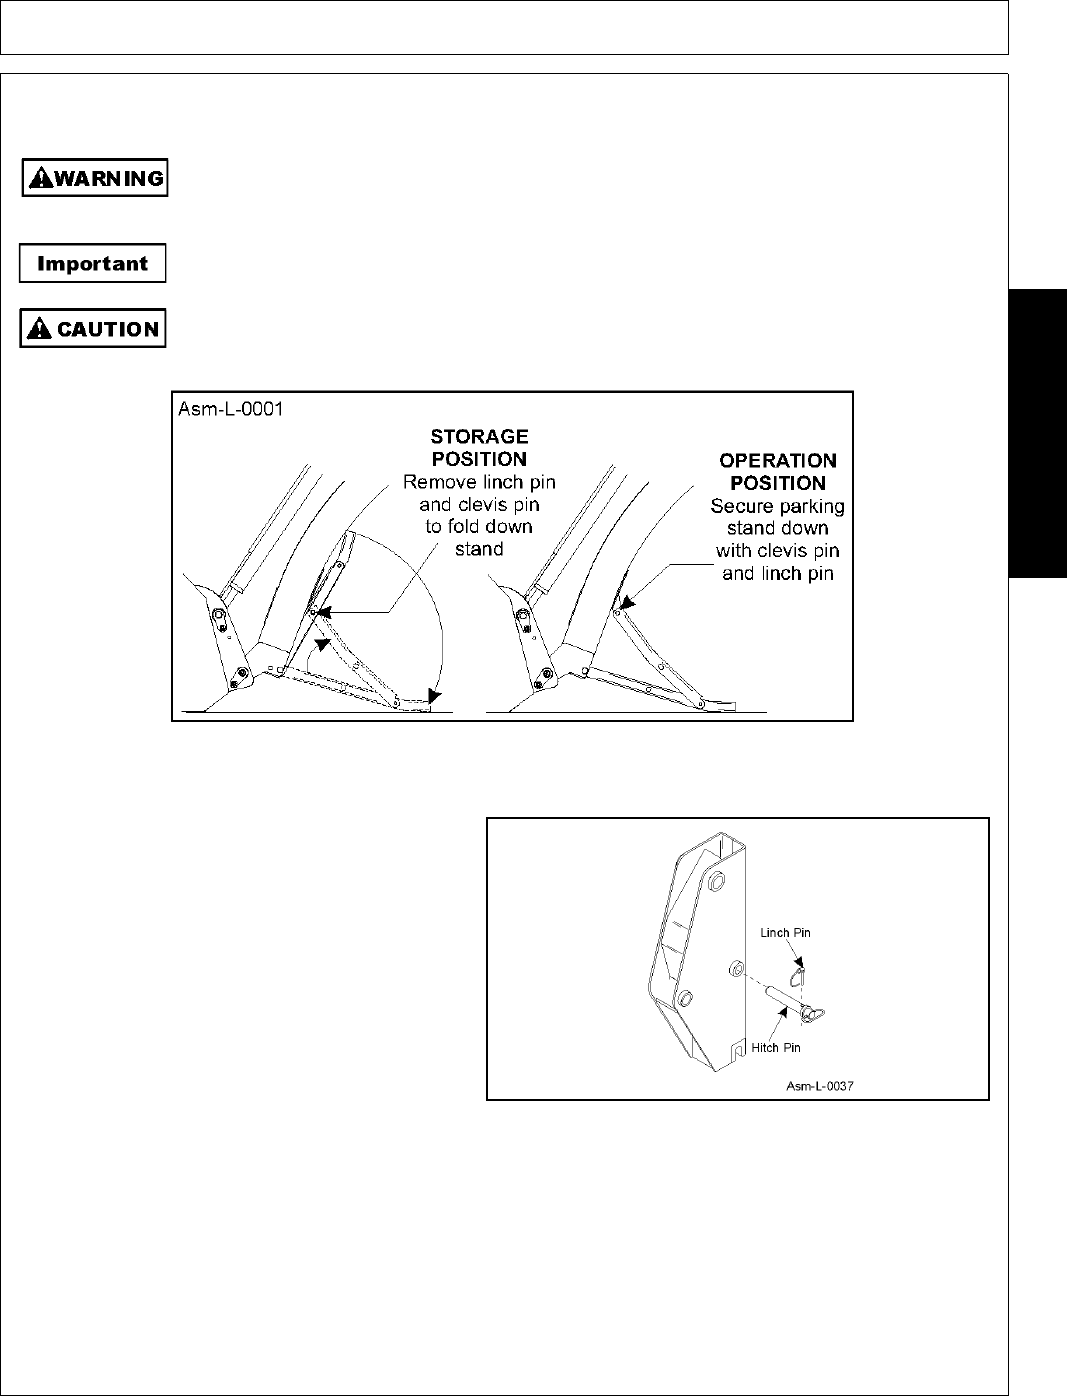
2. Level and lower bucket to ground. Rotate
bucket down slightly to remove pressure on
hitch pins (See Image Asm-L-0037).
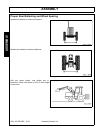
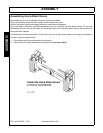
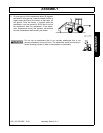
3. Rotate parking stands from storage position to
operation position by removing linch pins and
clevis pin. Inner tube of parking stand is now
free to slide within outer tube. Reinstall clevis
pin and linch pin when parking stands are in
operation position. See Image Asm-L-0001.
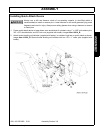
4. Remove lynch pins and hitch pins from
mounting.
5. Start tractor engine and release brakes. Retract lift cylinders, allowing parking stands to support weight of
loader. Drive tractor forward slightly so parking stands are firmly positioned. Operate loader control lever to
extend lift cylinders, allowing top of loader upright to rotate forward out of upper mounting saddle. Operate
loader control lever to retract bucket cylinder, which will curl bucket backward causing the loader upright to
lift off of the mounting shaft. Continue to curl bucket until loader upright has rotated upward from the
mounting position to clear front tires or fenders on tractor.
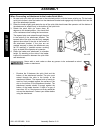
6. Stop engine and apply brakes. Disconnect hydraulic hoses from tractor.
7. Start tractor engine and release brakes. Slowly back tractor out of loader.