


GB4
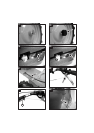
11
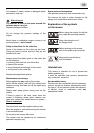
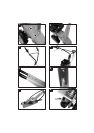
Quickly pull out the starter cable and then
allow it to slowly rewind.
As soon as the engine is running, set the throttle
lever between the "start" and "stop" positions
according to the desired engine speed.
To start mowing, move the lever to the <START>
position - (full throttle).
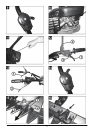
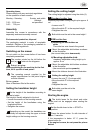
Switching on the cutter bar
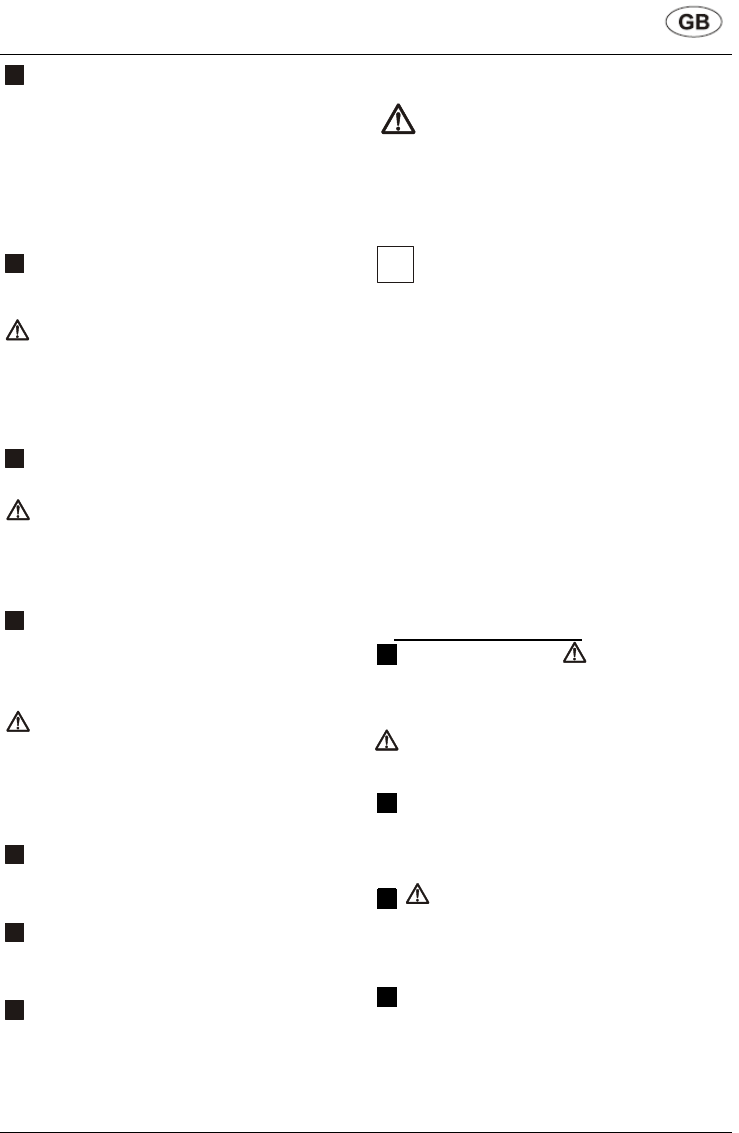
12
Unlock the safety catch .
Fully depress the clutch lever
and hold it tight.
The cutters should begin to move only after
the lever has travelled half the distance. Readjust
the Bowden cable, if necessary –
(see under: Adjusting the Bowden cables).
Engaging the wheel drive
12
Squeeze the clutch lever to the handlebar
and hold tight.
The wheel drive should engage only after
the lever has travelled half the distance. Readjust
the Bowden cables, if necessary (see under:
Adjusting the Bowden cables).
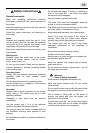
13
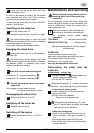
Model with forward and reverse gears
Clutch lever
= forward wheel drive
Clutch lever
= reverse wheel drive
Do not operate both clutch levers at the
same time!
Only engage: forward wheel drive or
or reverse wheel drive at a time.
Disengaging the wheel drive
13
Release clutch lever or .
Switching off the cutter bar
12
Release clutch lever .
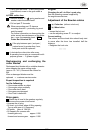
Switching off the engine
14
Move the throttle lever to the << STOP >>
position.
Maintenance and servicing
Before carrying out any maintenance or
cleaning work, pull off the spark plug
connector!
Do not spray the mower with water. Water that
enters the ignition system or the carburettor may
lead to malfunctions. Clean the mower with a
cloth, hand brush, etc.
When the mower is tilted sideways and
depending on the engine manufacturer
the following part(s) must point
upwards!!!:
TECUMSEH: ⇐ the carburettor/air filter
BRIGGS & STRATTON: ⇐ the spark plug
See the operating manual from the engine
manufacturer!
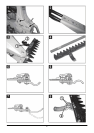
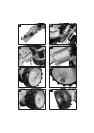
Cutter bar
Clean the cutter bar after every use,
particularly the guidance and sliding surfaces.
This means dismounting the cutter.
Afterwards, oil all moving parts.
Use only biodegradable lubricants!
Dismounting the cutter from the
cutter bar
a)
Standard - cutter bar
15 • Remove screws – spring washer and
washer under the screw head!
• Pull out part
forwards.
When remounting part
– observe mounting
direction – protruding lug must point forwards!
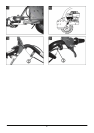
• Loosening the cutter guides
16 • Loosen hexagonal nut and unscrew the
grub screw a little.
• Pull the cutter out sideways.
Remount in the reverse order.
15 If the lateral play between part and
part (natural wear) is greater than 1mm,
both parts must be replaced!
Setting the cutting play
16 • Screw in the grub screw by hand until you
feel a resistance – then give it another ½
turn.
• Secure the grub screws with lock nuts.
• After setting, the cutters must still be freely
movable by hand.
i