Chapter 6: Replacing Assemblies
To remove and replace an acquisition hybrid
6–32
To remove and replace an acquisition hybrid
Use the following procedure to remove and replace an acquisition hybrid. When necessary, refer
to other removal procedures.
CAUTION ELECTROSTATIC DISCHARGE!
Use grounded wrist straps and mats when servicing the acquisition board. Electrostatic discharge
can damage electronic components.
You do not have to remove the acquisition board before replacing an acquisition hybrid.
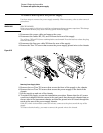
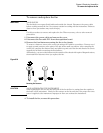
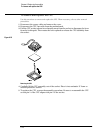
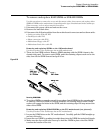
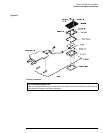
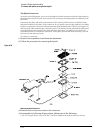
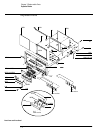
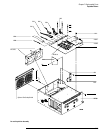
To understand the sequence of parts, use the accompanying illustration.
To remove the acquisition hybrid
1
Disconnect the power cable and remove the cover.
2 Use a T-6 Torx driver to remove two screws that secure the heatsink spring, then
remove the heatsink.
3 Disconnect the semi-rigid cables from the A/D-FISO hybrids, then disconnect from the
attenuator ends.
4 First, use a T-6 Torx driver to remove the four screws that secure the top plate.
5 Use a 3/16 hex driver to remove two standoffs that secure the top plate.
6 Remove the top plate.
7 Grasp the hybrid across the diagonal corners (or sides) using your thumb and index
finger. Then lift the hybrid off of the connector assembly.


