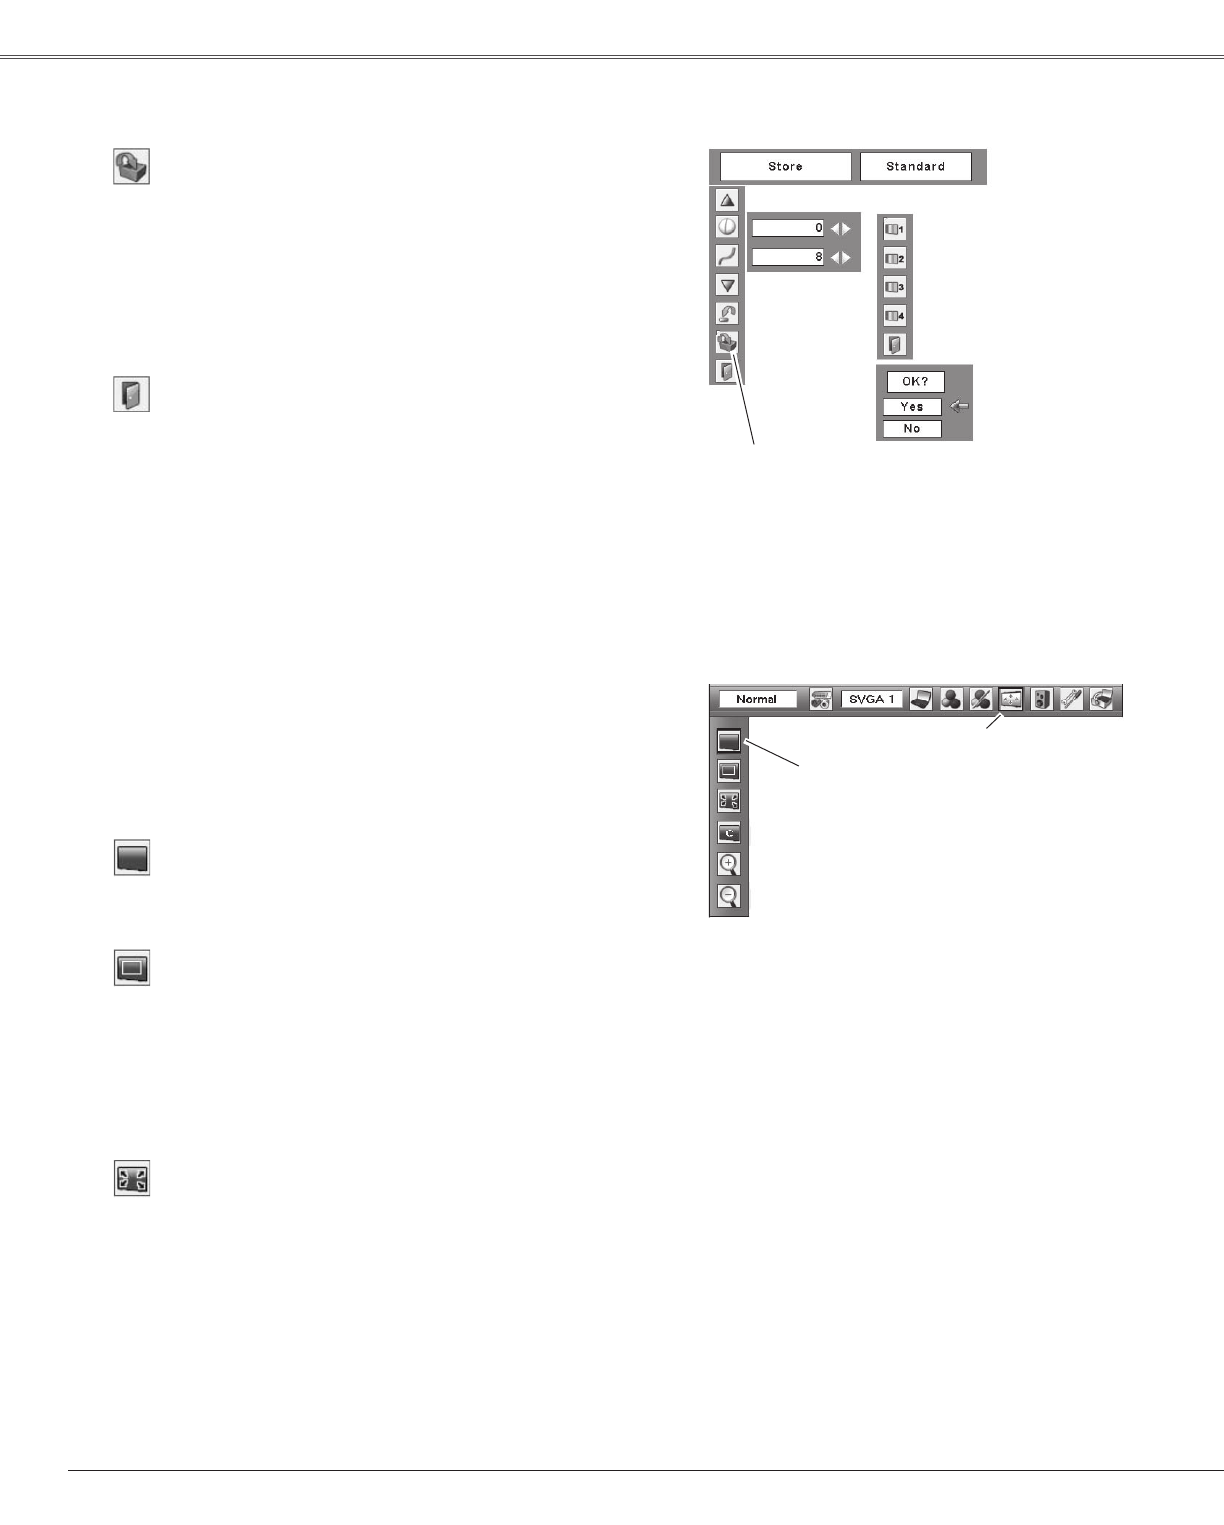
Store
ExittheImageAdjustMenu.
Quit
To store the adjusted data, select “Store” and press the
SELECTbutton.The ImageLevelMenu appears.Use the
Point▲▼buttonstochooseoneofthefourimageleveland
presstheSELECTbutton.Aconfirmationboxappearsand
thenselect“Yes.”
Thestoreddatacanbecalledupbyselecting“Image”inthe
ImageLevelSelectiononpage30.
Movetheredframe
pointertothedesired
imagelevel(fromImage
1to4)andthenpress
theSELECTbutton.
Aconfirmation
boxappears,
thenselect“Yes.”
Storeitem
PresstheSELECTbutton
atthisitemtostorethe
adjusteddata.
Thisprojectorhasthepicturescreenresizefunction,whichenablesyoutocustomizetheimagesize.
PresstheMENUbuttontodisplaytheOn-Screen
Menu.UsethePoint◄►buttonstomovethered
framepointertotheScreenMenuicon.
1
Movetheredframepointer
tothefunctionandpress
theSELECTbutton.
UsethePoint▲▼buttonsandmovetheredframe
pointertothedesiredfunctionandthenpressthe
SELECTbutton.
2
Screen Menu
ScreenMenuicon
Screen Size Adjustment
Providetheimagetofitthescreensizewhilemaintaining
theaspectratioofinputsignal.
Normal
True
Providetheimageinitsoriginalsize.Whentheoriginal
imagesizeislargerthanthescreensize(1280x800),the
projectorautomaticallyswitchestothepanningmode.Use
thePoint◄►▲▼buttonstopantheimage.Whenadjusted,
thearrowsturnred.Whenreachedtothecorrectionlimit,
thearrowsdisappear.
Full
Providethefullscreenimage.
Note:
• This projector cannot display any
resolution higher than 1600 x 1200. If your
computer’s resolution is higher than that,
lower the resolution before connecting to
the projector.
• The image data other than 1280 x 800
is modified to fit the screen size in initial
mode.
• True, Full and D.Zoom+/- are not available
when the 4:3 or 16:9 function is selected in
the Screen aspect (p.44).
• The items will be same as the items in
video source when 480i, 575i, 480p, 575p,
720p, 1035i or 1080i is selected in the PC
system Menu (p.26).
32
Computer Input


