44
Editing Expense Entries
Once you have created expense en-
tries, you can edit them. Your changes
will be reflected when you compute
your expenses sums.
1. Hold
✩
and press X. Or select
Expenses from the Topics
menu.
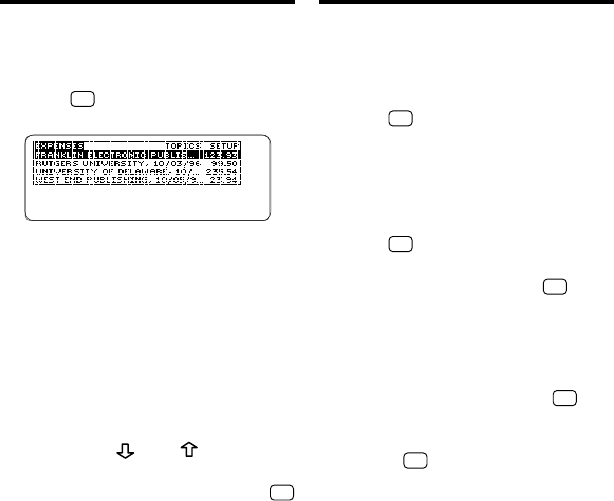
2. To highlight an expense entry,
scroll to it or type the first few
letters of its title.
3. Hold
✩
and press EDIT (blue).
Or press ENTER to view an ex-
pense entry and then hold
✩
and
press EDIT (blue).
Or press EDIT (blue) and then se-
lect
Edit This Expense
.
4. Enter your expense information.
5. To save the entry, hold
✩
and press ENTER, or press
ENTER at the last field.
Or hold
✩
and press BACK to exit
without saving.
Viewing Expense Entries
You can easily view an expense entry
to see the information entered in its
fields.
1. Hold
✩
and press X to go to
the Expenses menu.
2.
Highlight an expense entry and
then press ENTER to view it.
To highlight an expense entry, use
the arrow keys to scroll to it or start
typing its title (Account).
Note: When you view an expense
entry, only the fields in which you
typed information are displayed.
3. To go to the bottom or top of
an expense entry, hold CAP
and press
and .
4. To go to the next or previous
expense entry, if any, hold
✩
and press DN or UP.
To learn about editing expense en-
tries, read “Editing Expense Entries.”
