Maintenance
3. Stop the engine, remove the key, and wait for all
moving parts to stop before leaving the operating
position.
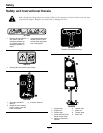
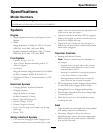
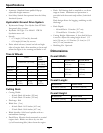
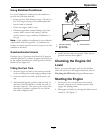
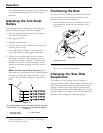
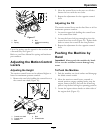
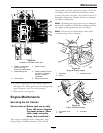
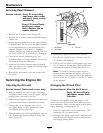
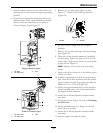
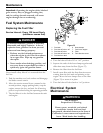
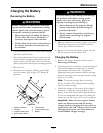
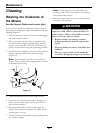
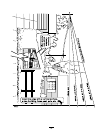
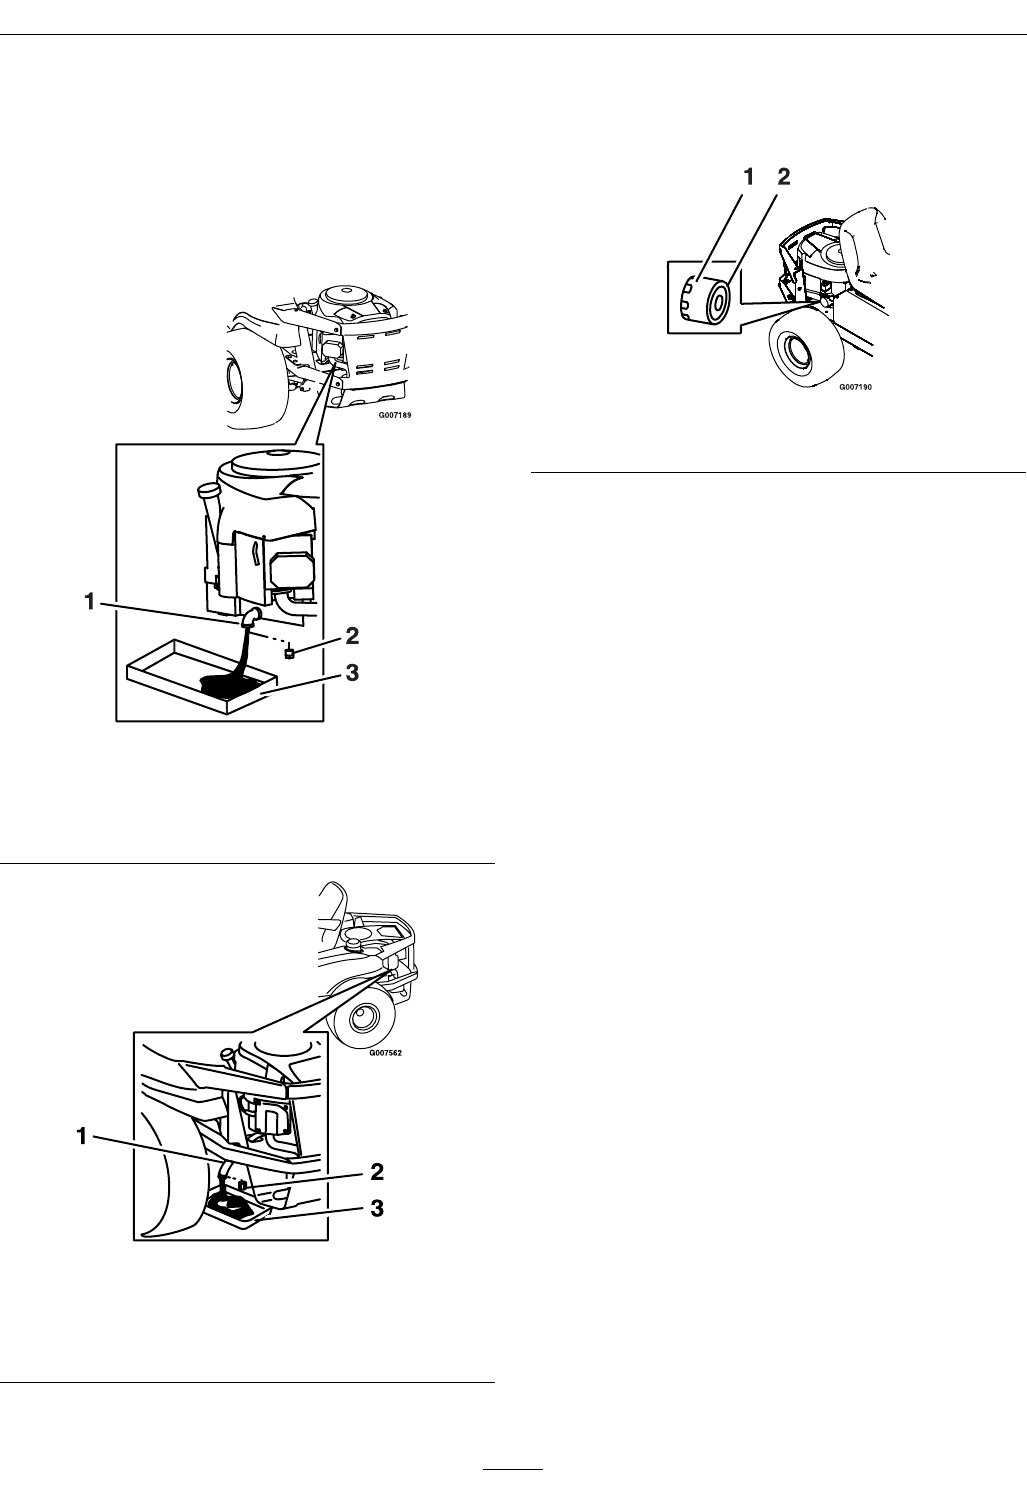
4. Clean the area around the drain plug and on the
machine frame. Place a pan underneath machine
directly below the drain hole in the frame as
shown in Figure 26 and Figure 27.
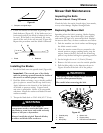
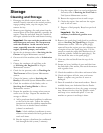
Figure 26
Briggs & Stratton engine
1. Oil drain
3. Pan
2. Oil drain plug
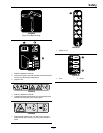
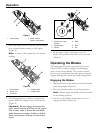
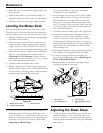
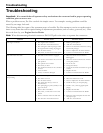
Figure 27
Kohler Command engine
1. Oil drain hose
3. Pan
2. Oil drain plug
5. Remove the oil drain plug (Figure 26 and
Figure 27). Remove the oil ll cap/dipstick
(Figure 25).
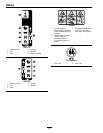
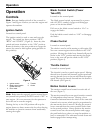
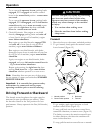
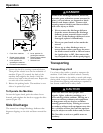
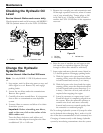
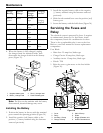
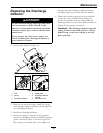
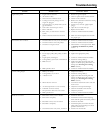
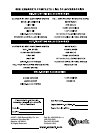
Figure 28
1. Oil lter 2. Gasket
6. Be sure to allow ample time for complete
drainage.
7. Remove the old lter and wipe off the mounting
pad (Figure 28).
8. When the oil has drained completely, install the
oil drain plug. Tighten the plug to 14 N-m (125
in-lb) torque. Wipe up any excess oil on the frame
(Figure 26 and Figure 27).
Note: Dispose of the used oil at a recycling
center.
9. Apply a thin lm of clean oil to the rubber gasket
on the new lter.
10. Install the replacement oil lter to the mounting
pad. Turn the oil lter clockwise until the rubber
gasket contacts the pad, then tighten the lter an
additional 1/2 to 3/4 turn (Figure 28).
11. Slowly pour approximately 80% of the specied
oil into the ller tube—use oil recommended in
the Engine Owner’s Manual.
12. Install the oil ll cap/dipstick and push rmly
into place.
13. Check the oil level (Figure 25); refer to Checking
the Oil Level.
14. Slowly add additional oil to bring it to the full
mark. Do Not overll.
15. Install the oil ll cap/dipstick and push rmly
into place.
16. Start the engine and check for leaks.
33