91
Before Use
Basic Guide
Advanced Guide
1
Camera Basics
2
Auto Mode
3
Other Shooting Modes
5
Playback Mode
6
Setting Menu
7
Accessories
8
Appendix
Index
4
P Mode
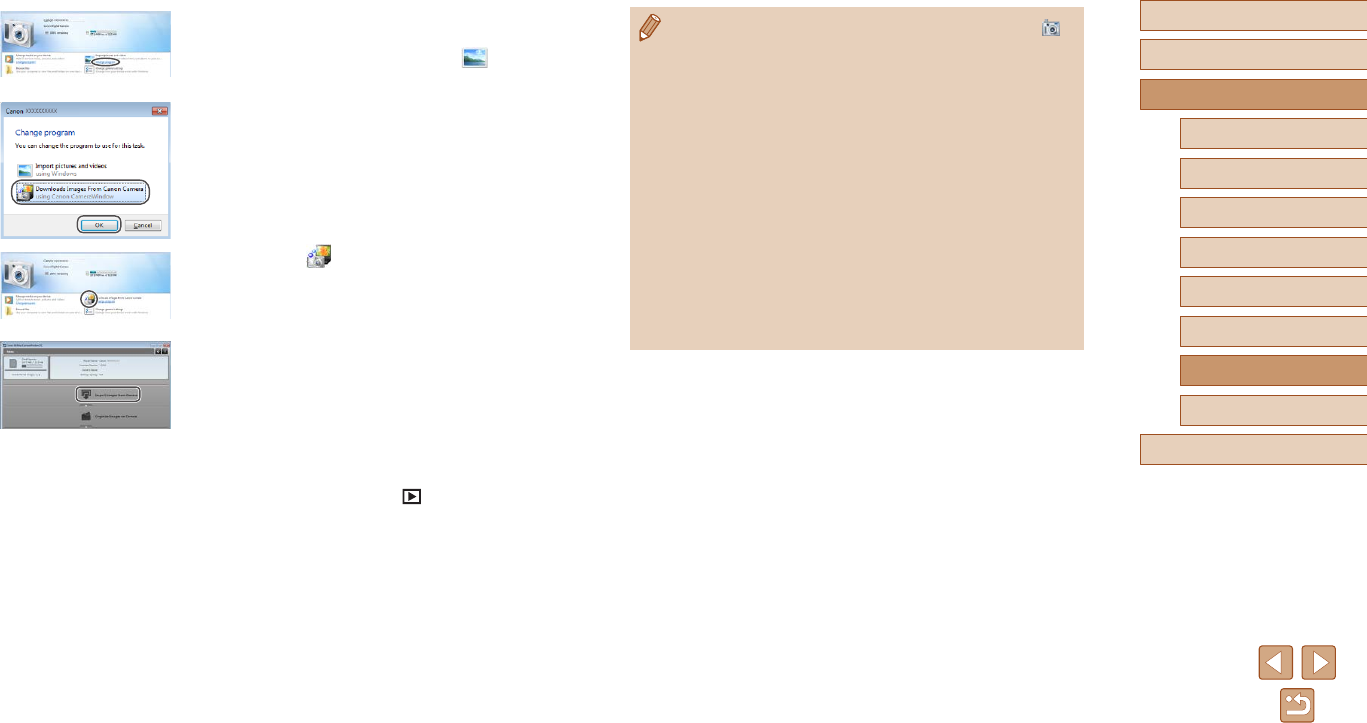
● Windows 7: If the screen in step 2 is not displayed, click the [ ]
icon in the taskbar.
● Mac OS: If CameraWindow is not displayed after step 2, click the
[CameraWindow] icon in the Dock.
● Although you can save images to a computer simply by
connecting your camera to the computer without using the
software, the following limitations apply.
- It may take a few minutes after you connect the camera to the
computer until camera images are accessible.
- Images shot in vertical orientation may be saved in horizontal
orientation.
- Image protection settings may be cleared from images saved
to a computer.
- Some problems may occur when saving images or image
information, depending on the operating system version, the
software in use, or image le sizes.
- Some functions provided by the software may not be available,
such as movie editing.
● Windows: Follow the steps introduced
below.
● In the screen that displays, click the [
]
link to modify the program.
● Choose [Downloads Images From Canon
Camera] and then click [OK].
● Double-click [
].
3
Save the images to the computer.
● Click [Import Images from Camera], and
then click [Import Untransferred Images].
● Images are now saved to the Pictures
folder on the computer, in separate
folders named by date.
● After images are saved, close
CameraWindow, press the [
] button to
turn the camera off, and unplug the cable.
● For instructions on viewing images on a
computer, refer to “Software Instruction
Manual” (
=
89).


