6
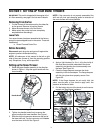
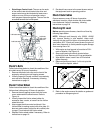
7. Insert the round end of the chute control box on the
short tube of the chute assembly as shown in
Figure 3C.
8. Insert other end of the chute control box into the
chute support tube as shown in Figure 3C.
9. Insert the clevis pin, earlier removed, through the
holes on the chute control box and chute support
rod. Secure with the hairpin clip. See Figure 3D.
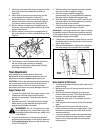
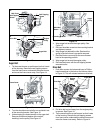
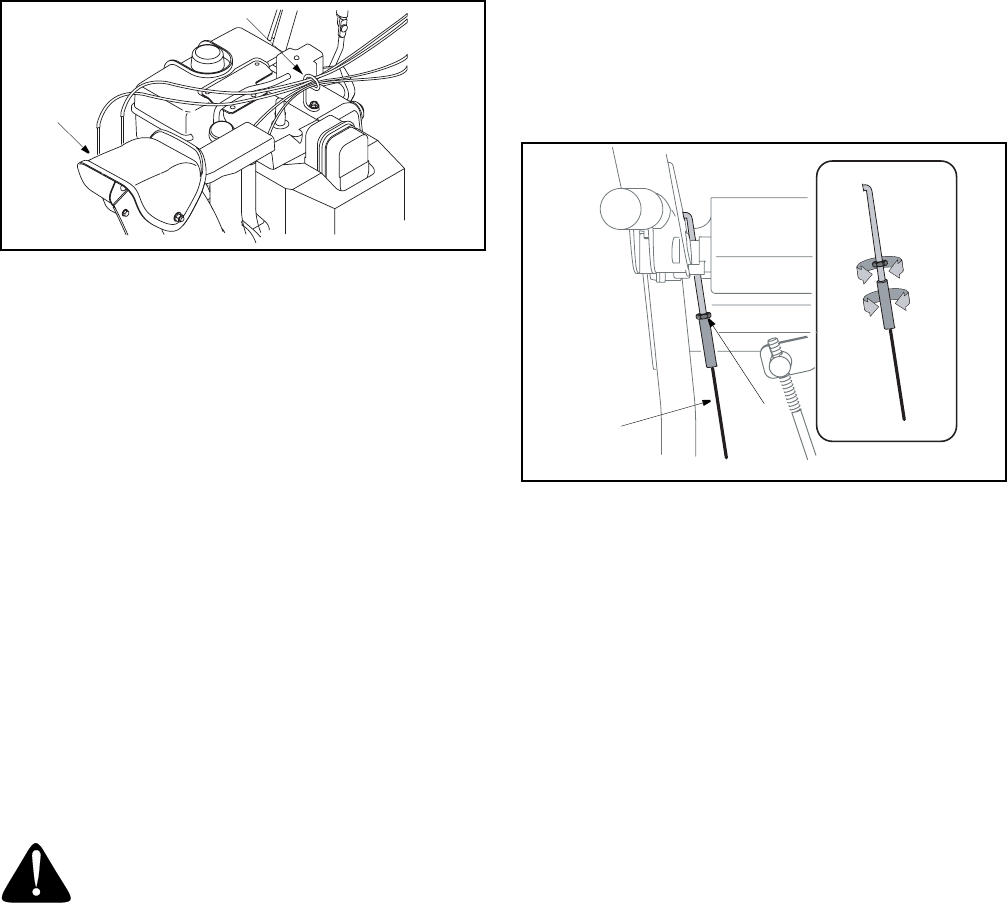
10. Slip the cables, running from the handle panel to
the chute, into the cable guide located on top of the
engine. See Figure 4 .
11. Slip the cables, running from the handle panel to
the chute control box, into the cable guide too. See
Figure 4.
Figure 4
12. The extension cord is fastened with a cable tie to
the rear of the auger housing for shipping
purposes. Cut the cable tie and remove it before
operating the snow thrower.
Final Adjustments
After setting up your snow thrower, check the
adjustments as instructed below and make any final
adjustments necessary before operating the unit.
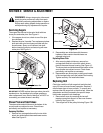
CAUTION: Perform the following test before operating
the snow thrower for the first time and at the start of
each winter season. Failure to comply with these
adjustment instructions may cause damage to the unit.
Auger Control Test
1. To check the adjustment of the auger control, push
forward the left hand control until the rubber
bumper is compressed. There should be slack in
the cable.
2. Release the control. The cable should be straight.
Make certain you can depress the auger control
against the left handle completely.
WARNING: Do not over-tighten the cable.
Over-tightening may prevent the auger from
disengaging and compromise the safety of the
snow thrower.
3. In a well-ventilated area, start the snow thrower
engine as instructed earlier in this section under the
heading Starting Engine. Make sure the throttle is set
in the FAST position.
4. While standing in the operator’s position (behind
the snow thrower) engage the auger.
5. Allow the auger to remain engaged for
approximately ten (10) seconds before releasing
the auger control. Repeat this several times.
6. With the engine running in the FAST position and
the auger control in the disengaged “up” position,
walk to the front of the machine.
7. Confirm that the auger has completely stopped
rotating and shows NO signs of motion.
IMPORTANT:
If the auger shows ANY signs of rotating,
immediately return to the operator’s position and shut
off the engine. Wait for all moving parts to stop before
readjusting the auger control cable.
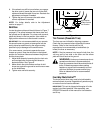
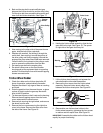
8. If adjustment is necessary, loosen the jam nut and
thread the cable in (for less slack) or out (for more
slack). See Figure 5.
9. Recheck the adjustment. Tighten jam nut against
the cable when correct adjustment is reached.
Figure 5
Drive Control & Shift Lever
1. Tip the snow thrower forward so that it rests on the
auger housing.
2. Move the shift lever all the way forward to the sixth
(6) position.
3. With the drive control released, spin the snow
thrower wheels by hand. The wheels should turn;
however, you may feel some resistance.
4. Engage the drive control. The wheels should no
longer turn.
5. Now release the drive control and spin the wheels
again.
6. Move the shift lever back to the fast reverse
position and then all the way forward again. There
should be no resistance in the shift lever and the
wheels should turn.
7. If you face resistance when moving the shift lever
or the wheels stop when they should not, loosen
the jam nut on the drive cable and unthread the
cable one turn.
Cable Guide
Chute
Assembly
Jam
Nut
Auger
Cable


