


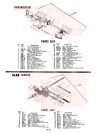
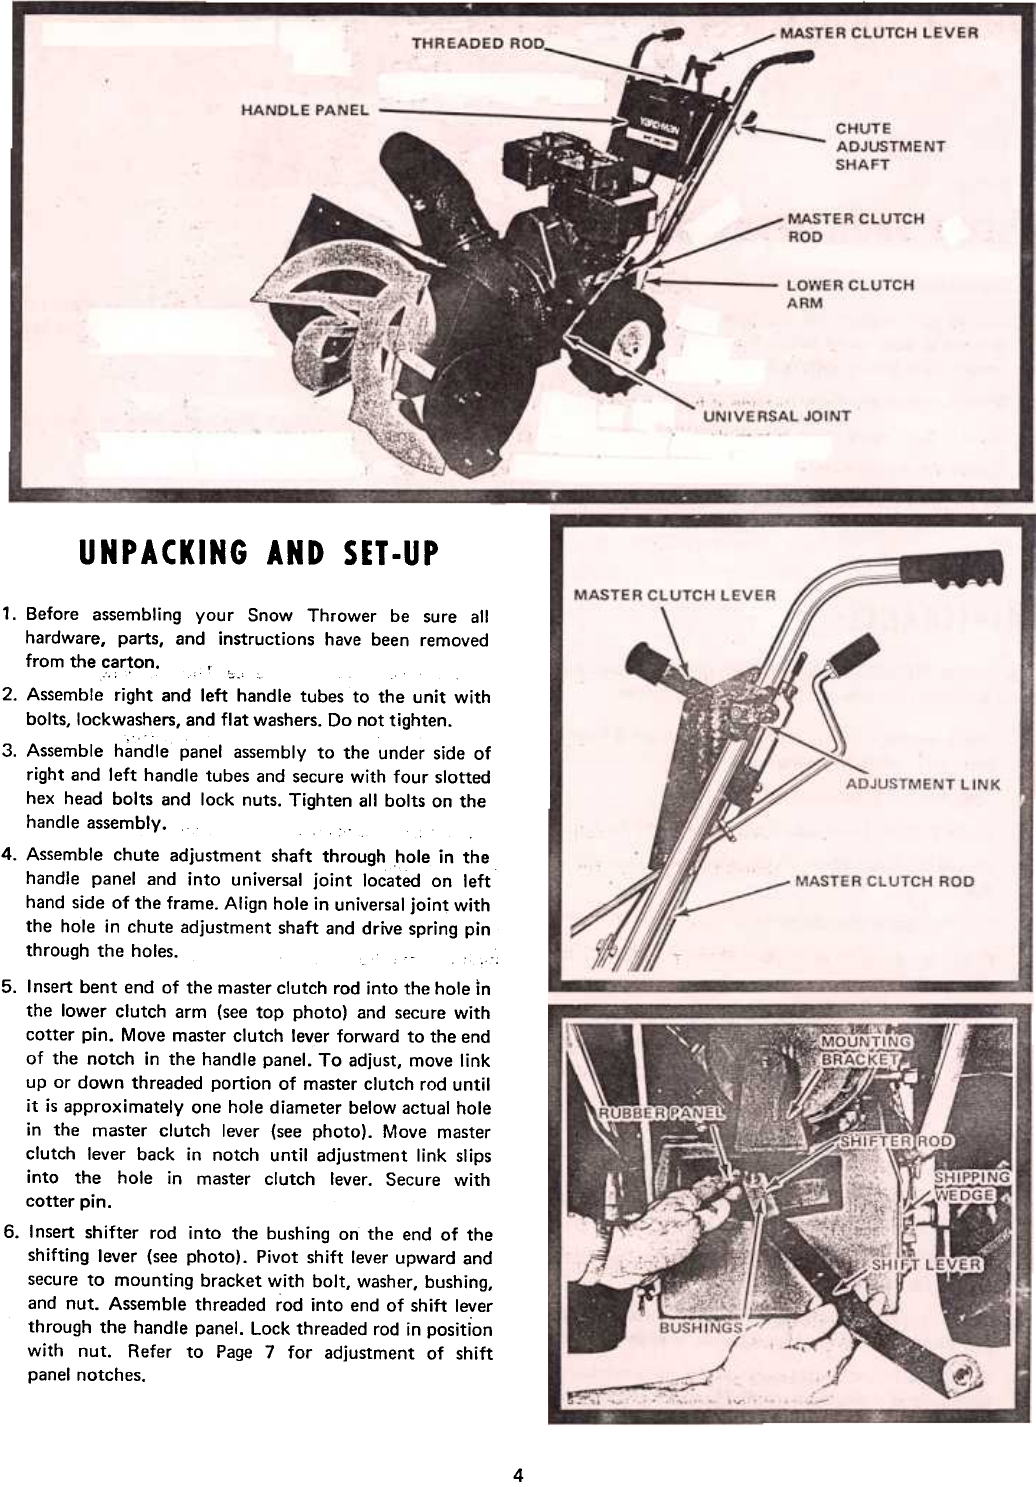
UNPACKING
AND SET-UP
1. Before assembling your Snow Thrower be sure all
hardware, parts, and instructions have been removed
from the carton. ,
...:' ':;.' '-2.
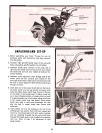
Assemble right and left handle tubes to the unit with
bolts, lockwashers, and flat washers. Do not tighten.3.
Assemble handle panel assembly to the under side of
right and left handle tubes and secure with four slotted
hex head bolts and lock nuts. Tighten all bolts on the
handle assembly.4.
Assemble chute adjustment shaft through hole in the
handle panel and into universal joint located on left
hand side of the frame. Align hole in universal joint with
the hole in chute adjustment shaft and drive spring pin
through the holes. .':5.
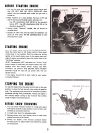
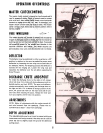
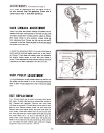
Insert bent end of the master clutch rod into the hole in
the lower clutch arm (see top photo) and secure with
cotter pin. Move master clutch lever forward to the end
of the notch in the handle panel. To adjust, move link
up or down threaded portion of master clutch rod until
it is approximately one hole diameter below actual hole
in the master clutch lever (see photo). Move master
clutch lever back in notch until adjustment link slips
into the hole in master clutch lever. Secure with
cotter pin.
6. Insert shifter rod into the bushing on the end of the
shifting lever (see photo). Pivot shift lever upward and
secure to mounting bracket with bolt, washer, bushing,
and nut. Assemble threaded rod into end of shift lever
through the handle panel. Lock threaded rod in position
with nut. Refer to Page 7 for adjustment of shift
panel notches.
4