


9
OPERATING INSTRUCTIONS
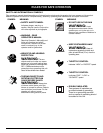
Always wear eye,
hearing, foot and
body protection to reduce the risk of injury
when operating this unit.
WARNING:
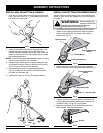
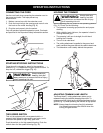
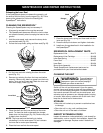
CONNECTING THE CORD
Use the cord hook when connecting the extension cord to
the power cord outlet. This helps prevent any
disconnection.
1. Make a narrow loop with the extension cord.
2. Push the loop through the opening and move it onto
the hook on the motor housing (Fig. 9).
3. Plug the cord properly into the socket.
Only use outdoor-approved extension cords. Cord sets
are specified in the Important Safety Information section.
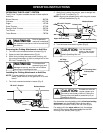
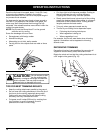
STARTING/STOPPING INSTRUCTIONS
Once the unit is plugged in, stand in the operating
position (Fig. 11). Squeeze the trigger to start the unit. To
stop the unit, release the trigger (Fig. 10).
Trigger
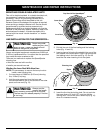
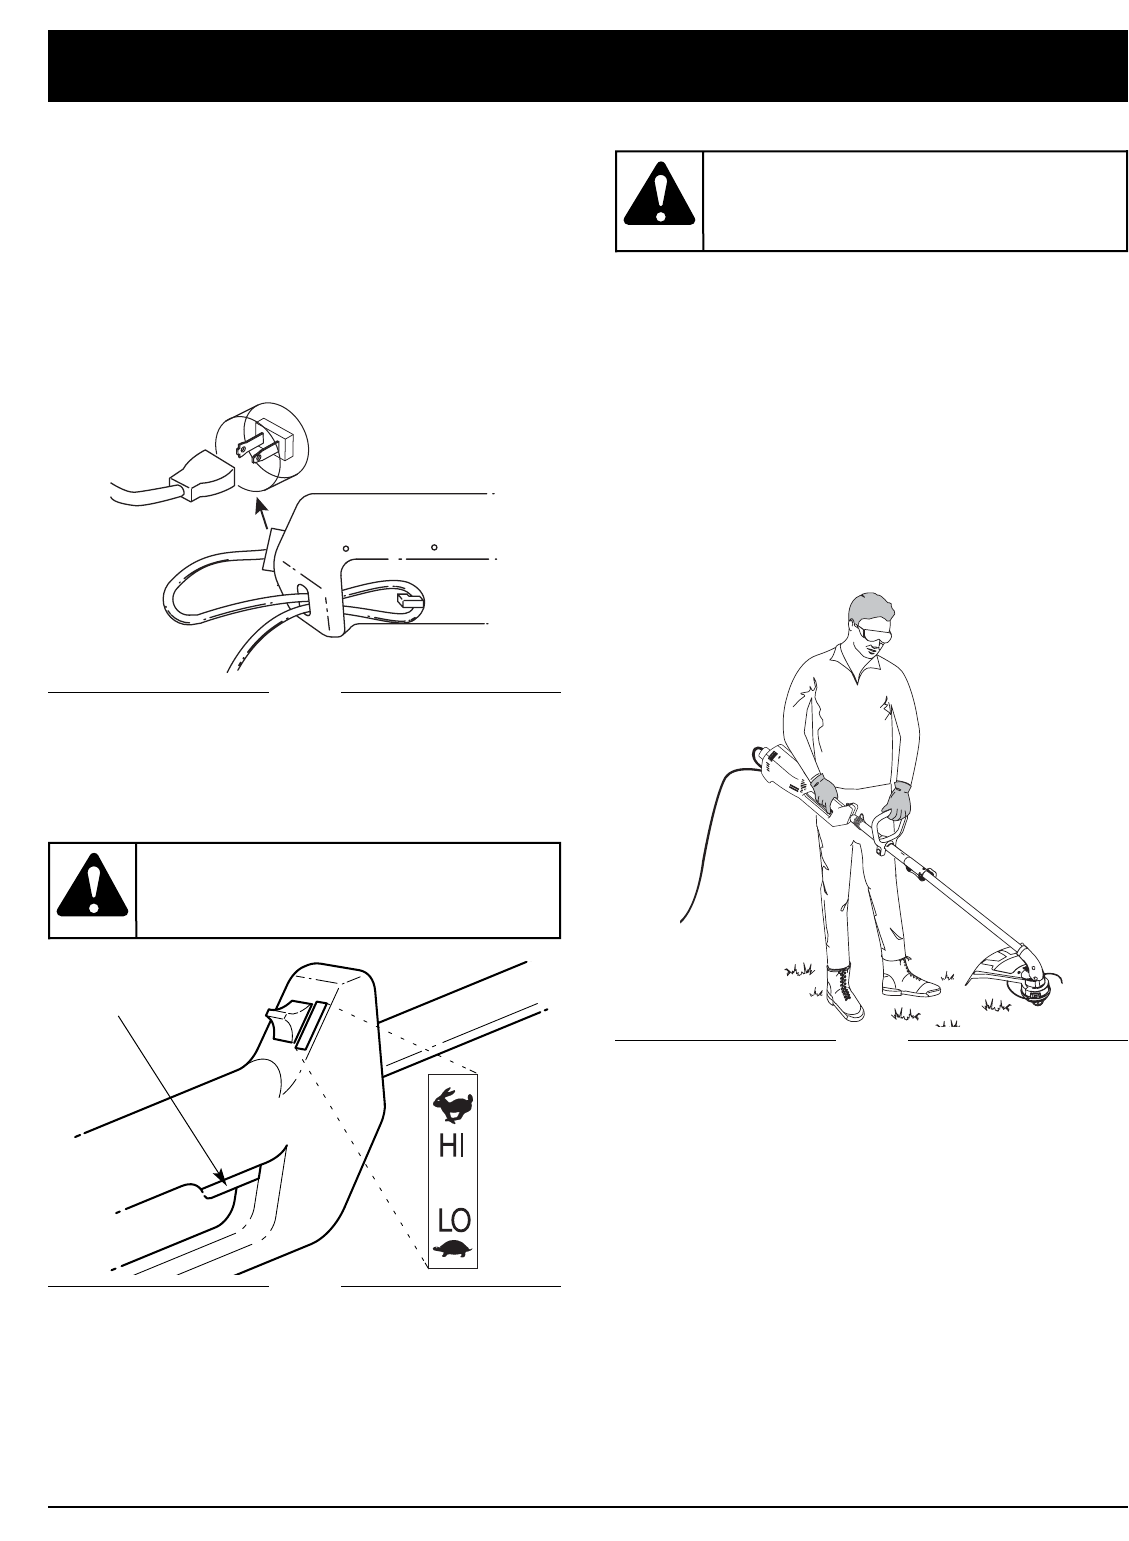
HOLDING THE TRIMMER
Before operating the unit, stand in the operating position
(Fig. 11). Check for the following:
• The operator is wearing eye protection and proper
clothing
• With a slightly-bent right arm, the operator’s hand is
holding the shaft grip
• The operator’s left arm is straight, the left hand
holding the D-handle
• The unit is at waist level
•
The cutting attachment is parallel to the ground and
easily contacts the grass without the need to bend ove
r
• The extension cord is safely behind the operator
Fig. 11
ADJUSTING TRIMMING LINE LENGTH
The Bump Head™ cutting attachment allows you to
release trimming line without stopping the motor. To
release more line, lightly tap the cutting attachment on the
ground (Fig. 12) while operating the trimmer at high speed.
NOTE: Always keep the trimming line fully extended.
Line release becomes more difficult when the
cutting line gets shorter.
Always wear eye,
hearing, foot and
body protection to reduce the risk of injury
when operating this unit.
WARNING:
Fig. 9
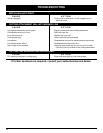
TWO-SPEED SWITCH
This unit is equipped with a two-speed switch: a
powerful high speed for demanding yard work, and a
precision low speed for light-duty yard work.
Push the switch up for high speed trimming. Push the
switch down for low speed trimming (Fig. 10).
Fig. 10