


Operation 11
MAN0003 (Rev. 11/30/2006)
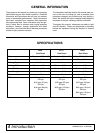
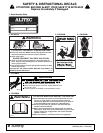
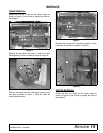
Figure 2.
Roll the skid steer arms back until the tiller is com-
pletely off the ground. Engage the parking break on the
skid steer. Stop engine and relieve the back pressure in
the auxiliary hydraulic system. Exit the skid steer.
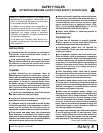
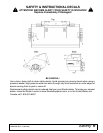
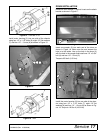
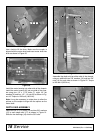
Move the coupler pins to the engaged position. Hook
up the auxiliary hydraulic hoses. Be sure they are
routed to prevent any hose interference. Check the
attach pins (4) to be sure they are fully engaged in the
attach bracket as shown in Figure 3.
Figure 3.
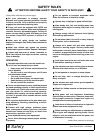
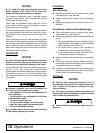
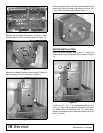
TILLER DEPTH ADJUSTMENT
All tiller models have four depth settings. Moving the
depth skid location allows the depth setting to be
changed. Figure 4 shows the cutting depth for the four
depth positions. When making adjustments, be sure
that both skids are set at the same position.
To change the depth skid position, lower the tiller to the
ground so the weight is supported on the tines.
Remove the two bolts from each depth skid. Adjust the
depth skid for the desired cutting depth. Reinstall the
two bolts and torque to 250 lbs-ft (325 N-m).
Figure 4.
TILLER OPERATION
■ Read and understand the tiller and skid steer
operator’s manuals before operating the tiller. Fail-
ure to do so may result in death, serious personal
injury or properly damage.
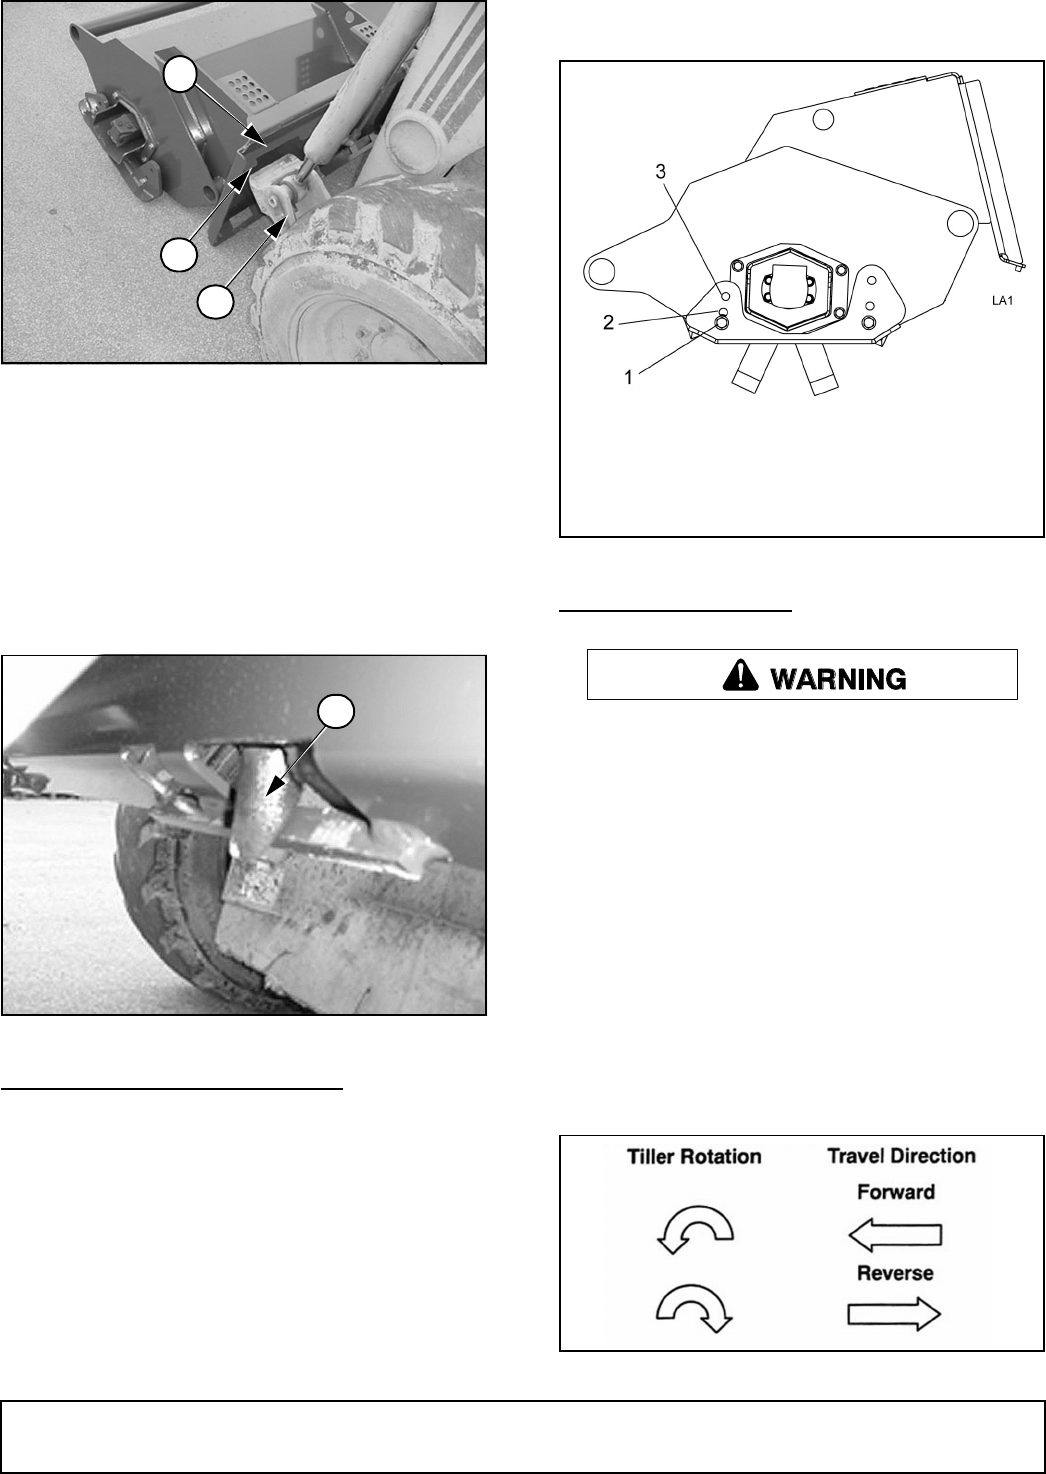
The tiller is a hydraulic powered attachment intended to
cultivate soil. The tiller attachment operation is bi-direc-
tional; it will operate with tines rotating in either direc-
tion.
The TL52 has an offset mounting configuration to allow
the right tracks to be covered when the skid steer
moves in reverse for finishing the tilling operation.
The performance of the tiller can vary significantly
depending upon the way it is used. The tiller attach-
ment requires a minimum hydraulic supply. For require-
ments on each model see specifications on page 4.
DP2
1
2
3
4
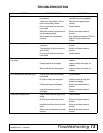
DP3
1. 5.50" Cutting Depth
2. 4.25" Cutting Depth
3. 2.25" Cutting Depth
6.00" Cutting Depth if Skid is Removed