


10 Operation
MAN0253 (Rev. 3/10/2007)
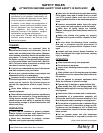
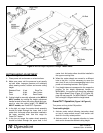
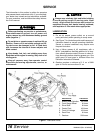
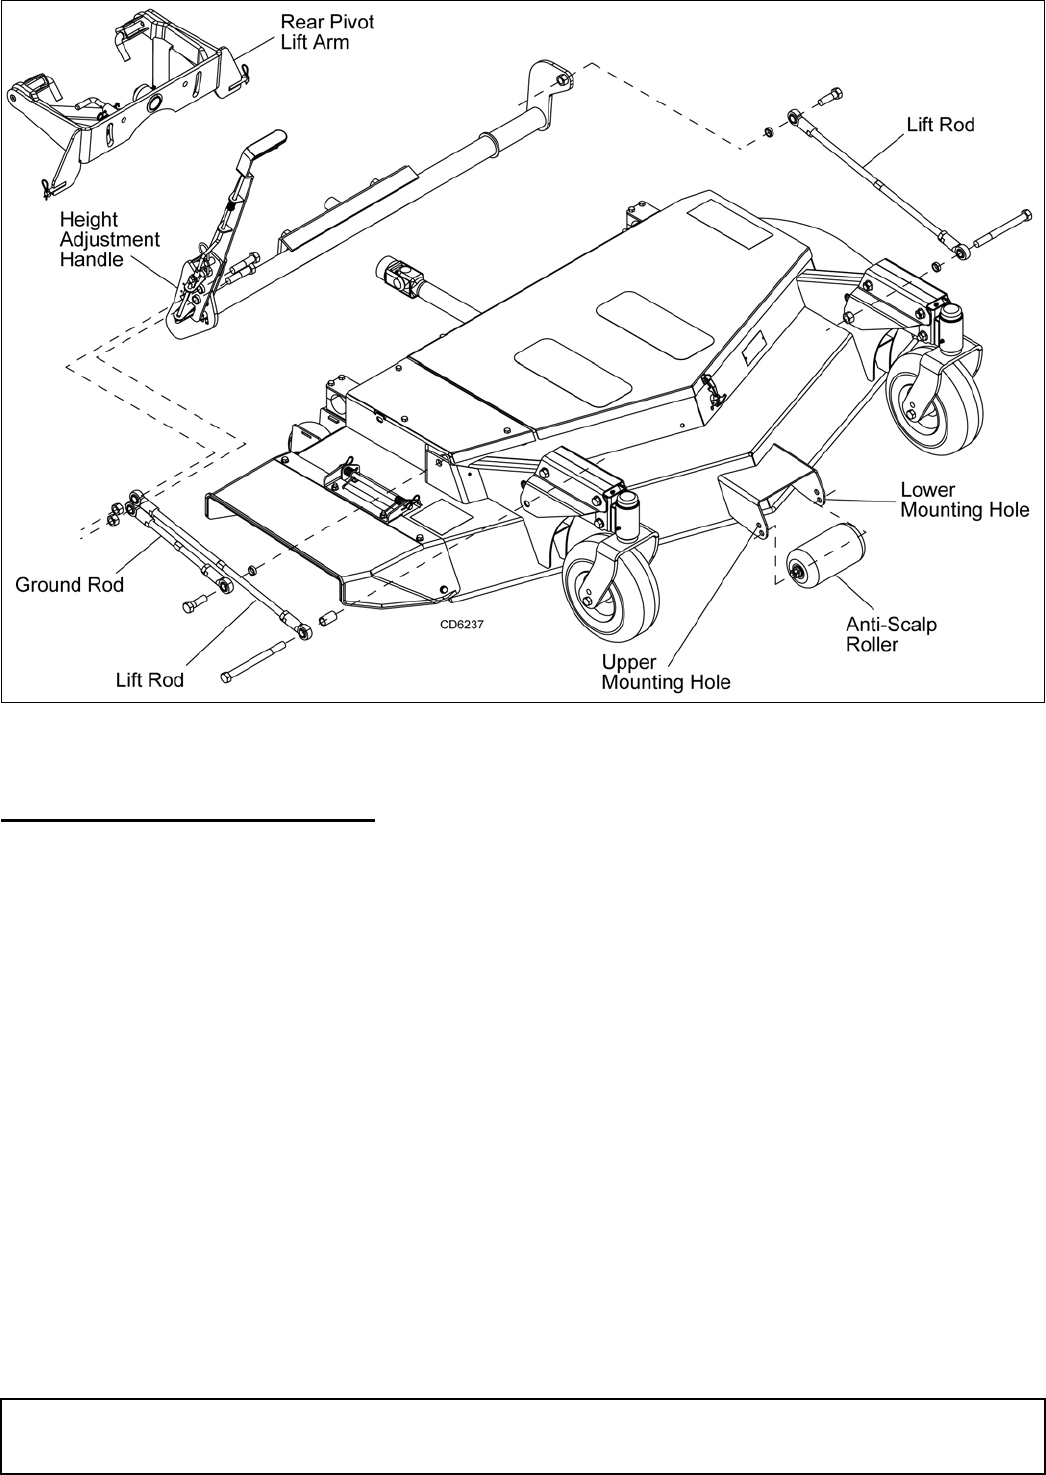
Figure 2. Manual Height Adjustment Linkage - MX54 / MX61
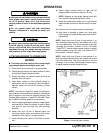
CUTTING HEIGHT ADJUSTMENT
(Figure 2 & Figure 4)
1. Place power unit and mower on a level surface.
2. Make sure power unit tire pressure is set equally
on both sides. Improper pressure will adversely
affect steering control, traction and mower cutting
height.
Standard Front: 12 psi Drive Tire
Rear: 18 psi Rear Caster
Front: 45 psi Deck Caster
3. Cutting height is manually adjusted on the MX54 &
MX61 models by moving the height adjustment
handle forward to lower the cutting height and rear-
ward to raise the cutting height. For MX54T &
MX61T models, see PowerTilt™ Operation.
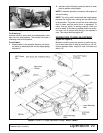
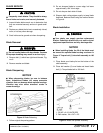
4. In the high cut range, the caster wheel assembly
should be bolted through the lower hole in the
caster fork. Anti-scalp rollers should be installed in
the lower mounting hole. Use this range for
PowerTilt™ decks.
5. In the low cut range, the caster wheel assembly
should be bolted through the upper hole in the
caster fork. Anti-scalp rollers should be installed in
the upper mounting hole.
6. When the caster wheels are moved to a different
hole in the fork, it will be necessary to move the
rear pivot lift arm to the corresponding hole in the
power unit mounting brackets. See Figure 1.
7. If cut height does not correspond to the respective
position for the height adjustment handle on
MX54/MX61, the ground rod should be adjusted.
See Adjust Mower Deck (Figure 27 & Figure 29),
page 26 and page 28. For MX54T/MX61T models,
the cut height is aligned with the height decal.
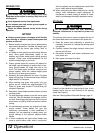
PowerTilt™ Operation (Figure 3 & Figure 4)
Turn power unit key to the ON position.
To set cutting height:
1. Activate rocker switch following instruction decal
on top of rocker switch mount. Hold switch until
deck is in the fully raised position.
2. Activate switch in the opposite direction to lower
deck and to choose the desired cutting height.
(Rev. 1/7/2010)