46 Assembly
MAN0764 (11/5/2008)
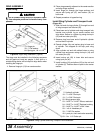
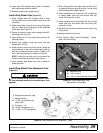
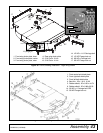
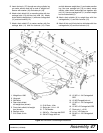
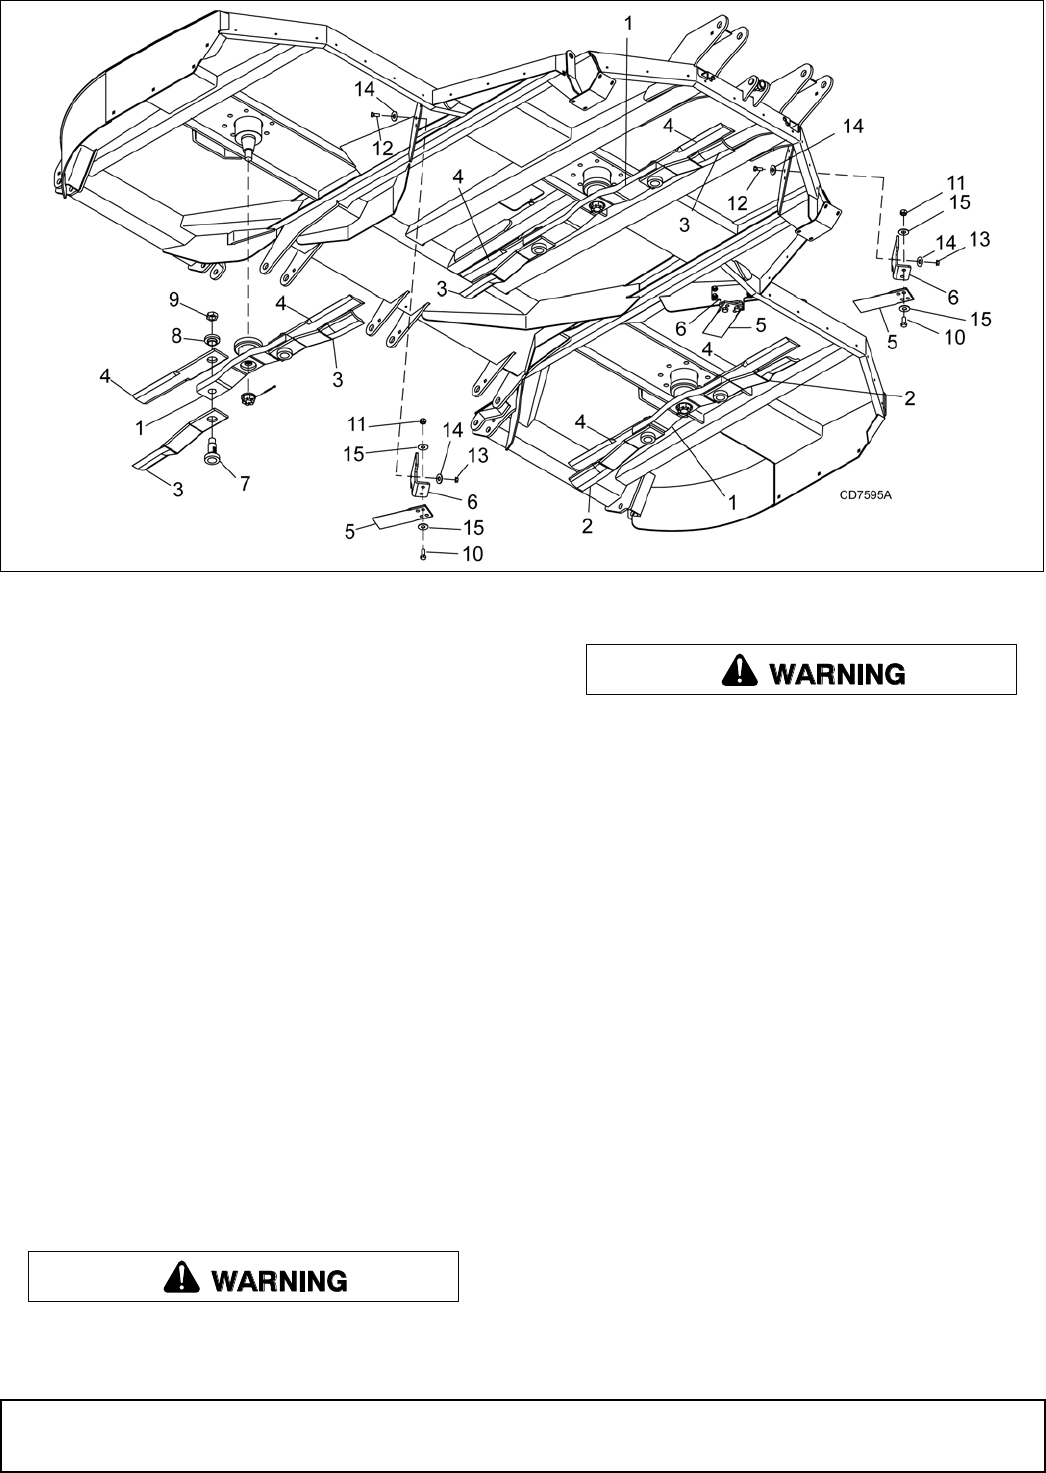
Figure 44. Shredder Kit Installation
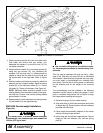
1. Attach mounting bracket (6) to the front side of the
front baffle and secure with cap screws (12),
hardened flat washers (14) and lock nuts (13). Do
not tighten hardware.
2. Attach stationary blade (5) to mounting bracket (6)
using two cap screws (10), four hardened flat
washers 915) and lock nuts (11). Blade should be
angled by using the first hole on the left side and
the second hole on the right side. Refer to Figure
43.
3. Rotate crossbar and blades so stationary blade fits
between the two crossbar blades. Adjust mounting
bracket (6) so the stationary blade (5) is 1" below
flat blade (4), Tighten all hardware. See Figure 43.
NOTE: Stationary blade should be parallel to the
rotating blades, point toward the center of the gear-
box and rear of cutter, and overlap rotating blades
approximately 4 inches.
4. Repeat steps to install stationary mounting bracket
(6) and blade (5) to the opposite wing.
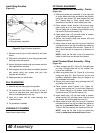
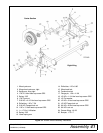
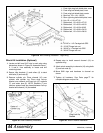
BW1620X Counterweight Installation
(Figure 45)
The offset model is unstable without adequate
counterweight. Use counterweight box loaded with
1300 lbs (591 kg) of steel.
■ Use a suitable lifting device of sufficient capac-
ity. Use adequate personnel to handle heavy com-
ponenets.
This unit may be operated with only one wing - either
right or left. With only one wing, the unit is unshielded
and unstable. When electing to operate with one wing,
you must install a counterweight box, available from
your dealer. This box has a dual purpose: it substitutes
for the shielding and for the weight of the removed
wing.
The counterweight must be installed in the following
sequence and will require at least two people. A floor
jack or a suitable lifting device will be helpful to align
the hinges when installing the hinge pin.
1. Remove hinge pin (2) from center section.
2. Align skid shoe (3) with holes on bottom and inside
of weight box (6). Secure bottom with the hardware
provided with skid shoe.
3. Place weight box assembly adjacent to the center
section and align hinge sections.
4. Insert hinge pin through the hinge sections. Secure
hinge pin with two washers (10) and two spring
pins (9).
(Rev. 2/6/2009)


