


17
NOTE: If you’re replacing the friction wheel assembly
as a whole, discard the worn part and slide the new part
onto the hex shaft. Follow the steps above in reverse
order to reassemble components. If you’re disassem-
bling the friction wheel and replacing only the rubber
ring, proceed as follows:
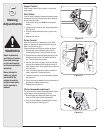
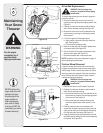
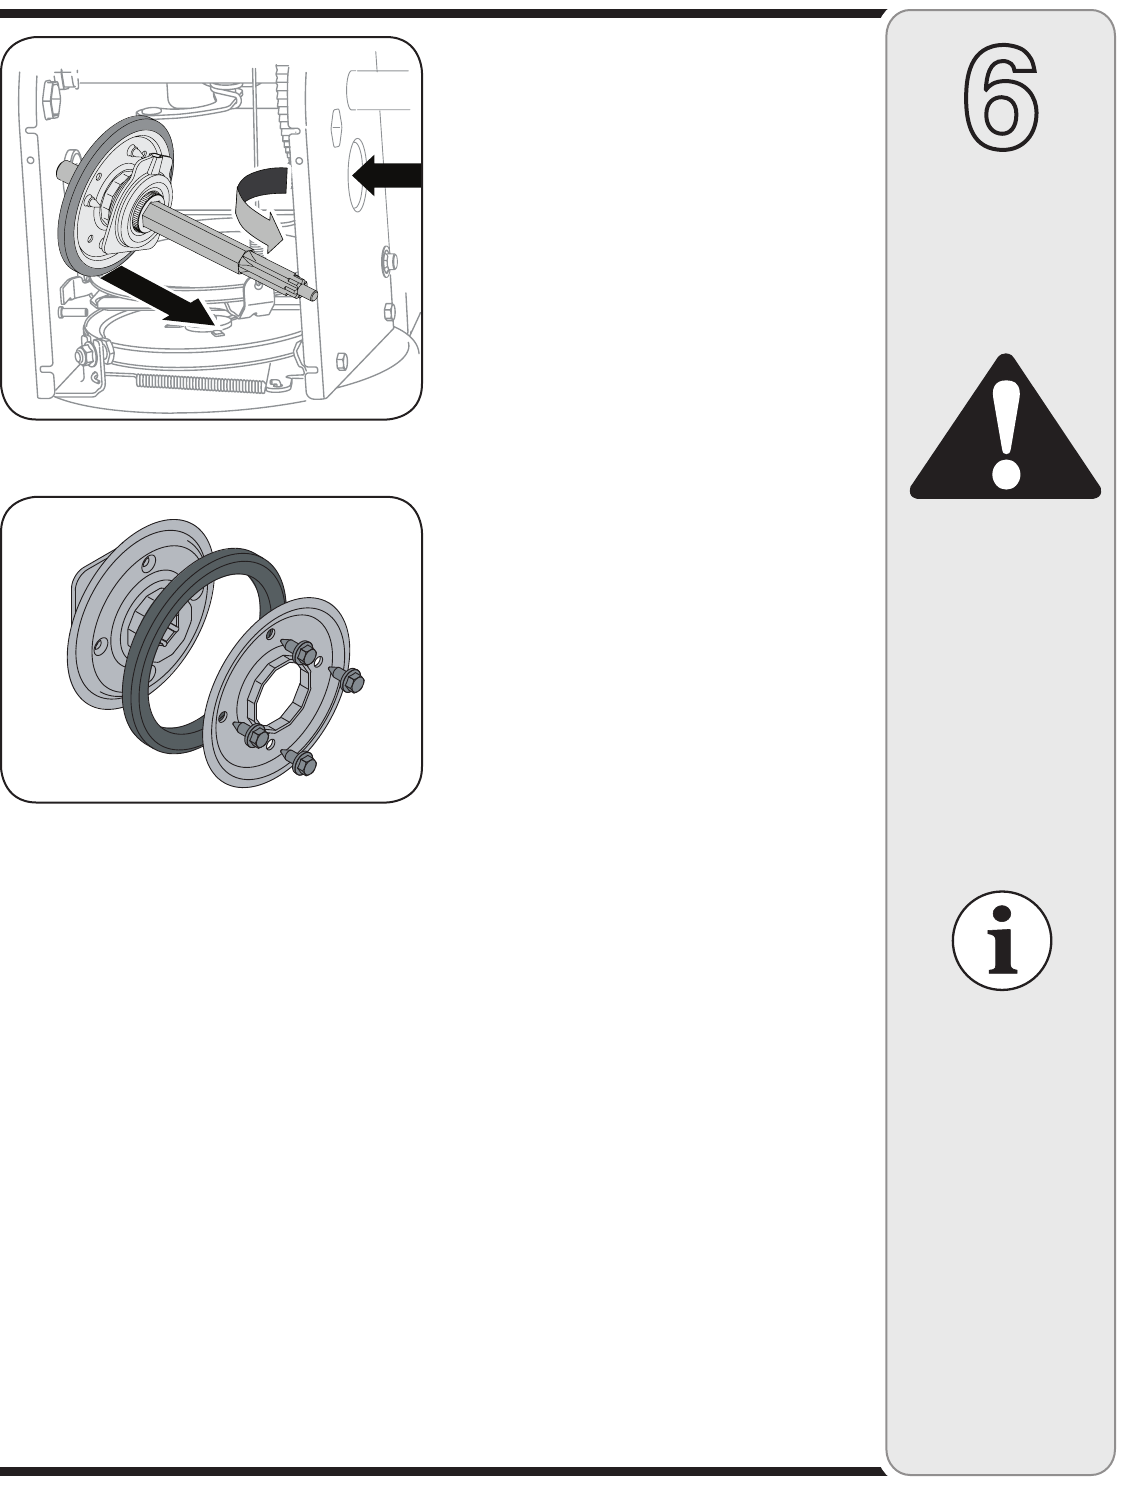
6. Remove the four screws which secure the friction
wheel’s side plates together. See Figure 6-13.
7. Remove the rubber ring from between the plates.
8. Reassemble the side plates with a new rubber ring.
9. Slide the friction wheel assembly back onto the hex
shaft and follow the steps above in reverse order to
reassemble components.
Off-Season Storage
If unit is to be stored over 30 days, prepare for storage
as instructed in the separate engine manual packed with
your snow thrower.
Clean snow thrower thoroughly.•
Lubricate as instructed in the Maintenance section •
of this manual.
Refer to engine manual for correct engine storage •
instructions.
Store the snow thrower in a clean, dry area.•
When storing any type of power equipment in •
a poorly ventilated or metal storage shed, care
should be taken to rustproof the equipment,
especially springs, cables and all moving parts.
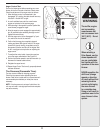
When reassembling
the friction wheel as-
sembly, tighten each
screw only one rota-
tion before turning the
wheel clockwise and
proceeding with the
next screw. Repeat
this process several
times to ensure the
plates are secured
with equal force.
6
Maintaining
Your Snow
Thrower
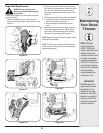
Figure 6-12
Figure 6-13
WARNING
Run the engine
completely dry of
gasoline before
tipping snowthrower.