


13
5
Making
Adjustments
WARNING
Loose gravel can be picked
up and thrown by the
auger, causing injury to the
operator and bystanders
and/or damage to the snow
thrower and surrounding
property.
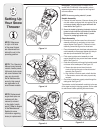
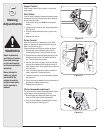
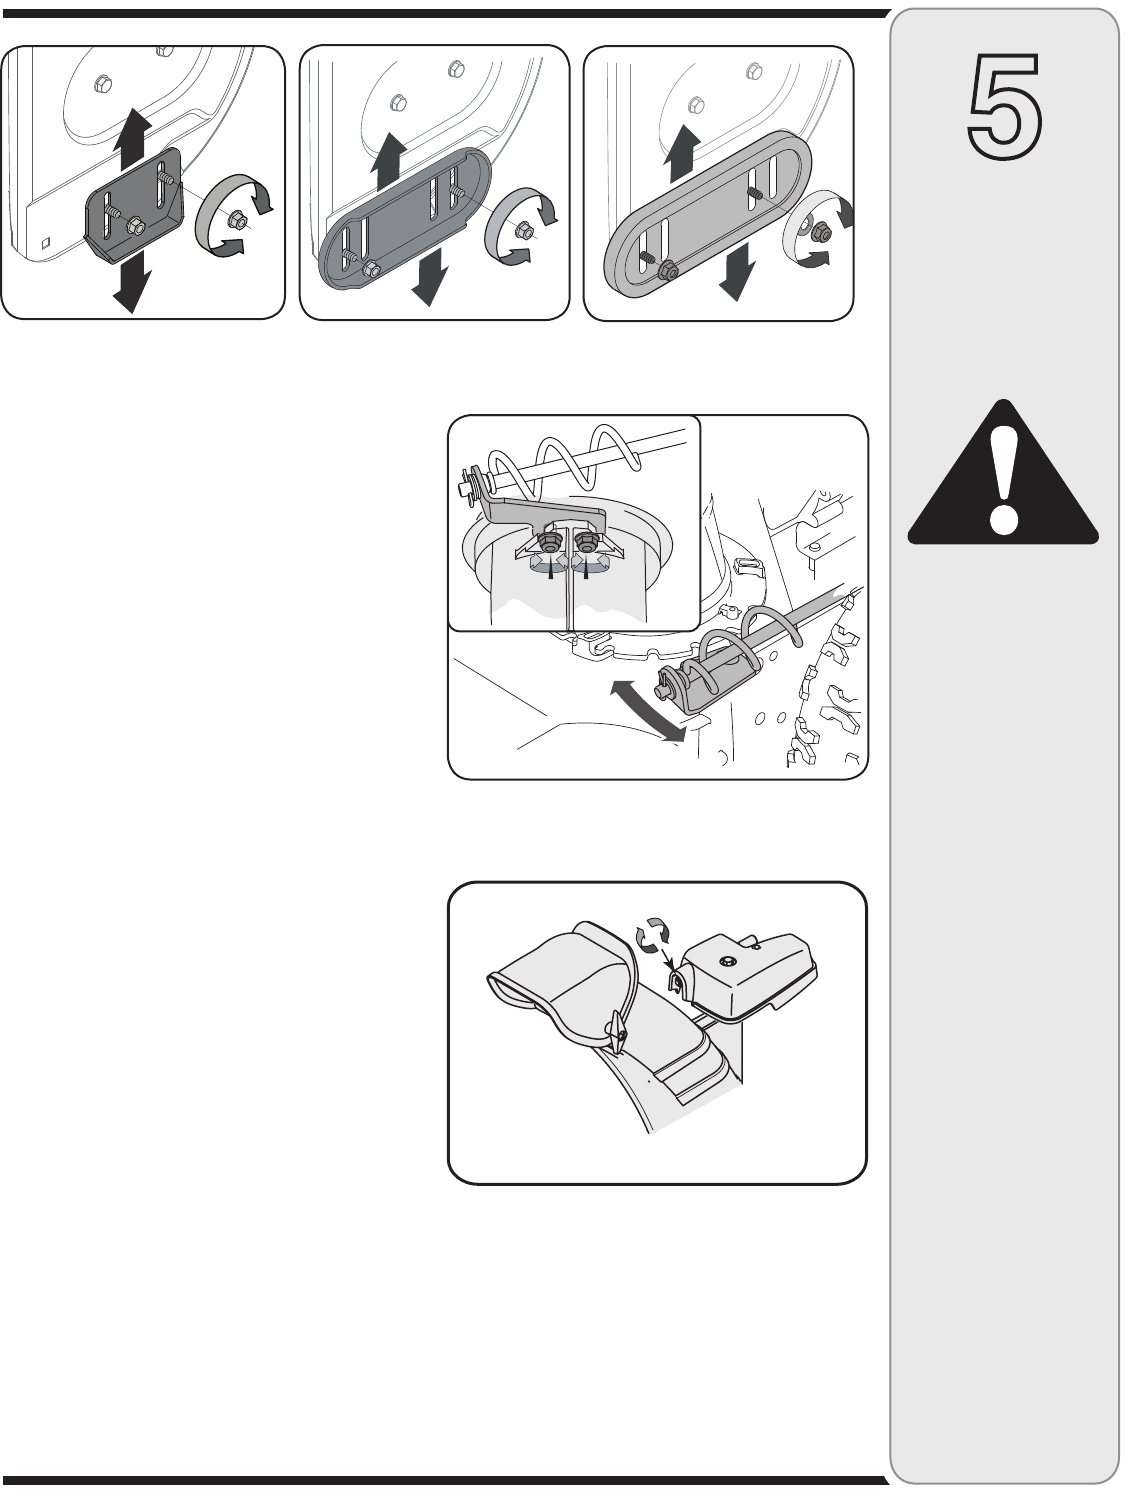
Skid Shoes
The space between the skid shoes and the ground can
be adjusted.
• Forclosesnowremovalonasmoothsurface,raise
skid shoes higher on the auger housing.
• Useamiddleorlowerpositionwhentheareatobe
cleared is uneven, such as a gravel driveway.
To adjust the skid shoes:
1. Loosen the four hex nuts (two on each side) and
carriage bolts. Move skid shoes to desired position.
2. Make certain the entire bottom surface of skid shoe is
against the ground to avoid uneven wear on the skid
shoes.
3. Retighten nuts and bolts securely.
NOTE: Some models are equipped with reversible skid
shoes and may be turned over to increase their lifespan.
See Figure 5-7 and 5-8.
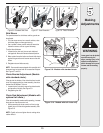
Chute Bracket Adjustment (Models
with standard chute.)
If the spiral at the bottom of the chute directional control
is not fully engaging with the chute assembly, the chute
bracket can be adjusted. To do so:
1. Loosen the two nuts which secure the chute bracket
and reposition it slightly. See Figure 5-9.
2. Retightening the nuts.
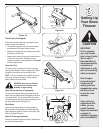
Chute Rod Adjustment (Models with
optional tall chute.)
If the chute assembly wanders while operating, increase
the tension on the chute control rod.
• Whilepreventingthechutecontrolrodfromturning
tighten the nut on the chute gearbox assembly. See
Figure 5-10.
NOTE: Careful not to over tighten the nut making chute
rotation difficult.
Figure 5-6 - Standard Skid Shoe
Figure 5-9 - Models with standard chute.
Figure 5-7 - Steel Reversible
Figure 5-8 - Plastic Reversible
Figure 5-10 - Models with tall chute only.