


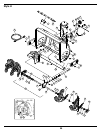

16
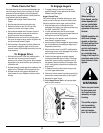
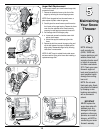
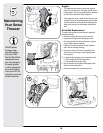
Augers
• The augers are secured to the spiral shaft with two
shear pins and cotter pins. If the auger should strike a
foreign object or ice jam, the snow thrower is designed
so that the pins may shear. Refer to Figure 15.
• If the augers will not turn, check to see if the pins have
sheared. One set of replacement shear pins has been
provided with the snow thrower. When replacing pins,
spray an oil lubricant into shaft before inserting new
pins.
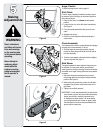
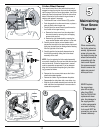
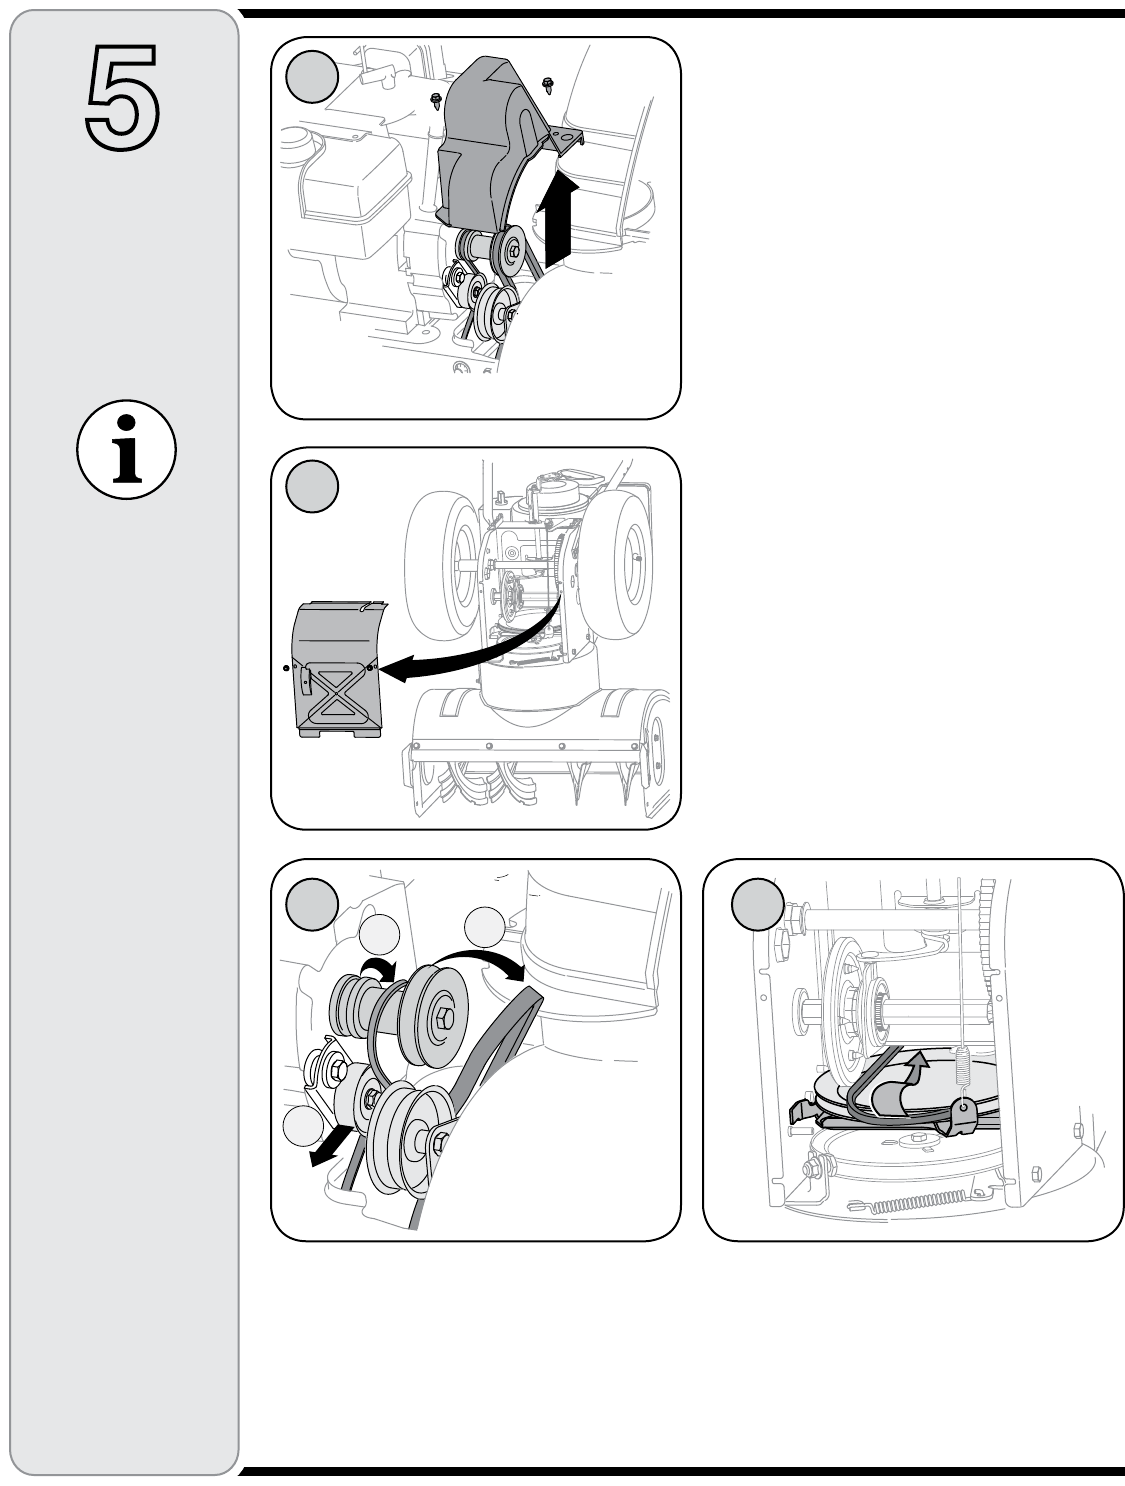
Drive Belt Replacement
To remove and replace your snow thrower’s auger belt,
proceed as follows:
1. Remove the plastic belt cover on the front of the
engine by removing the two self-tapping screws.
• Drain the gasoline from the snow thrower, or place a
piece of plastic under the gas cap.
• Carefully pivot the snow thrower up and forward so
that it rests on the auger housing.
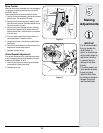
2. Remove the frame cover from the underside of the
snow thrower by removing four self-tapping screws
which secure it.
3. a. Grasp the idler pulley and pivot it toward the right.
b. Roll the auger belt off the engine pulley.
c. Lift the drive belt off engine pulley.
4. Slip the drive belt off the pulley and between friction
wheel and friction wheel disc.
• Remove and replace belt in the reverse order.
C
B
A
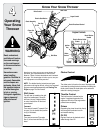
5
Maintaining
Your Snow
Thrower
NEVER replace
the auger shear
pins with anything
other than OEM
Part No.738-04124A
replacement shear
pins. Any damage to
the auger gearbox
or other components
as a result of failing
to do so will NOT be
covered by your snow
thrower’s warranty.
1
2
3 4