-- 4 --
D
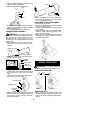
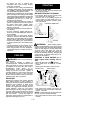
Close the zipper on the bag. Make sure the
zipper is closed completely.
D
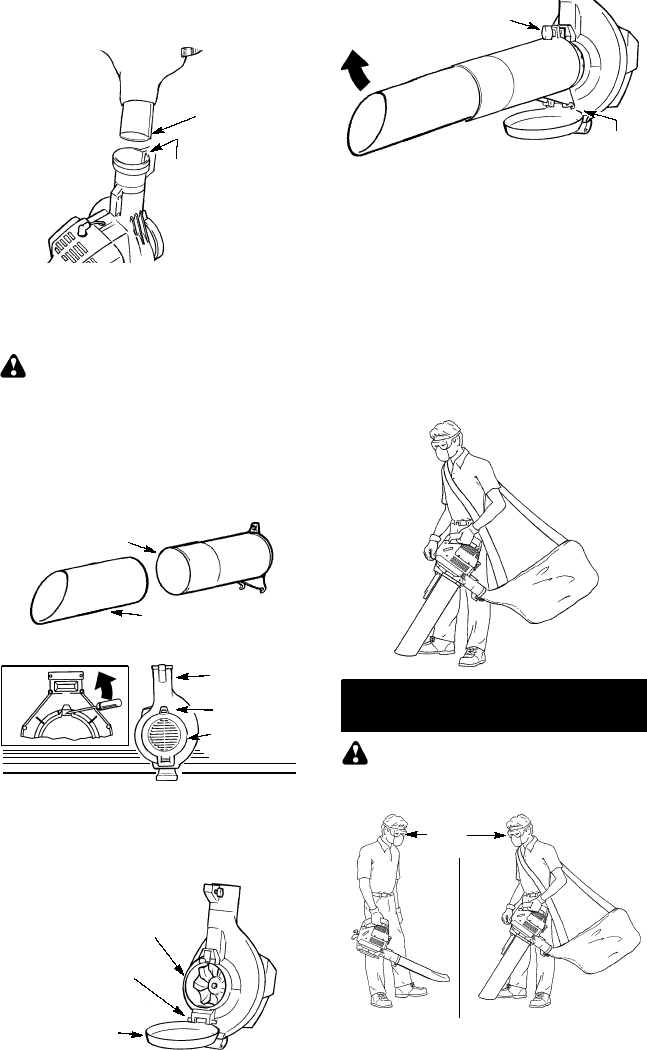
Remove blower tube from engine.
Rib
Groove
D
Insert the elbow tube into the blower outlet.
Make sureelbow tube ri bis aligned with the
blower outlet groove.
D
Turn clamp knob clockwise to tighten.
VACUUM TUBE ASSEMBLY
WARNING:
Stop engine and be sure
the impeller blades have stopped turning be-
fore opening the vacuum inlet door or at-
tempting to insert or remove the vacuum or
blower tubes. The rotating blades can cause
serious injury.
D
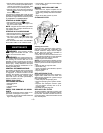
Align the lower vacuum tube as shown.
Push lower vacuum tube into upper vacu-
um tube.
Lower Vacuum Tube
Upper Vacuum
Tube
D
Insert a screwdriver into the latch area on
the vacuum inlet cover.
Latch Area
Blower
Outlet
Vacuum
Inlet Cover
Latch
Area
D
Gently tilt the handle of the screwdriver to-
wardthe backof the unit while pulling up on
the vacuum inlet cover with your other
hand.
D
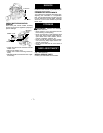
Hold the vacuum inlet cover open until up-
per vacuum tube is installed.
Vacuum Inlet
Vacuum
Inlet
Cover
Retaining Pos t
D
Place the hooks onthe vacuum tube onthe
retaining posts; pivot tube into position. Se-
cure vacuum tube by turning the knob
clockwise until tight.
Hooks
Knob
D
When converting back to the blower fea-
ture, make sure latch on the vacuum inlet
cover is securely fastened.
SHOULDER STRAP ADJUSTMENT
D
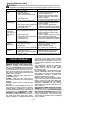
Hold the unit as shown.
D
Passtheshoulder strap overyour headand
onto your right shoulder.
D
Extend your left arm toward the rear of the
vacuum bag.
D
Adjust shoulder strap until the vacuum bag/
shoulder strap seam lies between your
thumb and index finger.
D
Make sure air flows freely from the elbow
tube into bag. If bag is kinked, the unit will
not operate properly.
USING YOUR UNIT
WARNING:
You MUST make sure
the tubes are secure before using the unit.
OPERATING POSITION
Blower
Eye
Protection
Vacuum
OPERATING TIPS
S
While vacuuming or blowing debris, hold
the unit with the muffler side facing away
from your body andclothes (seeillustration
above).


